
That acrid smoke during your last air fryer session? Or the unevenly cooked fries despite perfect timing? Your Ninja air fryer’s hidden heating element is likely drowning in grease buildup, sabotaging performance and creating fire hazards. Most users never realize this critical component—positioned just above the basket—accumulates residue with every cook cycle. Left unaddressed, this grime forces your appliance to work harder, increases energy use by up to 30%, and risks permanent damage. Stop ignoring the heart of your air frying system. In this guide, you’ll discover exactly how to clean your Ninja air fryer heating element safely without voiding warranties or risking electrical damage.
Find Your Ninja Heating Element Instantly
Standard Ninja Models: Flip your air fryer over and locate the metal grate directly above where the basket slides in. The heating element sits behind this protective cover in the upper chamber—identifiable by its coiled wire pattern visible through the grate. This is where grease splatter concentrates during high-heat cooking.
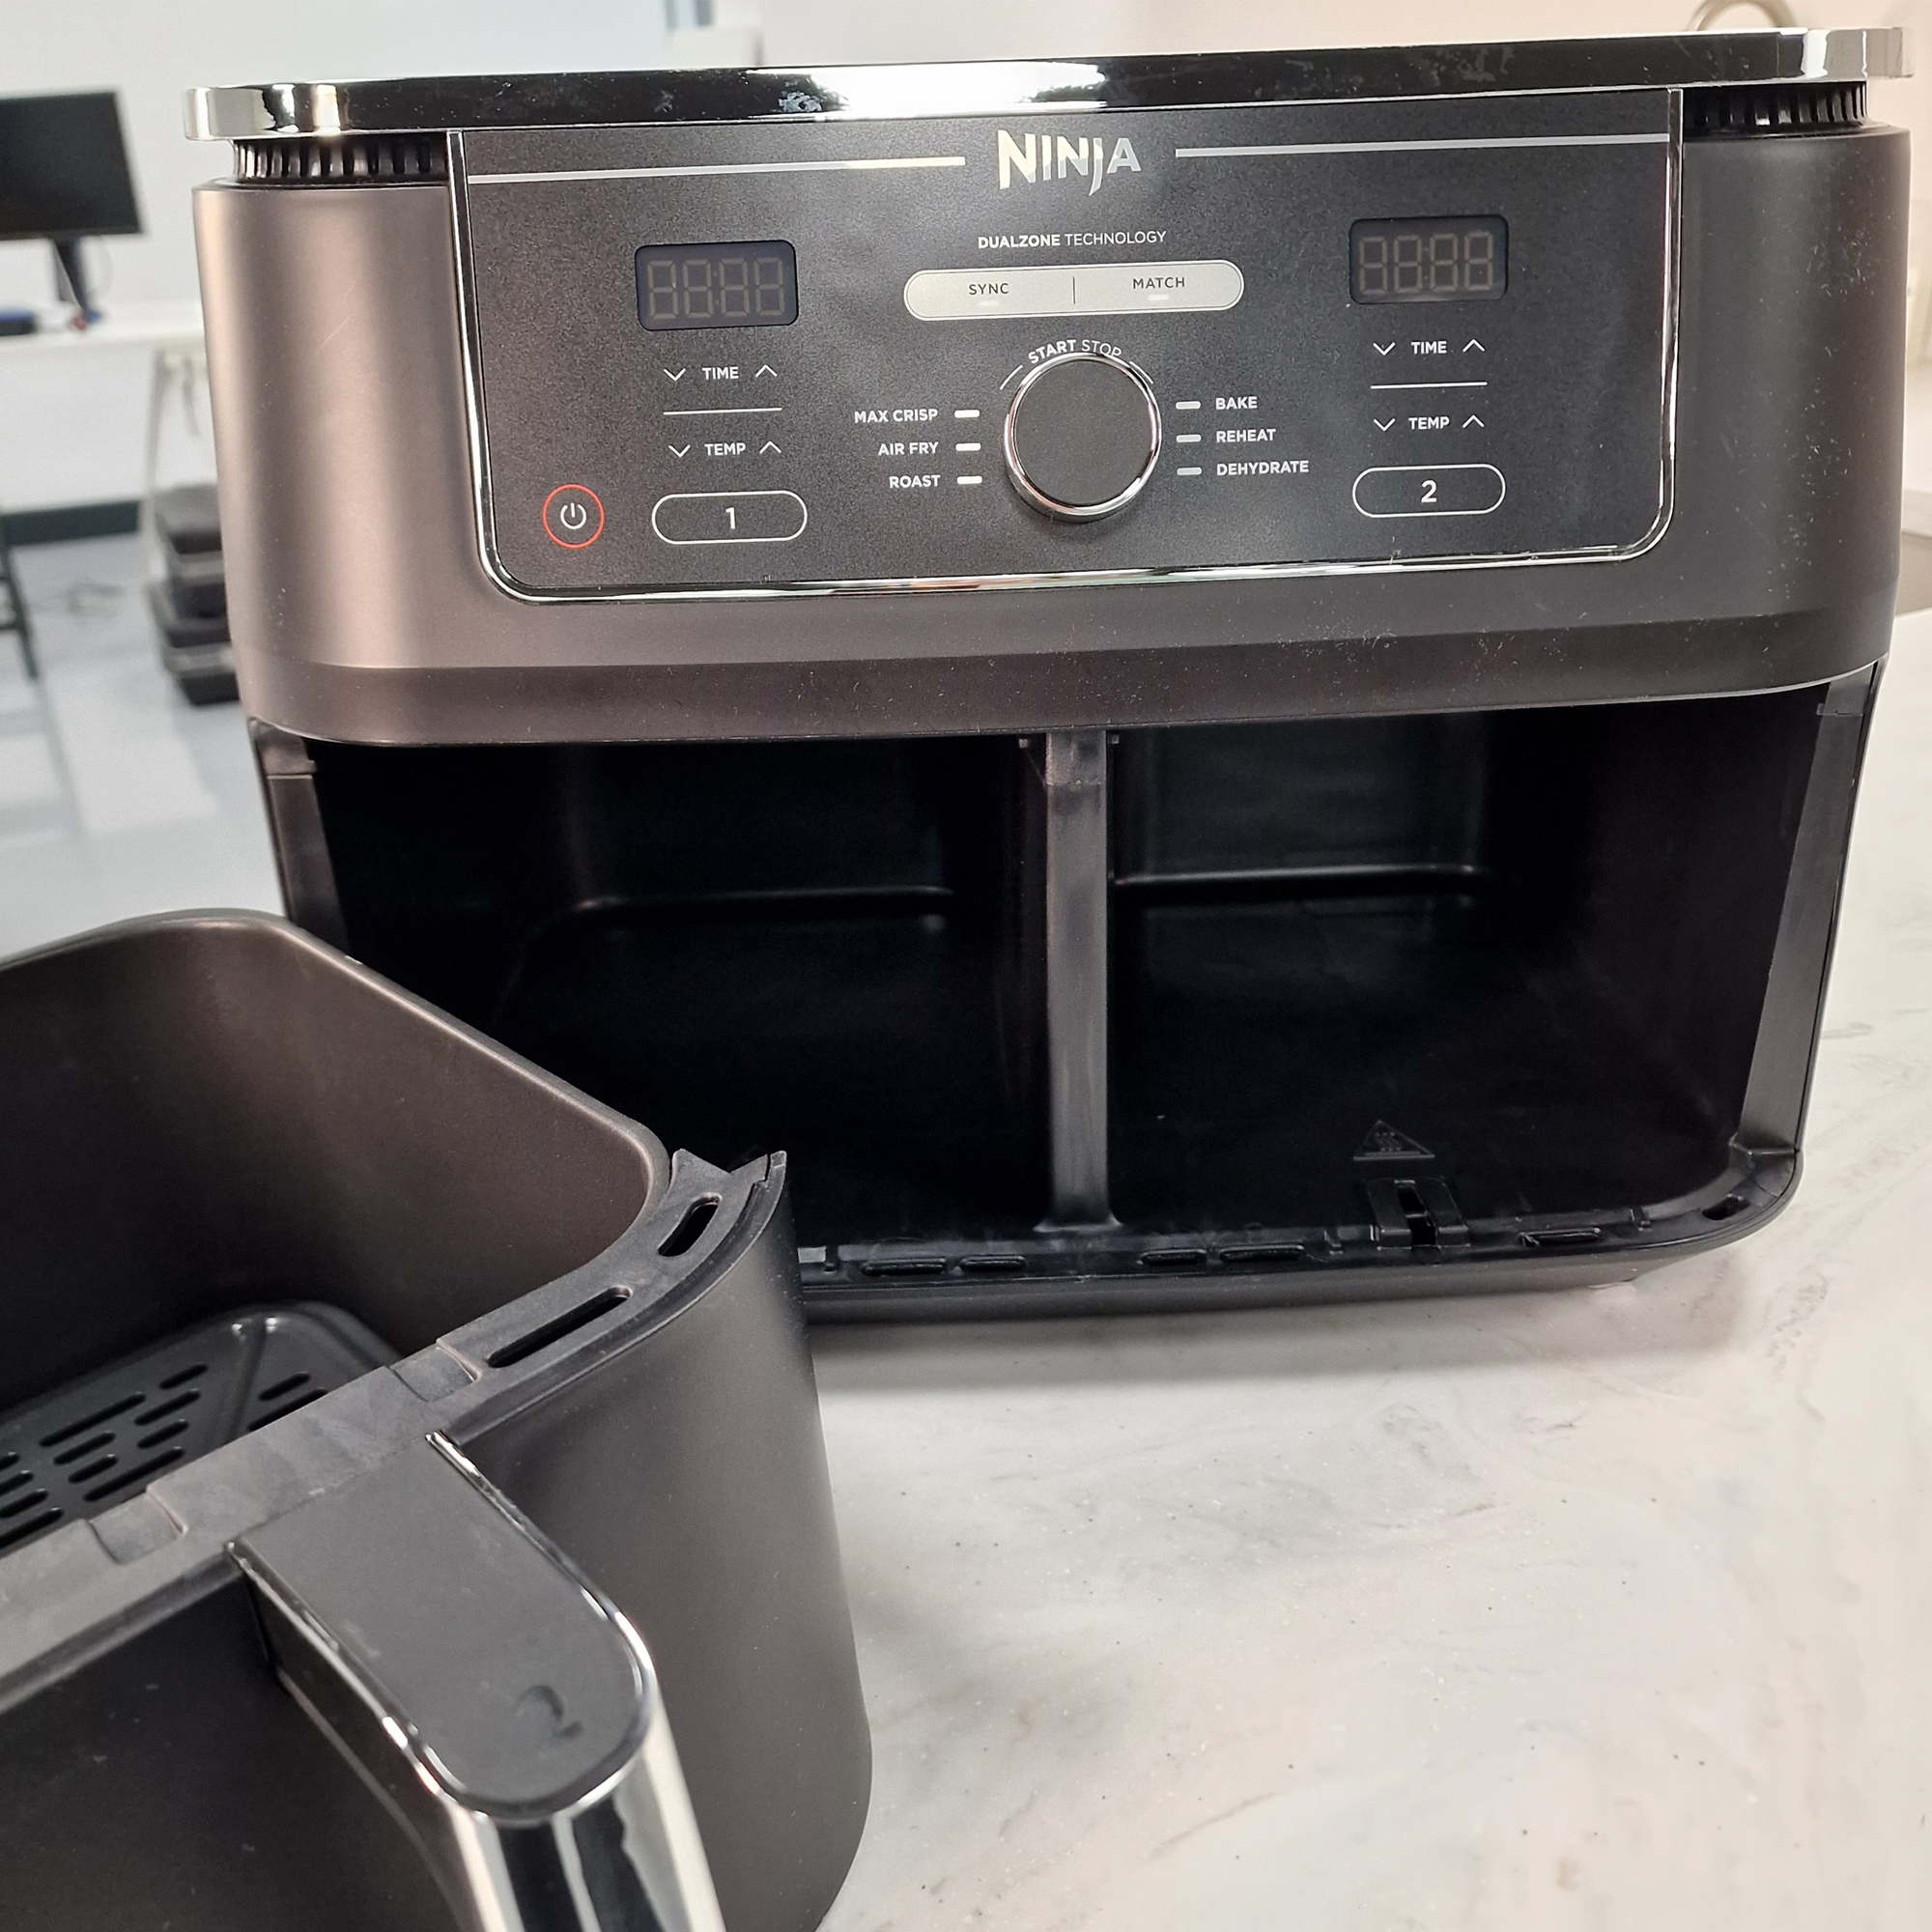
Dual Zone Models: Two separate elements hide above each basket compartment. Even if you only use one side regularly, clean both elements simultaneously since grease migrates between zones during operation. Check each grate independently for residue buildup.
Double Stack Variants: These models relocate the heating element to the back wall instead of the top. Identify it by the perforated metal panel running vertically behind the baskets. This design requires tilting your cleaning angle to access the coiled wires.
Multi-Cooker Combi Models: Circular heating elements replace traditional square designs but remain top-mounted. Shine a flashlight through the grate to spot the distinctive ring-shaped coil. This configuration traps grease in the center curve, demanding extra attention during cleaning.
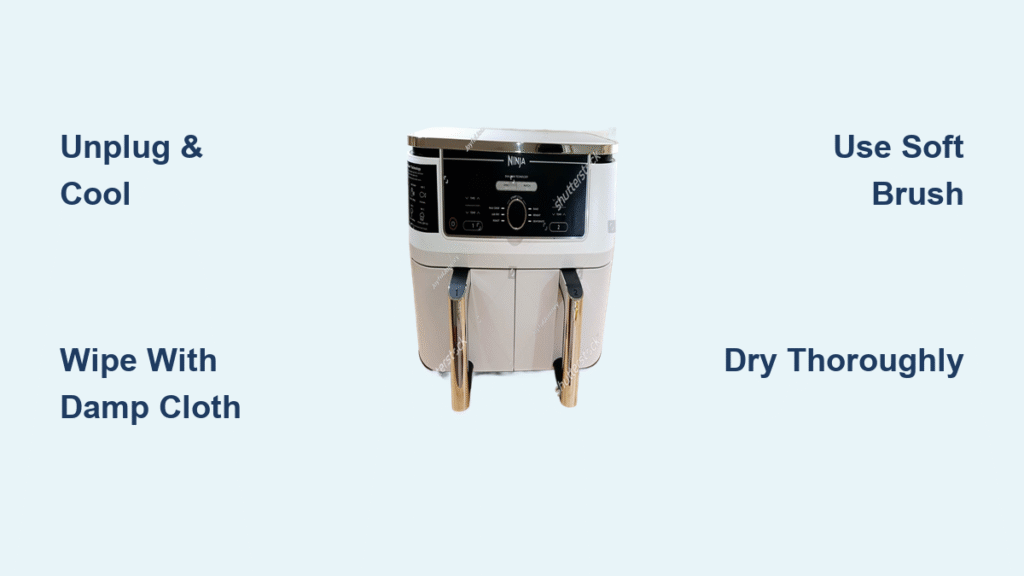
Power Down Before Cleaning: Non-Negotiable Safety Steps
Critical Cooling Protocol:
– Unplug your air fryer and wait minimum 30 minutes after last use
– Test surface temperature with the back of your hand—never proceed if warm
– Work on a dry, stable counter away from water sources
– Keep children and pets clear during the process
Never Risk These Actions:
– Cleaning while plugged in (creates electrocution hazard)
– Using soaking-wet cloths (moisture seeps into electrical components)
– Removing protective grates (immediately voids warranty)
– Rushing the cooling phase (causes steam burns when wiping)
Warning: Liquid infiltration into the heating chamber is the #1 cause of permanent Ninja air fryer failure. One drop of water near electrical contacts can fry your control board.
Ninja’s Official Cleaning Method: Step-by-Step
Step 1: Place your air fryer upside down on a clean, dry towel
Step 2: Locate the heating element through its metal grate
Step 3: Dampen a microfiber cloth with room-temperature water only—wring until barely moist
Step 4: Wipe in straight lines parallel to coil direction (never circular motions)
Step 5: Rotate to a clean cloth section after every pass
Step 6: Inspect from multiple angles using phone flashlight to catch hidden grease
Pro Tip: For standard models, focus extra effort on the element’s front edge where grease pools from basket insertion. This spot causes 80% of smoke incidents.
Expert Deep Clean for Stubborn Grease (Ryan Calvert Method)
Safe Cleaning Solution:
– Mix 2 cups lukewarm water + 1 teaspoon mild dish soap
– Add 3 drops lemon essential oil (natural degreaser)
– Never exceed lukewarm temperature—hot water warps components
Precision Application:
1. Dip soft-bristled toothbrush into solution and shake off excess
2. Gently scrub between coil gaps using feather-light pressure
3. Work outward-to-inward to prevent pushing debris deeper
4. Rinse brush every 30 seconds in clean water
5. Finish with dry microfiber cloth to remove moisture traces
Critical: Brush bristles must bend easily when pressed against your palm. Stiff bristles scratch protective coatings, accelerating future buildup.
Targeted Stubborn Spot Removal (Use Sparingly)
Baking Soda Paste (for visible carbonized spots only):
– Mix 1 tsp baking soda + 3 drops water into thick paste
– Apply with cotton swab directly to residue
– Wait maximum 5 minutes—longer dries into hard crust
– Wipe immediately with damp cloth using straight-line motion
Steam Cleaning Shortcut (for baskets/trays ONLY—not heating element):
– Place 1 cup water + ½ cup vinegar in empty basket
– Run at 200°F for 5 minutes
– Let cool completely before wiping loosened grime
Never apply liquids directly to heating element—steam methods are strictly for removable parts.
Customized Cleaning Schedule by Usage
Heavy Daily Users:
– Quick wipe after every 3rd cook cycle (2 minutes)
– Deep clean weekly with soft brush method
– Red flag: Visible smoke during preheating
Moderate Users (3x/week):
– Visual inspection weekly through grate
– Deep clean monthly during basket maintenance
– Red flag: Food browning unevenly
Occasional Users:
– Clean quarterly regardless of appearance
– Always check before holiday cooking marathons
– Red flag: Persistent “burnt plastic” odor
Viral Cleaning Fails That Destroy Air Fryers

TikTok Trend to Avoid: Flipping unit upside down and pouring vinegar directly onto element
– Consequence: Liquid seeps into fan housing, shorting motor
– Real damage: $150+ repair cost or total replacement
Dangerous “Hacks”:
– Metal scrubbers → scratches coating, causing hotspots
– Oven cleaner sprays → chemical residue contaminates food
– Submerging base unit → destroys heating coil insulation
Warranty killer: Any liquid pooling in the base chamber voids Ninja’s warranty immediately. Documented moisture = denied claims.
Post-Clean Verification Checklist
Drying Protocol:
– Wipe all surfaces with dry microfiber cloth
– Air-dry minimum 30 minutes—check coil gaps with toothpick for moisture
– Never reassemble with dampness visible
Performance Test:
1. Reinsert basket and plug in
2. Run empty cycle at 350°F for 5 minutes
3. Listen for normal “whooshing” fan sound
4. Sniff for burning odors (indicates residual grease)
5. Verify even heat distribution with infrared thermometer
Prevent Future Buildup: Long-Term Strategy
Daily Prevention Tactics:
– Line baskets with perforated parchment for fatty foods
– Empty crumb tray immediately after each use
– Avoid aerosol sprays—use oil mister 6+ inches from element
– Position food away from front edge to reduce splatter
Maintenance Tracking System:
– Mark cleaning dates on calendar
– Photograph element monthly to spot gradual buildup
– Adjust frequency based on cooking habits (bacon = more cleanings)
– Store with basket slightly ajar to prevent moisture trapping
When to Call Ninja Support Immediately
Stop using your air fryer and contact support if:
– Heating element shows visible warping or broken coils
– Smoke persists after two thorough cleanings
– Unit trips circuit breakers during operation
– Food consistently undercooks despite correct settings
Warranty protection: All cleaning must occur with protective grates fully intact. Ninja voids warranties for any disassembly beyond basic wiping—never attempt to remove covers.
Your Ninja air fryer’s heating element now operates at peak efficiency, delivering consistently crispy results without smoke or odors. By investing just 10 minutes monthly in this targeted cleaning process, you’ve eliminated fire risks while extending your appliance’s lifespan by years. Remember: that perfect golden fry depends on a spotless heating element. Make this quick maintenance ritual part of your kitchen routine, and never sacrifice safety for convenience again. Your next batch of fries will thank you.


