

That stubborn protein shake residue clinging to your Ninja blender cup isn’t just unsightly—it’s breeding bacteria that can ruin your next smoothie. When yesterday’s turmeric latte leaves permanent stains or mysterious odors linger after washing, you know your standard cleaning routine has failed. Mastering how to clean Ninja blender cup properly prevents 90% of deep cleaning emergencies and extends your appliance’s lifespan by years. Most users waste time scrubbing when simple, science-backed methods can restore even neglected cups in under 5 minutes.
The critical mistake? Waiting for stains to harden. Ninja’s plastic cups develop microscopic pits where food particles embed, causing cloudiness and odors that dish soap alone can’t fix. This guide reveals manufacturer-approved techniques using household items you already own—no special cleaners required. You’ll learn immediate post-blend routines, specialized stain treatments, and component-specific care that keeps blades sharp and cups crystal clear. Let’s transform your cleaning routine from frustrating chore to foolproof process.
Stop Wasting Time: The 60-Second Self-Clean Method That Prevents Stains
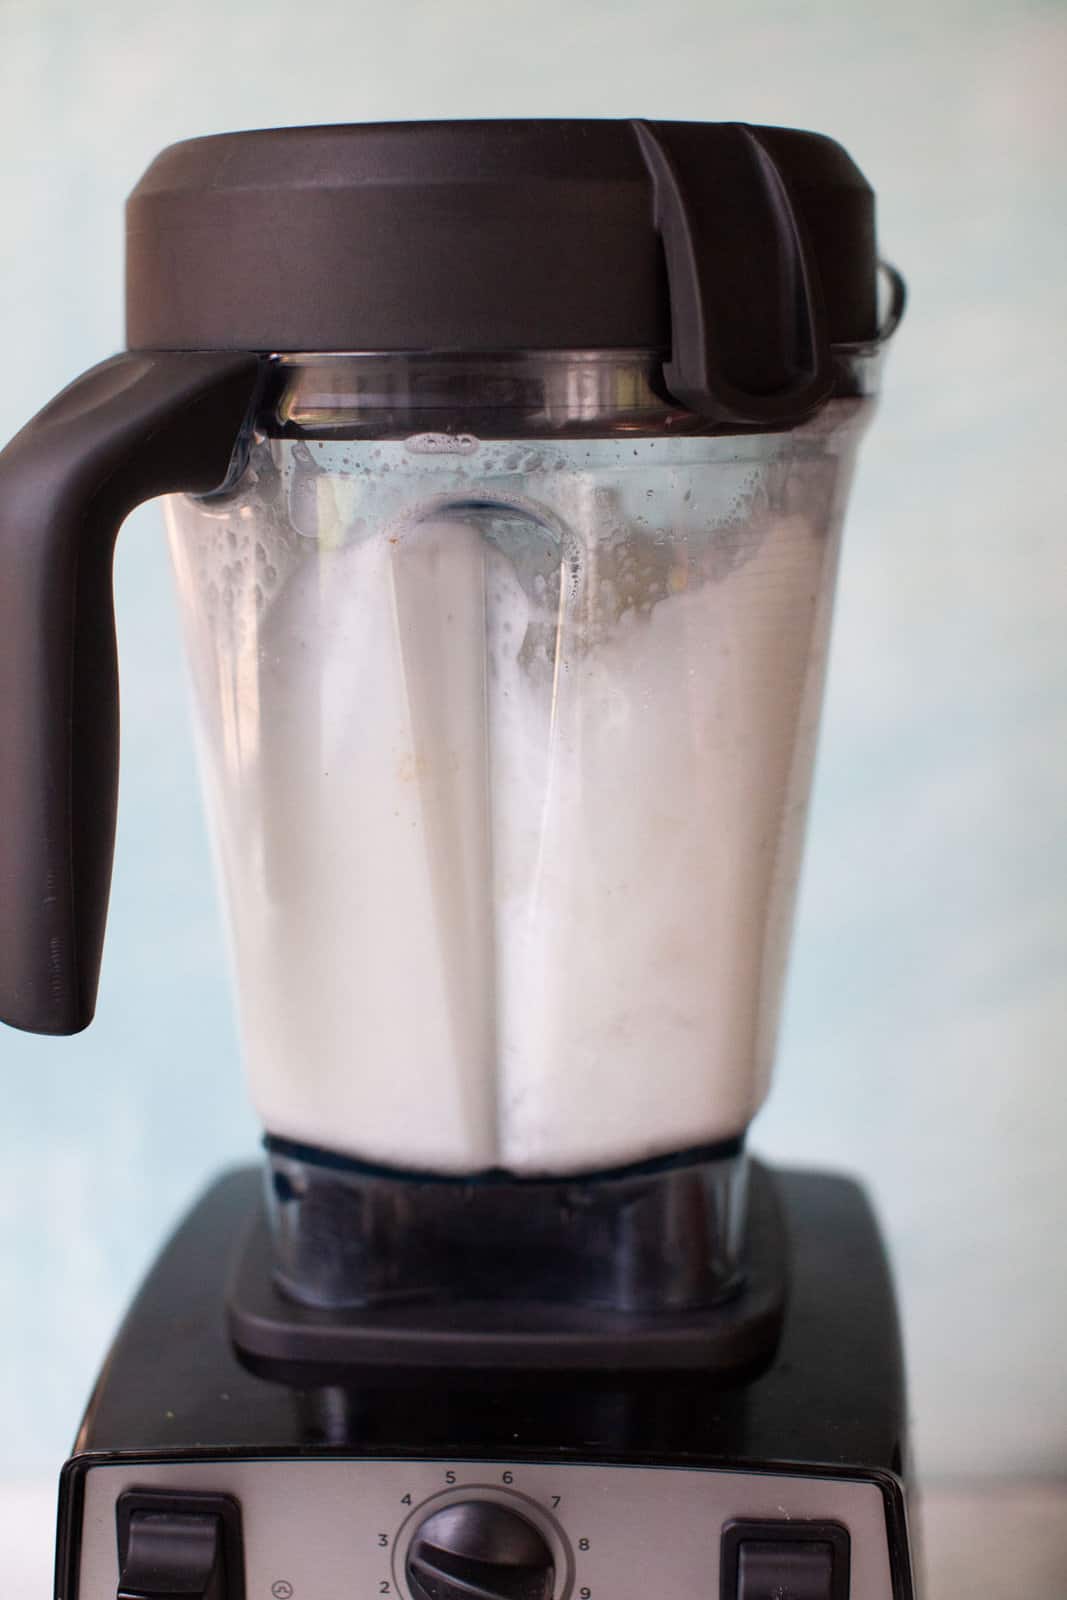
Do this immediately after every blend to avoid 90% of deep cleaning emergencies. Fill your cup with 2 cups warm water and 3-4 drops dish soap while residue is still fresh. Secure the lid tightly and place on the base—never skip this step as loose lids cause leaks. Blend on high for exactly 60 seconds to create a vortex that dislodges particles from every surface, including under the blade gasket.
Why This Beats Manual Scrubbing
The centrifugal force generated during blending reaches areas your sponge can’t, especially the threaded neck where odors hide. Critical timing note: Perform this within 30 minutes of use before proteins and fibers harden. For nut butter or frozen fruit blends, extend to 90 seconds for complete residue removal. After blending, rinse under warm running water until water runs clear, then invert on a drying rack—never stack cups while damp.
Dishwasher Cleaning: Safe Placement for Ninja Blades and Cups
Never load assembled units into your dishwasher—this traps food between blades and cup, causing permanent damage. Disassemble completely: twist the blade assembly counterclockwise to remove from the cup. Place blades and lids exclusively on the top rack, positioning them away from heating elements. The cup goes upright on the bottom rack, but never let blades touch other utensils during the cycle.
Maximizing Dishwasher Effectiveness
This hands-off method uses 50% less water than handwashing while sanitizing at higher temperatures. For best results, run the sanitize cycle with regular dishwasher detergent—not pods, which may not dissolve fully. After the cycle, inspect blades for stuck particles; a toothbrush can dislodge debris from blade crevices. Pro warning: Skip the heated dry option—air drying prevents warping and mineral deposits.
Handwashing Deep Clean: Step-by-Step Without Cutting Yourself
Always unplug the motor base first—this critical safety step prevents accidental activation. Disassemble into three components: lid, blade assembly, and cup. Soak blades in soapy water for 10 minutes before handling; this softens residue and reduces direct contact with sharp edges. Clean the cup first using a non-abrasive sponge in circular motions, focusing on the bottom where seeds and fibers accumulate.
Blade Safety Protocol
Submerge blades completely during soaking—never leave them exposed on the counter. When scrubbing, use a sponge with a handle to maintain distance from sharp edges. Apply gentle pressure only; aggressive scrubbing damages the non-stick coating. For stubborn gunk under the blade gasket, use an old toothbrush at a 45-degree angle. Never use steel wool—it creates microscopic scratches where bacteria thrive.
Remove Stubborn Stains: Lemon, Vinegar, and Baking Soda Fixes
Turmeric and beet stains require acid-based cleaning. For fresh stains, blend juice of one lemon, 2 tablespoons baking soda, and 1 cup water on high for 30 seconds. The citric acid breaks down pigments while baking soda provides gentle abrasion. For set-in stains, use the dishwasher detergent soak: add 1-2 tablespoons powdered detergent to hot water, fill the cup, and soak 1 hour—enzymes dissolve protein-based stains better than dish soap.
When to Escalate Treatment
If stains persist after initial cleaning, try the vinegar fizz method: combine ¾ cup white vinegar and ¼ cup baking soda in the cup with warm water. The bubbling action lifts stains from plastic pores—let it sit 5 minutes before blending 30 seconds. Critical tip: Never mix vinegar and bleach—this creates toxic fumes. Always rinse thoroughly after acidic treatments to prevent flavor transfer.
Eliminate Lingering Odors From Protein Shakes and Smoothies
Odors hide in the lid’s rubber gasket—the #1 culprit for “mystery smells.” Start by prying out the seal with a fork and soaking in hot, soapy water. For active deodorizing, blend one chopped lemon (with peel), 1 tablespoon baking soda, and hot water for 60 seconds. Lemon oils neutralize odors while the peel scrubs interior surfaces. For chronic smells, apply a thick baking soda paste to the entire interior and let sit overnight before rinsing.
Gasket Seal Deep Cleaning
That black gunk in your lid’s rubber ring is mildew. After prying it out, scrub with an old toothbrush dipped in vinegar solution. Never skip drying—reinstall only when completely dry to prevent moisture buildup. For persistent odors, lightly lubricate the seal with canola oil (not olive oil—it goes rancid) before reassembly. This creates a barrier against future odor absorption.
Restore Cloudy Cups Caused by Hard Water and Fruit Acids
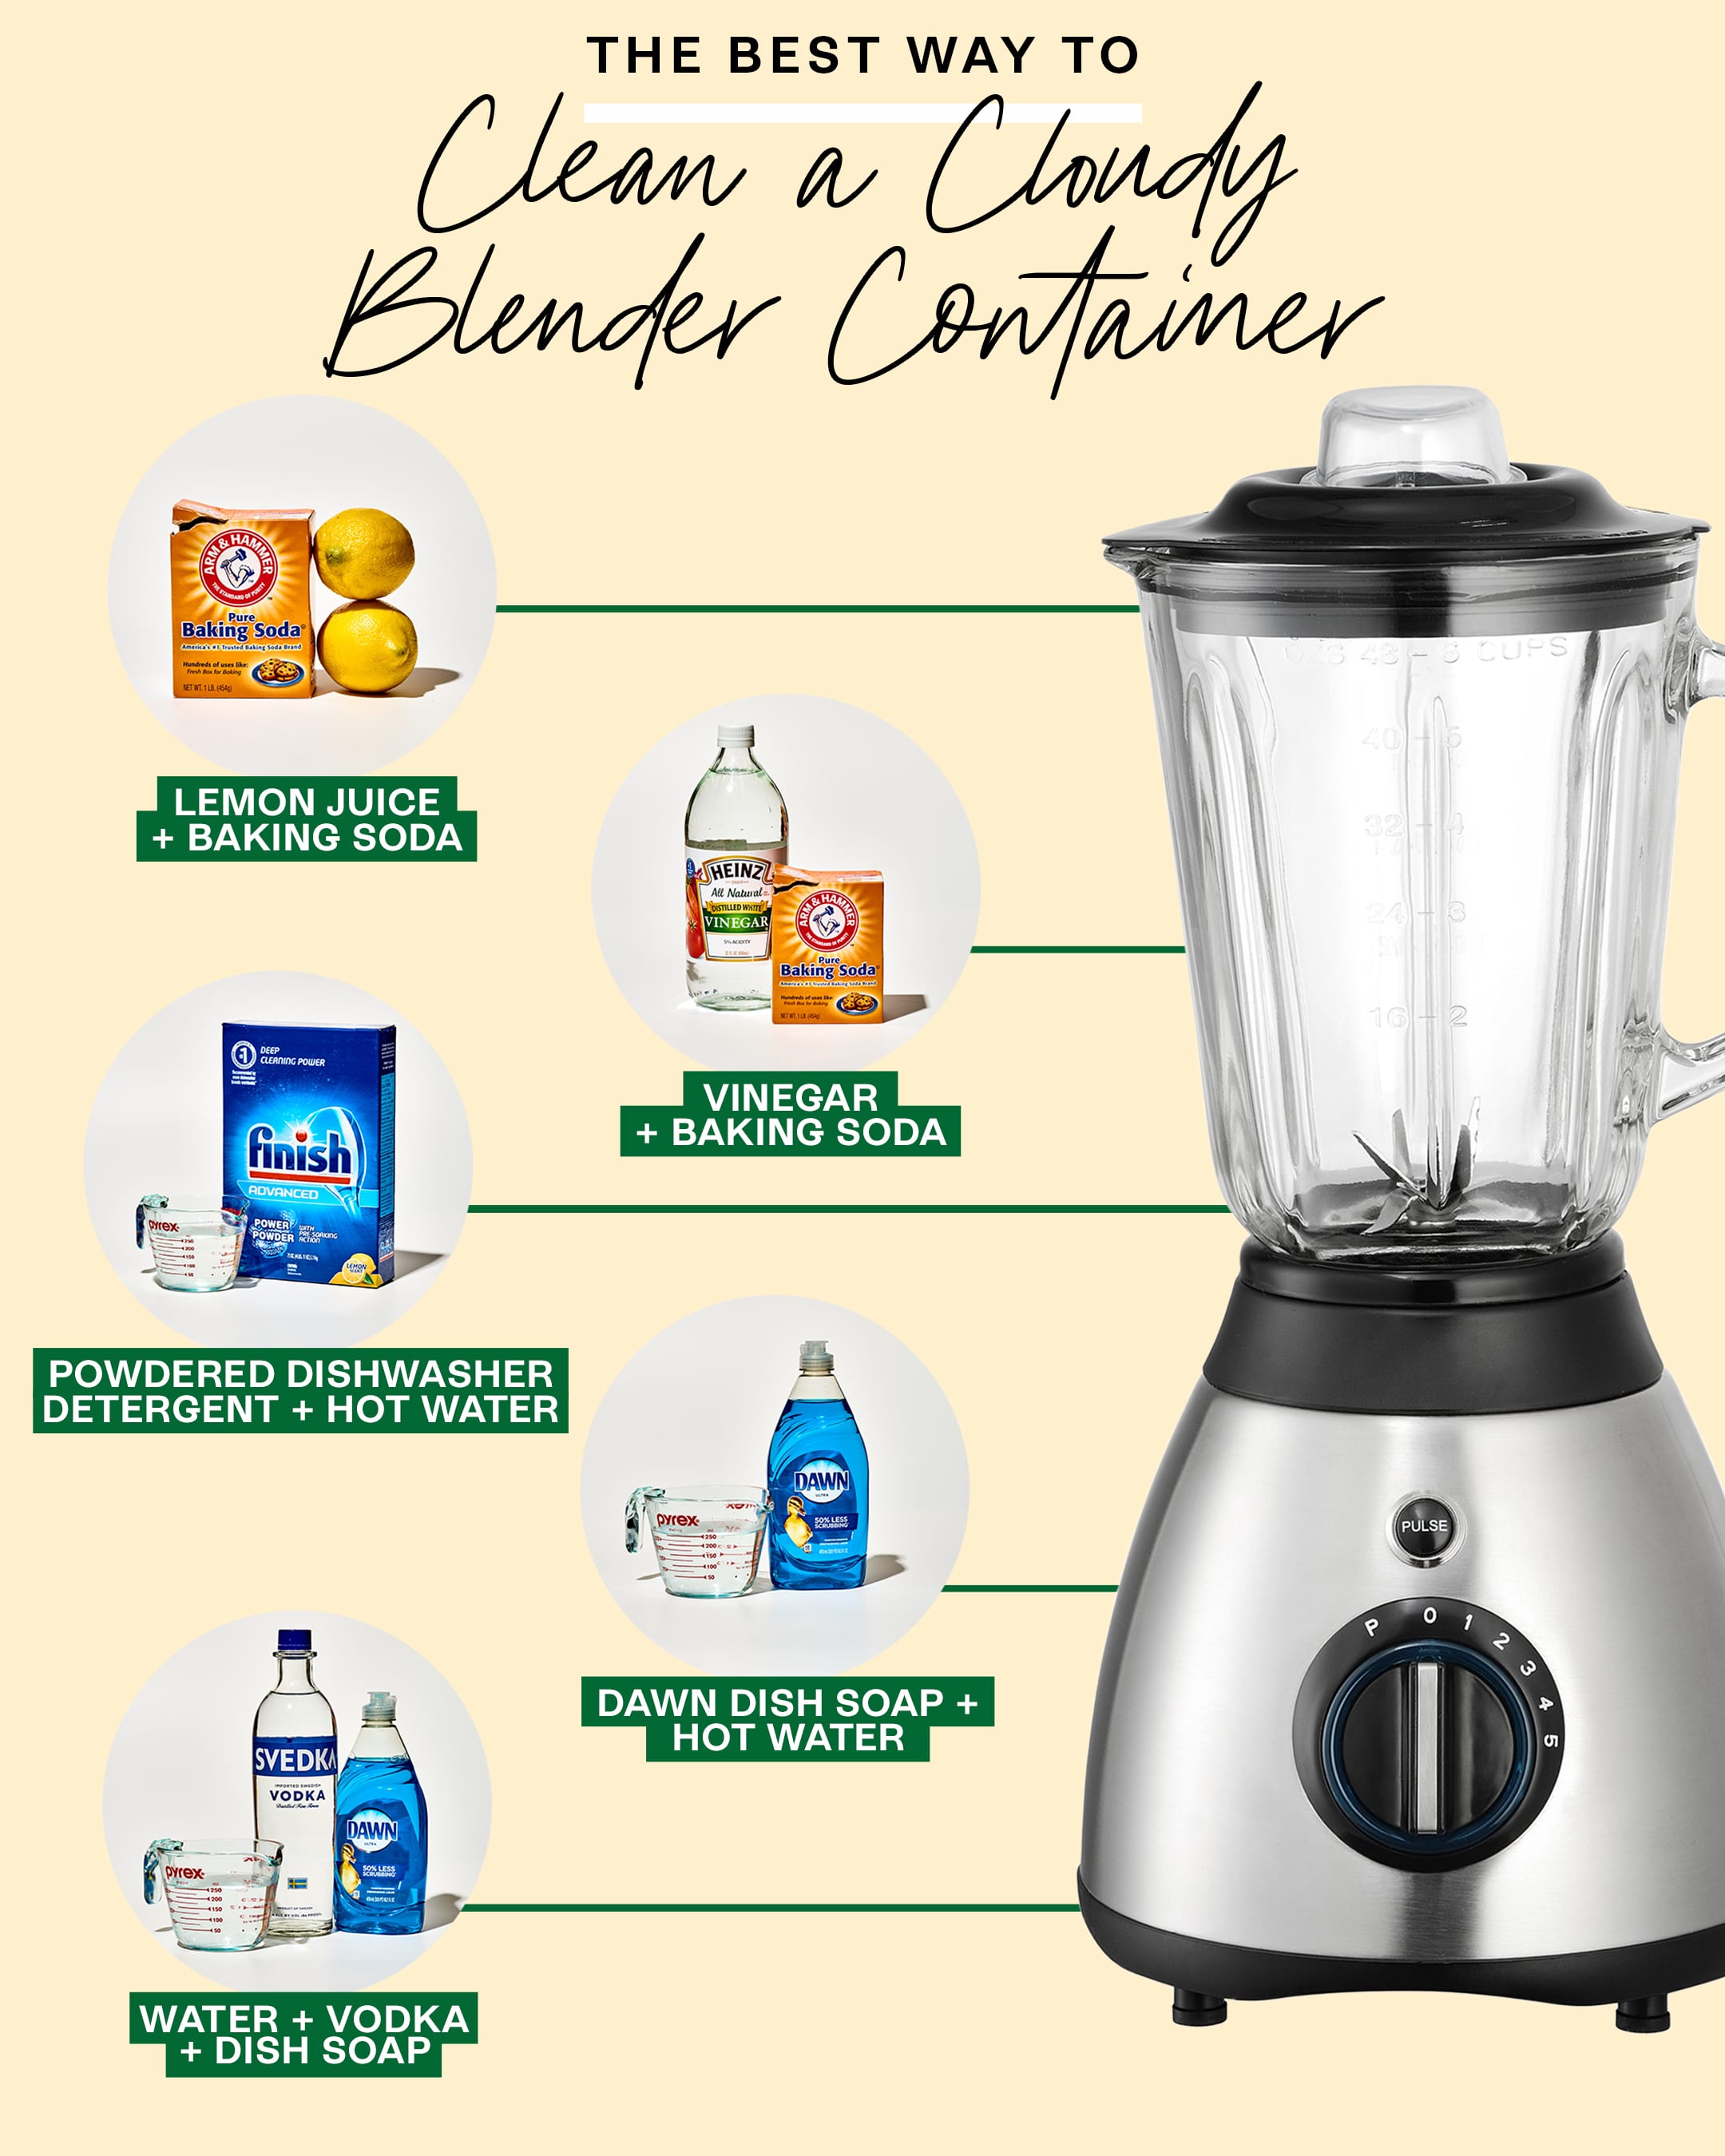
Cloudiness comes from mineral deposits in hard water reacting with fruit acids. Fix it with a vinegar deep treatment: mix ½ cup white vinegar and 1.5 cups water, blend 30 seconds, then let sit overnight. The acid dissolves calcium buildup without scratching plastic. For immediate results, use a Magic Eraser (melamine foam) dampened with water—gently rub cloudy areas with light pressure. Warning: Avoid circular motions which create swirl marks.
Prevention Is Simpler Than Restoration
Hand-dry cups immediately after cleaning—this single step prevents 80% of cloudiness. Skip air drying on racks where minerals redeposit as water evaporates. When using hard water, add 1 tablespoon vinegar to your regular wash cycle weekly. Never use abrasive cleaners like Comet—they accelerate cloudiness by etching the plastic surface.
Safety Rules That Prevent Cuts and Component Damage
Your blades are surgical-sharp—treat them like broken glass. Always handle blades last in your cleaning process after soaking. When disassembling, twist the cup counterclockwise while holding the blade steady with a towel—never grip blades directly. Critical rule: Never submerge the motor base—wipe it with a damp cloth only, using a toothbrush for vent crevices.
Five-Point Safety Checklist
Before every cleaning session:
– ✓ Unplug base from wall outlet
– ✓ Fill sink with soapy water before handling blades
– ✓ Use sponge with handle for blade scrubbing
– ✓ Verify all components are bone-dry before reassembly
– ✓ Store blades in protective case if not using immediately
Maintenance Schedule: Daily, Weekly, and Monthly Cleaning Routines
Daily: Perform the 60-second self-clean within 30 minutes of use. This prevents residue hardening and takes less time than handwashing. Weekly: Disassemble completely and handwash all components—inspect the gasket seal for trapped food and blades for dulling. Monthly: Run the vinegar deep treatment to prevent mineral buildup, especially if you have hard water.
When to Replace Parts
Blades lose effectiveness after 18-24 months of daily use—replace when smoothies have chunky texture. Cracked gasket seals cause leaks; replace if you see permanent discoloration or tearing. Pro tip: Keep spare gaskets on hand—they cost less than $5 and install in seconds. Never use damaged parts, as they compromise blending performance and safety.
Mastering how to clean Ninja blender cup transforms it from a chore into a 60-second habit that protects your investment. Start with the immediate self-clean after every use—this simple step prevents 90% of deep cleaning emergencies. For tougher jobs, the vinegar-baking soda combo tackles stains that dish soap can’t, while proper blade handling keeps you safe from cuts. Remember: air-drying cups prevents cloudiness, and monthly vinegar treatments maintain crystal clarity. Your Ninja cup should last 5+ years with this routine—so skip the harsh chemicals and stick to these proven, manufacturer-approved methods. Ready for spotless smoothies? Grab your dish soap and try the 60-second self-clean right after your next blend.


