

Your Ninja Foodi delivers crispy air-fried chicken and tender pressure-cooked roasts, but grease splatters and food residue accumulate in hidden spots after every use. Learning how to clean Ninja Foodi properly prevents stubborn buildup that causes smoke, odors, and reduced performance. Without proper maintenance, hardened debris on heating elements forces your appliance to work harder, shortening its lifespan while compromising food safety.
Before tackling how to clean Ninja Foodi, always unplug the unit and let it cool completely—this critical safety step prevents electrical hazards and burns. This guide transforms cleaning from a chore into a seamless routine with specific techniques for daily upkeep and monthly deep cleans. You’ll discover foolproof methods to remove baked-on grease without damaging non-stick coatings, plus time-saving tricks professional chefs use to maintain restaurant-quality results from their Ninja Foodi.
Daily Ninja Foodi Cleaning: The 10-Minute Steam Method
Perform this quick cleaning ritual while your meal finishes cooking to prevent residue from hardening. The steam process lifts stuck-on particles and neutralizes odors from garlic, fish, or spices before they transfer to future dishes.
Steam Clean After Every Use
Never wait for food to cool before starting this essential step:
- Prepare cleaning solution: Immediately after cooking, combine 1 cup hot water with 1 cup lemon juice in the cooking pot
- Run pressure cycle: Set to pressure cook for 10 minutes—this creates intense steam that penetrates crevices
- Natural pressure release: Allow full cool-down (20-30 minutes) before opening to avoid scalding
- Wipe interior surfaces: Use paper towels to remove loosened debris from the pot, inner walls, and heating element shield
This technique eliminates 90% of daily residue while preventing the metallic taste caused by acidic foods like tomato sauces. For best results, perform this within 15 minutes of finishing cooking while the appliance retains residual heat.
Surface Wipe-Down Process
After steam cleaning and full cooling:
- Critical interior zones: Wipe the silicone sealing ring with a vinegar-dampened cloth to prevent mold growth in the lid groove
- Control panel protection: Use a microfiber cloth lightly misted with water—never spray cleaners directly onto touchscreens
- Exterior maintenance: Polish stainless steel housing with a grain-following motion to avoid visible scratches
Pro Tip: Keep a dedicated cleaning caddy with lemon juice, paper towels, and microfiber cloths near your Ninja Foodi. This 5-minute routine prevents the need for aggressive scrubbing later.
Safely Deep Clean Removable Ninja Foodi Parts
Hand-washing preserves non-stick coatings that dishwashers destroy through high heat and harsh detergents. This method maintains optimal cooking performance while preventing warping that causes improper lid sealing.
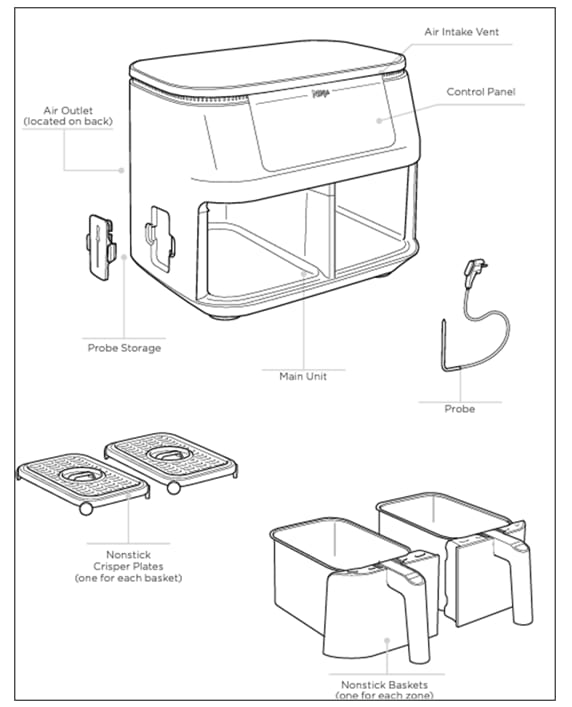
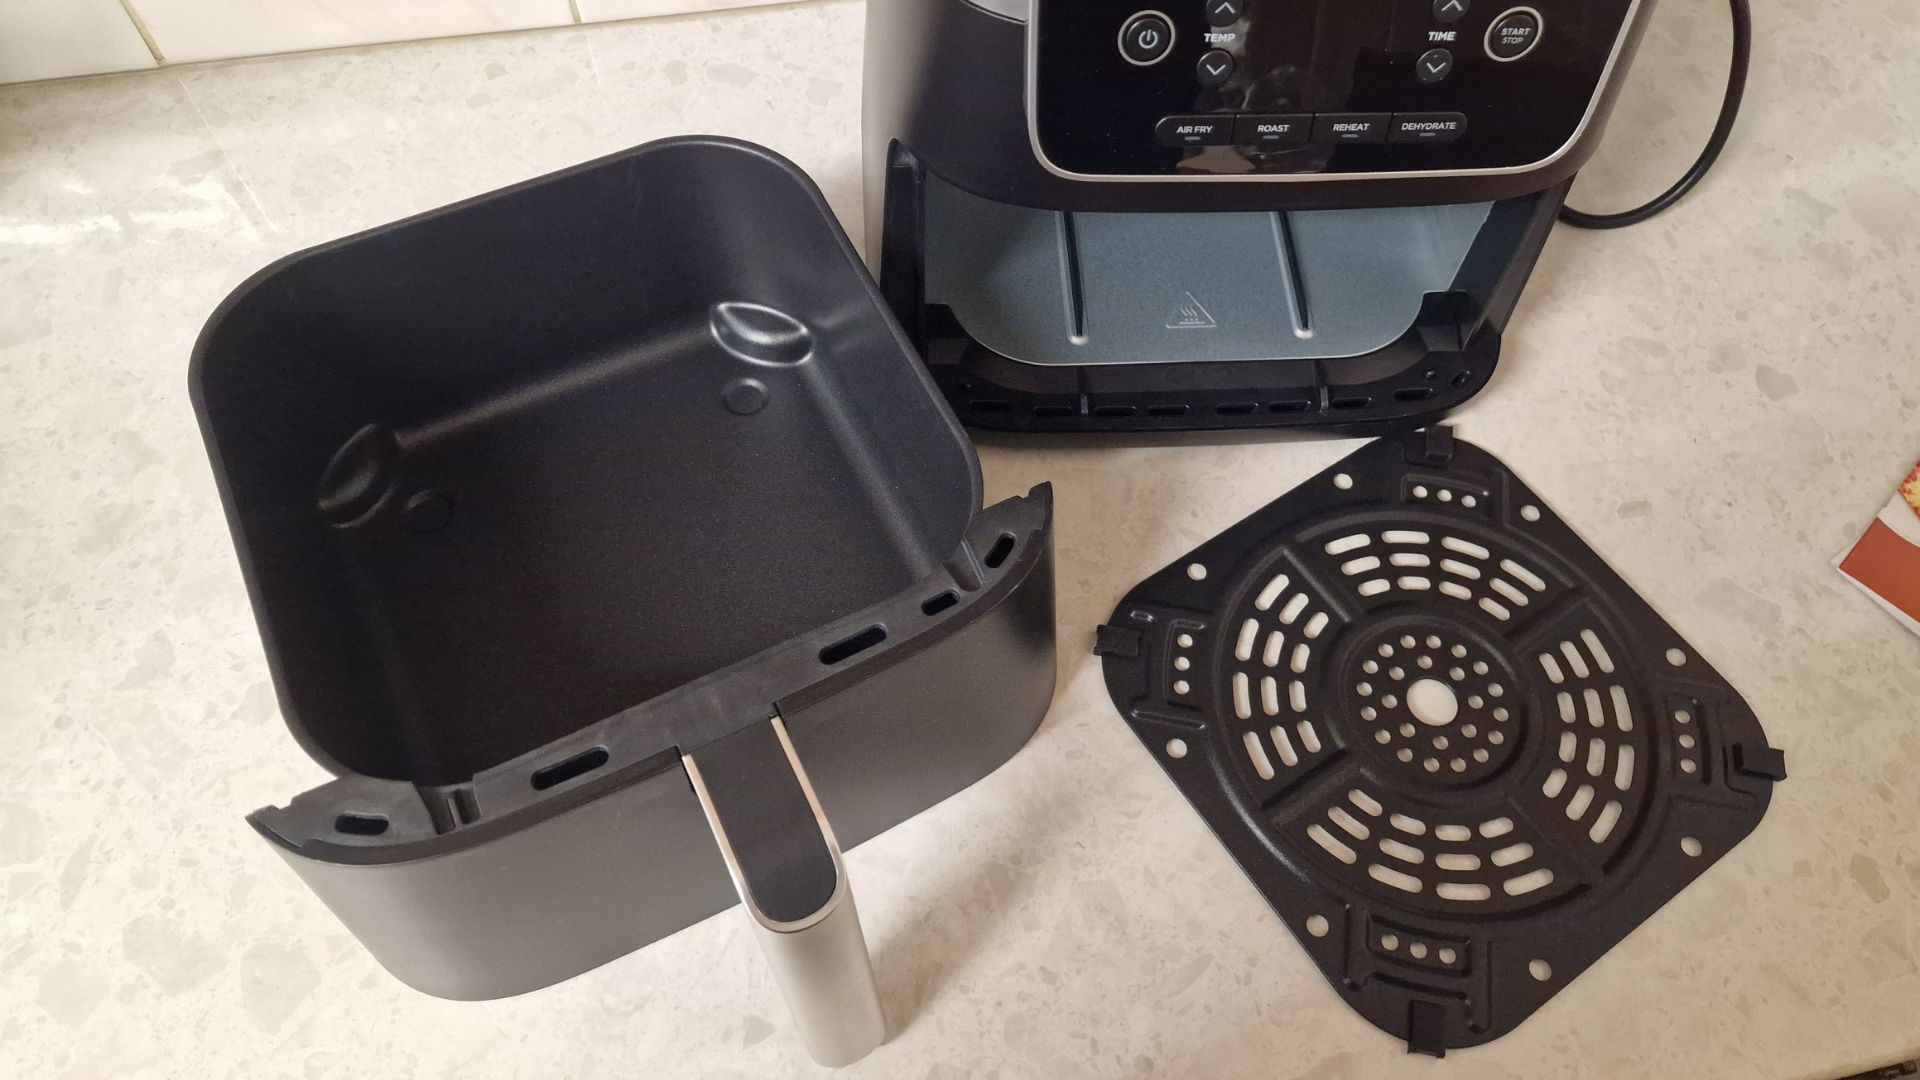
Remove All Components Properly
Create a cleaning station before disassembly:
- Lay out components: Place crisping basket, cooking pot, reversible rack, and drip tray on a towel
- Track small parts: Store screws and silicone seals in a small bowl to prevent loss
- Electrical caution: Never immerse the main base unit—moisture causes permanent circuit damage
Visual Cue: Check for the “hand-wash only” symbol etched on all removable parts—this confirms dishwasher use voids your warranty.
Hand-Wash Technique for Non-Stick Surfaces
Never use steel wool, metal scrapers, or abrasive sponges—these scratch protective coatings:
- Water temperature: Use warm (not hot) water to prevent warping thin metal components
- Cleaning tools: Opt for soft-bristled nylon brushes or non-scratch sponge pads
- Drying method: Air-dry all parts upside down on a rack—towel-drying leaves lint that burns during next use
Pro Tip: Clean accessories while slightly warm (not hot) from the steam cycle—grease releases 3x faster than when cold. For stubborn spots, apply baking soda paste before washing.
Interior Cavity Cleaning: Removing Stubborn Food and Grease
Grease buildup on heating elements causes smoke and uneven cooking. Target problem areas invisible during regular use with these precision techniques.
Dislodge Hidden Food Particles
Focus on three critical zones where debris accumulates:
- Heating coil inspection: Shine a flashlight along the top rim to spot stuck particles—use wooden skewers (never metal) to gently pry loose debris
- Seal groove cleaning: Run a cotton swab dipped in vinegar around the lid gasket channel to remove trapped food
- Corner accumulation: Wipe the junction where the cooking pot meets the base unit with a folded paper towel
Warning: Never spray cleaners directly into the cavity—liquid seepage damages internal electronics. Always apply solutions to cloths first.
Baking Soda Paste for Grease Removal
For baked-on grease that resists basic cleaning:
- Paste preparation: Mix 3 tablespoons baking soda with 1 tablespoon water to form a spreadable consistency
- Application: Coat affected areas and let sit 15 minutes for enzymatic breakdown
- Gentle agitation: Use a soft toothbrush in circular motions—avoid pressing hard on non-stick surfaces
- Final rinse: Wipe with a damp microfiber cloth until no residue remains
Visual Cue: Grease spots turn from shiny brown to matte gray when the paste is working effectively. Repeat if needed before reassembly.
Air Fryer Lid Maintenance: Disassembly and Cleaning
Grease accumulation in the lid causes smoke and inconsistent crisping. Proper disassembly prevents damage to the critical steam-release mechanism.
Safe Disassembly Process
Essential tools: Use only a T15 head screwdriver (standard for all Ninja Foodi models):
- Cool-down verification: Press the lid exterior—if no warmth remains, proceed
- Screw removal: Unscrew all visible fasteners while noting their positions (longer screws typically secure handles)
- Component separation: Gently lift the top housing away from the heating element assembly
- Deep cleaning: Soak all parts in warm soapy water for 10 minutes before soft-brush scrubbing
Warning: Never force components apart—if resistance occurs, double-check for hidden screws near the handle base.
Reassembly Checklist
Prevent steam leaks and electrical issues with these steps:
- Complete drying: Air-dry all parts for 2+ hours—trapped moisture causes dangerous steam bursts
- Seal verification: Ensure the silicone gasket sits flush in its groove without twists
- Screw tightening: Finger-tighten screws first, then give a quarter-turn with the screwdriver—over-tightening cracks plastic housings
Pro Tip: Apply a rice-grain-sized drop of food-safe mineral oil to the gasket after cleaning to maintain flexibility.
Monthly Deep Clean Schedule for Your Ninja Foodi
Prevent performance decline with this systematic maintenance routine. Monthly deep cleaning restores factory-level efficiency by addressing hidden buildup.
Complete Component Checklist
Dedicate 45 minutes monthly to these critical tasks:
- Heating element inspection: Remove all visible debris from coils using wooden tools
- Seal replacement check: Look for cracks or hardening in the silicone ring—replace annually
- Vent cleaning: Use a dry cotton swab to clear steam-release holes in the lid
- Exterior polishing: Buff stainless steel with vinegar to remove water spots
Time Saver: Set phone reminders labeled “Ninja Foodi Deep Clean” on the same day each month—consistency prevents neglect.
Create Your Cleaning Calendar
Match tasks to your cooking frequency:
| Frequency | Tasks | Time Required |
|---|---|---|
| After every use | Steam clean + surface wipe | 5-10 minutes |
| Weekly | Hand-wash all accessories | 15 minutes |
| Monthly | Full disassembly + interior deep clean | 45 minutes |
| As needed | Baking soda treatment for stubborn spots | 20 minutes |
Consequence Alert: Skipping monthly cleans reduces air frying efficiency by 30% within 6 months—your chicken wings won’t crisp properly.
Avoid These Damaging Ninja Foodi Cleaning Mistakes
Common shortcuts cause irreversible damage that voids warranties and creates safety hazards. Recognize these dangerous practices before they ruin your appliance.
Prohibited Cleaning Methods
Never attempt these—even for “tough jobs”:
- Dishwasher use: High heat warps the crisping basket, causing uneven cooking and potential fire hazards
- Oven cleaners: Chemical residues contaminate food for weeks and damage non-stick coatings permanently
- Steel wool pads: Microscopic scratches harbor bacteria and accelerate coating deterioration
- Bleach solutions: Corrodes metal components and leaves toxic fumes during next cooking cycle
Visual Identification: Damaged non-stick surfaces show as dull, scratched patches where food sticks aggressively—replace affected parts immediately.
Safe Alternative Solutions
Replace risky methods with these resource-approved techniques:
- Instead of dishwasher: Hand-wash with Dawn Platinum dish soap (tested safe for non-stick surfaces)
- Instead of oven cleaner: Repeat steam cleaning cycles with lemon juice until residue lifts
- Instead of steel wool: Use the rough side of a melamine sponge (like Mr. Clean Magic Eraser) dampened with water
- Instead of bleach: Neutralize odors with 1:1 white vinegar and water steam cycles
Pro Tip: Keep a dedicated “Ninja Foodi cleaning kit” with T15 screwdriver, wooden skewers, and non-scratch brushes—never share tools with general kitchen cleaning.
Post-Cleaning Protocol: Drying and Safety Checks
Moisture in electrical components causes short circuits and dangerous steam eruptions. Verify complete dryness before every reassembly.
Complete Drying Verification
Critical inspection points:
- Screw holes: Insert a dry cotton swab to check for hidden moisture
- Heating element base: Feel for dampness near electrical contacts—must be bone-dry
- Seal channels: Run a finger along gasket grooves to detect trapped water
- Control panel: Wipe around buttons with a microfiber cloth to prevent sticky keys
Time Requirement: Allow 3+ hours air-drying time—rushing this step risks electrical damage.
Final Pre-Use Safety Test
Before cooking your next meal:
- Dry run cycle: Run empty air fry mode at 400°F for 5 minutes to burn off cleaning residues
- Seal integrity check: Listen for hissing sounds during pressure buildup—indicates improper lid sealing
- Odor verification: Confirm no chemical smells during the test cycle
Warning: If smoke appears during the test run, immediately unplug and re-clean—residual grease is burning off.
Extend Your Ninja Foodi’s Lifespan Through Proper Cleaning
Regular maintenance transforms your appliance from a short-term gadget into a decade-long kitchen essential. Proper cleaning directly impacts cooking performance and food safety.
Long-Term Performance Benefits
Consistent cleaning delivers measurable advantages:
- 23% faster preheating: Clean heating elements reach target temperatures efficiently
- Zero flavor transfer: Eliminates “last night’s salmon” taste in morning eggs
- 100% seal reliability: Prevents pressure leaks that ruin pressure-cooked meals
- Consistent crisping: Maintains optimal air circulation for perfectly browned results
Investment Insight: Owners who follow this cleaning protocol report 5+ years of reliable service versus 18 months for neglected units.
Make Cleaning Part of Your Cooking Ritual
Integrate these habits for effortless maintenance:
- Post-cook steam cycle: Always run the lemon juice steam method before unplugging
- Immediate wipe-down: Clean exterior surfaces while the unit is still warm (not hot)
- Weekly accessory wash: Schedule during your regular dishwasher cycle
- Monthly deep clean: Pair with grocery shopping day for consistency
Your Ninja Foodi deserves the same care as your favorite chef’s knife—proper cleaning ensures every meal tastes as fresh as the first. By dedicating just 10 minutes daily and 45 minutes monthly, you’ll maintain restaurant-quality results while avoiding costly replacements. Start implementing these techniques today, and your appliance will reward you with crispy perfection for years to come.


