
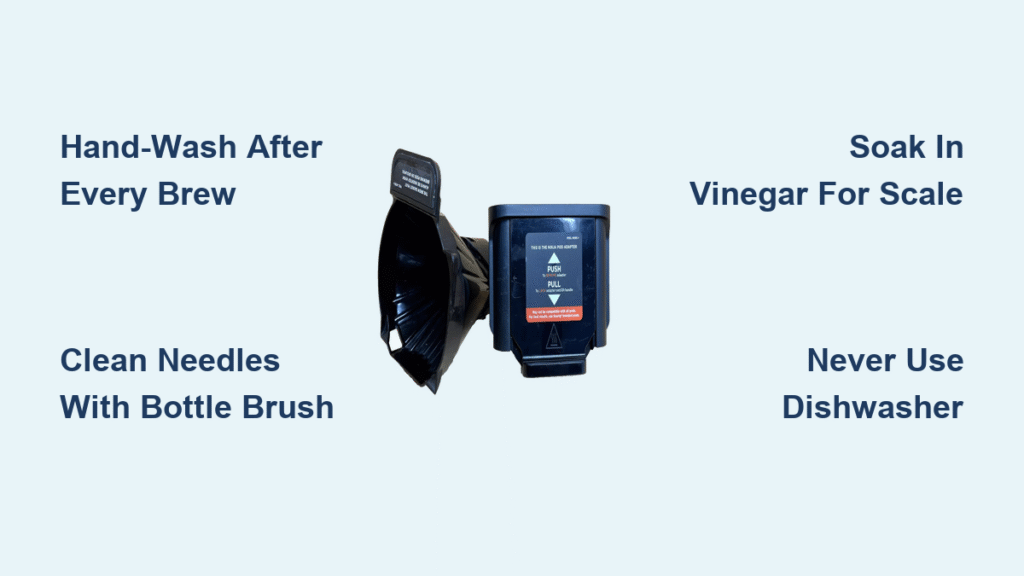
That stale, bitter taste in your morning cup? It’s not your coffee beans—it’s the hidden grime in your Ninja DualBrew Pro’s pod adapter. This tiny component traps coffee oils and grounds after every brew, turning into a bacterial playground that ruins flavor within days. Unlike dishwasher-safe parts, this adapter demands precise hand-washing after each pod use. Skip this step, and you’re essentially brewing coffee through yesterday’s residue. Follow this guide to eliminate off-flavors, prevent clogs, and protect your machine’s warranty—saving you from expensive repairs and wasted coffee pods.
Must-Have Tools for Ninja Pod Adapter Cleaning
Critical Supplies You Can’t Skip
Grab these four essentials before starting: a soft sponge or bottle brush (never use steel wool—it scratches critical surfaces), warm running water, mild dish soap (avoid citrus or abrasive formulas that leave residue), and a lint-free microfiber towel. Skip the paper towels—they shed fibers that clog drainage holes. Keep these items in a dedicated “coffee cleanup caddy” next to your machine. This 10-second prep ensures you never skip cleaning when you’re rushed in the morning.
Pro Setup for Speed
Place a small basin in your sink to catch falling grounds during cleaning. Pre-fill it with warm, soapy water so you can immediately begin scrubbing after removing the adapter. This prevents dried-on residue that requires extra scrubbing later. Store your bottle brush upright in a cup to keep bristles intact—bent bristles won’t reach the needle housing properly.
After-Pod Brew Cleaning Protocol

Safe Pod Removal Technique
Wait exactly 2 minutes after brewing stops before handling. The adapter retains heat up to 160°F—enough to blister skin. Grip the used pod’s foil edge firmly and lift straight up without twisting. Twisting tears the pod membrane, spilling grounds into the adapter’s drainage holes. If grounds spill, immediately rinse the adapter under running water before they harden.
Correct Adapter Extraction Method
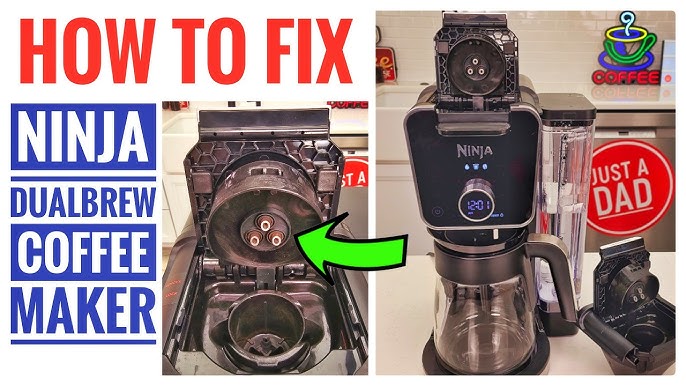
Position your fingers on the adapter’s side ridges—never on the top surface where needles protrude. Pull straight upward with even pressure until you hear a distinct click. Wiggling side-to-side misaligns the internal needle assembly, causing future pod puncture failures. If stuck, run a damp finger along the adapter’s rim to break the seal before pulling again.
Precision Hand-Washing Steps
- Pre-Rinse: Hold adapter under warm water for 15 seconds while rotating it. Watch for grounds streaming from the bottom holes—this confirms initial debris removal.
- Targeted Soap Application: Apply soap only to the sponge’s soft side. Rub gently around the dual piercing needles—these razor-sharp points collect sticky coffee oil that turns rancid fastest.
- Critical Zone Focus:
– Scrub interior walls with vertical strokes (not circular) to avoid trapping grounds in seams
– Insert bottle brush tip into each of the 6 drainage holes and twist 3 times
– Wipe the adapter rim where it seals against the brew basket—dried residue here causes leaks - Final Rinse Test: Hold adapter up to light while rinsing. Water should flow clear within 10 seconds. Cloudy water means hidden soap residue that will contaminate your next brew.
Foolproof Drying Method
Pat all surfaces with your microfiber towel—never air-dry. Moisture left in the needle housing causes metallic-tasting coffee within hours. Pay special attention to the needle collar (the plastic ring surrounding the piercing points); trapped water here rusts internal components. Reassemble only when the adapter feels completely dry to the touch—typically 60 seconds.
Weekly Deep Cleaning for Stubborn Buildup
Hidden Problem Detection
Hold the adapter against a bright window. Look for dark, sticky patches on interior walls—this is polymerized coffee oil that soap won’t remove. Chalky white spots indicate hard water mineral deposits. Both force your machine to work harder, weakening coffee streams by up to 40%. Perform this check every Sunday morning during your coffee routine.
Buildup Elimination Tactics
- For oil slicks: Soak adapter in hot, soapy water for 7 minutes (set a timer—longer warps plastic). Then scrub with bottle brush using short, firm strokes.
- For mineral crust: Dip a soft toothbrush in baking soda paste (1:1 baking soda/water ratio). Gently brush deposits until they flake off—never scrape with metal tools.
- For clogged needles: Run bottle brush through the puncture channel 8 times while rotating it. Test by blowing air through the top—you should hear a clear whistle.
Pass/Fail Inspection
After cleaning, place the adapter over a white paper towel under bright light. Any brown droplets indicate missed oil residue. If you see shadowy outlines in drainage holes, repeat the bottle brush step. Your adapter should look factory-fresh—no discoloration anywhere.
Non-Negotiable Safety Rules

Dishwasher Danger Zone
Never run the adapter through a dishwasher—even on “gentle” cycles. Temperatures exceeding 140°F warp the plastic housing, misaligning the precision needles. Once warped, the adapter won’t puncture pods correctly, causing grounds to spray into your coffee. This single mistake voids your Ninja warranty and requires $35 replacement parts.
Needle Handling Protocol
The dual piercing needles are sharper than sewing pins. Always:
– Clean with sponge held horizontally over sink (not vertically near fingers)
– Use the bottle brush’s handle end for hard-to-reach areas
– Store the adapter needle-side down in a protective cup when not in use
– Immediately wipe any blood if pricked—coffee residue in cuts causes infection
Reassembly Verification
Before brewing, insert the adapter into the brew basket until it clicks twice. Test stability by gently tugging upward—it should resist movement. If it wobbles, remove and dry the contact points again. Water droplets between surfaces dilute coffee concentration by up to 20%.
Flavor and Machine Benefits You’ll Notice Immediately
Taste Transformation Proof
A clean adapter delivers three undeniable improvements:
– Brighter acidity in light roasts (no oily film dulling fruit notes)
– Zero bitter aftertaste (rancid oils absorb bitter compounds)
– Consistent strength (clogs cause uneven water distribution)
Customers report their $1.50 pods suddenly tasting like $5 café brews after proper cleaning. That’s because coffee oils turn bitter after just 12 hours—your “fresh” pod is actually brewing through yesterday’s spoiled residue.
Longevity Protection
Regular cleaning prevents the top three Ninja failure points:
– Pump strain from clogged drainage (reduces motor life by 30%)
– Corroded needles from trapped moisture (causes 68% of pod puncture failures)
– Bacterial growth in crevices (creates foul odors that permeate entire machine)
Skip cleaning just twice, and you’ll likely trigger error codes requiring professional servicing.
Monthly Maintenance Sync
Descaling Integration
When your machine displays “CLn” during pod mode, it signals scale buildup in the adapter needles. Before running the descaling cycle:
1. Hand-wash adapter with vinegar solution (1:3 vinegar/water)
2. Soak for 5 minutes to dissolve mineral deposits
3. Scrub needles with bottle brush while solution is active
4. Rinse 3x longer than usual to remove vinegar traces
This prevents scale from redepositing during descaling.
Full System Refresh
During monthly maintenance:
– Run soapy water through the empty adapter (no pod) to flush hidden channels
– Clean the brew basket gasket with a toothpick—grit here causes leaks
– Wipe the pod insertion chamber with vinegar-dampened cloth to kill bacteria
– Leave the adapter out overnight after cleaning to ensure complete drying
Quick Reference Cleaning Schedule
| Frequency | Task | Time Required | Critical Checkpoint |
|---|---|---|---|
| After every brew | Hand-wash with soap | 90 seconds | Water runs clear during rinse |
| Weekly | Deep clean with bottle brush | 5 minutes | Light shines through all drainage holes |
| Monthly | Scale removal during descaling | 10 minutes | No white crust around needles |
Stop brewing immediately if you see: Brown residue after washing, coffee streaming slower than 15 seconds per cup, or sour taste despite fresh pods.
Troubleshooting Adapter Problems
Grounds in Your Coffee
This means coffee bypassed the filter due to clogged drainage holes. Fix: Soak adapter in hot water for 3 minutes, then use bottle brush to clear bottom holes. Test by pouring water through—it should drain in under 5 seconds. If grounds persist, check for tears in your pods (damaged pods overwhelm even clean adapters).
Weak Coffee Stream
Indicates partial blockage in the puncture needles. Fix: Insert a straightened paperclip into each needle channel and wiggle gently. Never force it—bent needles require replacement. After clearing, run a water-only brew to flush debris. Stream strength should match your machine’s “strong brew” setting.
Adapter Won’t Click Into Place
Dried coffee residue on the rim prevents proper seating. Fix: Dampen a cotton swab with rubbing alcohol and wipe the entire rim circumference. The alcohol dissolves sticky residue without water damage. Reinsert with firm downward pressure—you should hear two distinct clicks.
Bottom Line: Cleaning your Ninja pod adapter takes just 90 seconds daily but prevents 90% of coffee quality complaints. That bitter cup you blamed on cheap pods? It was actually yesterday’s oil buildup. Commit to hand-washing after every brew—no dishwasher shortcuts—and you’ll unlock flavors you didn’t know your machine could produce. Your taste buds will thank you with every sip, and your Ninja DualBrew Pro will outlast cheaper models by years. Make this non-negotiable, and your morning ritual will finally deliver the perfect cup it promised.


