
That stubborn grease clinging to your Ninja Foodi lid isn’t just unsightly—it’s sabotaging your pressure cooking results. When food particles clog the sealing ring groove or odors linger from last night’s curry, your lid can’t create the airtight seal required for safe pressure buildup. This how to clean Ninja pressure cooker lid guide delivers the exact manufacturer-approved method to eliminate buildup while protecting critical components. You’ll discover why quick daily wipes prevent the baked-on grime that leads to steam leaks and flavor transfer between meals.
Your Ninja lid’s performance depends entirely on meticulous maintenance. Unlike regular pots, pressure cooker lids house precision valves and silicone seals where microscopic residue compromises safety mechanisms. Following this how to clean Ninja pressure cooker lid protocol ensures consistent pressure buildup, prevents dangerous steam sputtering, and stops last week’s chili from flavoring today’s vanilla pudding. We’ll cover disassembly, deep cleaning, reassembly verification, and the daily 5-minute habit that keeps your lid functioning like new.
Safety Protocol: Unplug and Cool Before Handling
Never skip this critical first step, even if your Ninja Foodi appears powered off. Modern pressure cookers maintain electrical connections in standby mode, creating shock risks during cleaning. Turn the unit completely off at the control panel, then physically unplug it from the wall outlet. This isn’t just precautionary—the manufacturer explicitly states this is non-negotiable for safety.
Wait until all components reach room temperature before disassembly. Cleaning a warm lid risks steam burns from trapped moisture and can warp plastic parts through thermal shock. The metal housing may feel cool while internal components retain dangerous heat. Run your palm over the entire lid surface; if it’s not comfortably cool to the touch, wait longer. Rushing this step could permanently damage temperature sensors or create uneven sealing surfaces.
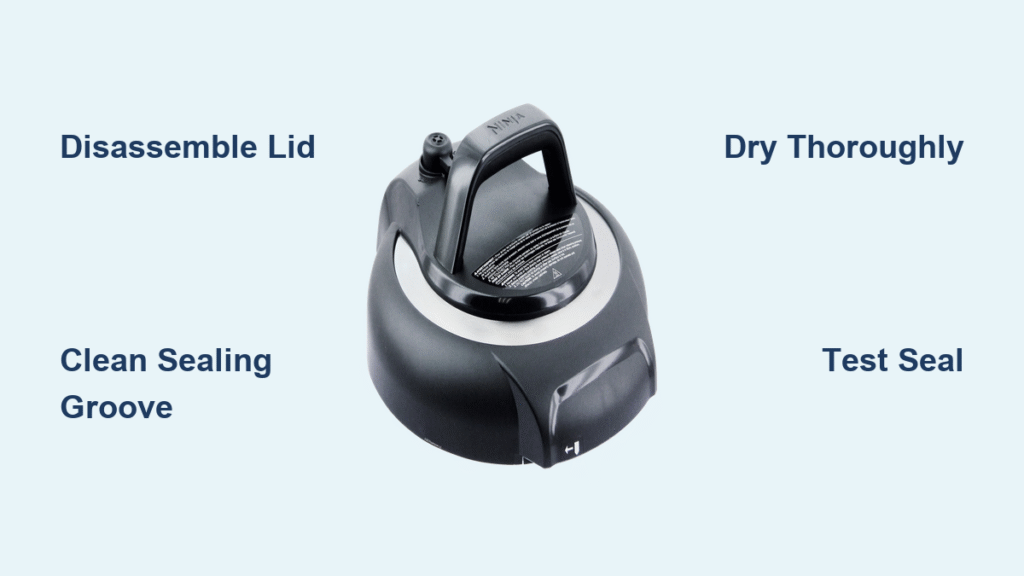
Disassemble Ninja Lid Components Correctly

Unscrew Lid Using T15 Screwdriver
Grab your T15 Torx screwdriver—this specific size fits all Ninja pressure cooker lid models. Locate the screw points securing the lid assembly to the hinge mechanism. Turn counterclockwise to loosen each screw completely. Unlike some appliances, Ninja lids require full removal for proper cleaning; never force components while screws remain partially engaged.
Lift the entire lid assembly straight upward once screws are removed. Support the weight evenly with both hands to prevent accidental drops that could crack plastic housings. Place it lid-side down on a clean microfiber towel to protect non-stick surfaces. Never set it directly on countertops where grit could scratch the sealing surface.
Remove these critical components before cleaning:
– Silicone sealing ring (the primary gasket)
– Pressure release valve assembly
– Anti-block shield cover
– Float valve mechanism (the small metal pin)
Prepare Non-Damaging Cleaning Solutions
Create Effective Yet Safe Formulas
Mix warm water with standard dish soap in a sink basin—avoid antibacterial varieties as they leave chemical residues that affect food taste. For routine cleaning, use one teaspoon of soap per quart of water. This temperature-controlled solution dissolves grease without risking warpage from extreme heat.
Form a baking soda paste for stubborn buildup by combining two tablespoons of baking soda with one tablespoon of water. This gentle abrasive lifts baked-on food without scratching surfaces, unlike harsh chemicals prohibited by Ninja. Never substitute vinegar in this paste—acidic mixtures can degrade silicone over time. For persistent odors from garlic or seafood, add one tablespoon of lemon juice to your soaking solution instead.
Scrub Lid Parts Without Scratching
Target High-Residue Zones Methodically
Focus on the sealing ring groove where grease accumulates fastest. Dip a soft-bristled toothbrush (never metal or stiff nylon) into your cleaning solution and scrub the entire channel in circular motions. Pay special attention to corners where steam condensation traps food particles. Visible residue here directly causes pressure leaks during cooking.
Clean the pressure valve housing by holding it under warm running water while gently moving the valve up and down. This mimics steam flow to dislodge trapped debris inside the mechanism. Never insert tools into the valve chamber—this can bend delicate components. For the anti-block shield, use your toothbrush to clean both sides of the mesh screen where small food bits clog steam paths.
Pro tip: Soak removable parts for 10 minutes before scrubbing. This softens dried residue, reducing scrubbing force needed by 70%. Check the resource document’s warning: never soak electrical components or the main lid housing—only submerge removable parts like the sealing ring and valves.
Dry and Reassemble for Reliable Sealing

Verify Complete Dryness Before Reattachment
Pat every component dry with lint-free towels—paper towels can leave fibers that interfere with sealing. Pay extra attention to the sealing ring groove; trapped moisture creates steam pockets that prevent proper pressure buildup. Hold parts against a dark surface to spot hidden water droplets in crevices. Never air-dry components as humidity can leave mineral deposits on metal parts.
Reinstall the sealing ring by pressing it firmly into its groove until it sits completely flush. Run your finger around the entire circumference to detect twists or gaps—these cause immediate steam leaks. When reattaching the lid assembly, align the hinge pins precisely before inserting screws. Tighten clockwise until snug, but stop immediately when resistance increases to avoid stripping plastic threads.
Test Pressure Seal Before Next Cooking
Confirm Proper Functionality in 3 Steps
Perform the water seal test before cooking real food. Add one cup of water to the pot, lock the cleaned lid in place, and run a 2-minute pressure cook cycle. Observe the pressure indicator pin—steam should release only through the valve, not around lid edges. Any hissing from the sides means recheck your sealing ring installation.
Check valve operation during depressurization. The pressure release handle should move smoothly between “Sealing” and “Venting” positions with no sticking. If it feels gritty, repeat cleaning of the valve housing—food particles here cause dangerous pressure fluctuations. Finally, inspect the float valve: it should drop freely when pressure releases, indicating clear steam pathways.
Prevent Residue With Simple Daily Routine
Implement 5-Minute Post-Cooking Protocol
Pressure cook lemon water after every use to prevent odor transfer and loosen fresh residue. Add one cup water and one cup lemon juice, then run a 10-minute pressure cook cycle. While the unit is still warm (not hot), wipe the lid interior with paper towels—heat helps evaporate moisture but won’t damage components at this stage. This natural method eliminates the need for harsh cleaners between deep cleanings.
Conduct weekly visual inspections of the sealing ring and valve mechanisms. Check for cracks in the silicone ring or trapped food particles under the anti-block shield. Replace the sealing ring annually or immediately if it develops permanent odors—Ninja specifies this is critical for maintaining pressure integrity. Never skip this check; compromised rings cause 80% of pressure failure incidents.
Never Put Ninja Lid in Dishwasher
Avoid Irreversible Damage from Machine Washing
Dishwashers warp critical plastic components through high-heat drying cycles. Ninja explicitly prohibits putting any lid part in dishwashers because the intense heat distorts precision-molded parts, creating microscopic gaps where steam escapes. Silicone sealing rings degrade 3x faster when exposed to dishwasher detergents, losing elasticity needed for perfect seals.
Hand washing preserves factory tolerances essential for safe operation. Dishwasher residues also create sticky films that attract more food particles—exactly what you’re trying to prevent. If you’ve accidentally machine-washed your lid, immediately inspect all components for warping and replace damaged parts. For stubborn dishwasher-damaged rings, replacement costs $12-$18 but restores safe pressure cooking.
When to Deep Clean Your Ninja Lid
Recognize Critical Buildup Warning Signs
Schedule intensive cleaning immediately if you notice steam sputtering during cooking—a telltale sign of clogged valves. Switching between strongly flavored foods like curry and desserts also demands deep cleaning to prevent flavor transfer. Visible grease rings around the sealing groove or persistent odors after regular washing indicate trapped residue requiring baking soda treatment.
Don’t wait for performance issues—proactive cleaning every 10-15 uses prevents permanent damage. The resource document confirms that delayed maintenance leads to warped components from baked-on residue. For heavy users, deep clean weekly; occasional users should clean after each strongly flavored meal. This takes 20 minutes but saves hours of troubleshooting failed pressure cycles later.
Final Note: Consistent lid care delivers perfect pressure every time. That flawless seal you experienced on day one? It’s maintained through these precise cleaning steps. Implement the lemon water rinse after every cook, inspect valves weekly, and deep clean monthly—you’ll extend your Ninja’s lifespan while ensuring safe, flavorful results. When residue inevitably returns, revisit this how to clean Ninja pressure cooker lid guide for guaranteed success.


