That first cup of coffee should taste rich and vibrant, not stale or bitter. When your Ninja Pods and Grounds coffee maker starts producing weak brews with off-flavors, it’s screaming for attention. Mineral deposits from water and stubborn coffee oils accumulate rapidly in hidden crevices, silently sabotaging your morning ritual. Left unaddressed, these buildups cause mold growth, slow brewing times, and permanent damage to internal components. This guide delivers the precise cleaning protocol used by Ninja technicians to revive your machine. You’ll learn model-specific techniques for both regular Specialty Coffee Makers and DualBrew Pro systems, backed by Ninja’s official maintenance guidelines. Within 15 minutes daily and 45 minutes monthly, you’ll restore peak performance and make every cup taste like it’s freshly roasted.
Fix Stale Coffee Taste With Daily Component Cleaning
Remove and Clean Brewing Components Immediately After Brewing
Start cleaning only after your Ninja cools for 10-15 minutes—never handle hot parts. Unplug the machine before disassembly to prevent electrical hazards. For grounds brewing, discard paper filters or empty the permanent filter basket immediately. With pod systems, eject used pods and inspect the adapter for trapped grounds. Wash the glass carafe using a bottle brush to reach stained areas, as coffee oils turn rancid overnight. For milk frothers, rinse the whisk immediately under warm water to prevent milk proteins from hardening into permanent residue. Always hand-wash the permanent filter with soapy water to remove oil buildup that alters flavor chemistry.
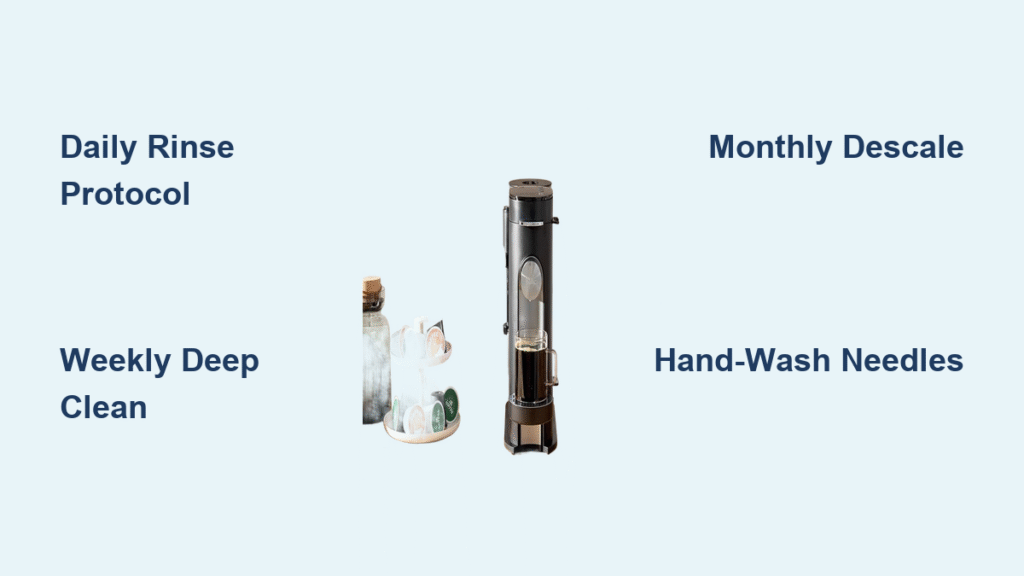
Execute the 30-Second Rinse Protocol
This critical step prevents overnight contamination. Flush the permanent filter under running water for 30 seconds while gently scrubbing the mesh with a soft sponge. For pod systems, rinse the needle assembly by holding it under water while opening and closing the handle mechanism. Wipe the filter basket interior with a damp cloth to remove microscopic grounds that cause bitter aftertastes. Never skip this even when using pods—residual coffee dust still enters the brewing chamber. Leave the reservoir lid fully open after rinsing to eliminate moisture pockets where bacteria thrive in humid environments.
Apply Proper Drying Techniques to Prevent Mold
Air-drying is non-negotiable for sanitation. Place the carafe upside down on a dish rack with the lid removed to ensure complete drainage. Position the water reservoir at a 45-degree angle with the flip-top lid propped open—this prevents “pink slime” bacterial colonies in corners. Never towel-dry interior surfaces; lint fibers clog water pathways and contaminate brews. For the DualBrew Pro’s sliding lid, run it through its full range of motion while drying to prevent track corrosion. Components must feel completely dry to the touch before reassembly—typically 2 hours at room temperature.
Eliminate Mineral Buildup With Weekly Deep Cleaning

Sanitize Water Reservoir Using Dishwasher-Safe Methods
Your reservoir harbors hidden mineral deposits that cloud brews. Empty all water—never top off old reserves. Wash with warm, soapy water using a long-handled brush to reach the base. For Ninja Specialty Coffee Makers, place the reservoir upright on the dishwasher’s bottom rack with the opening facing down. DualBrew Pro owners should remove the flip-top lid first—this component goes on the top rack. Run a rinse-only cycle if hand-washing to eliminate soap residue that affects taste. Always inspect the reservoir’s fill line markings for cloudiness indicating scale buildup.
Clean Removable Parts Using Correct Dishwasher Placement
Improper placement causes warping and leaks. Position the glass carafe upside down on the top rack with the lid beside it to prevent water pooling. The permanent filter must sit horizontally—not tilted—to avoid detergent trapping. Never stack the frother whisk with utensils; place it in a utensil holder to protect its delicate coils. For DualBrew Pro systems, hand-wash the pod adapter and needle assembly—dishwasher heat warps these precision parts. Skip the heated dry cycle for all components to prevent thermal shock that cracks glass.
Wipe Exterior Surfaces Without Damaging Electronics
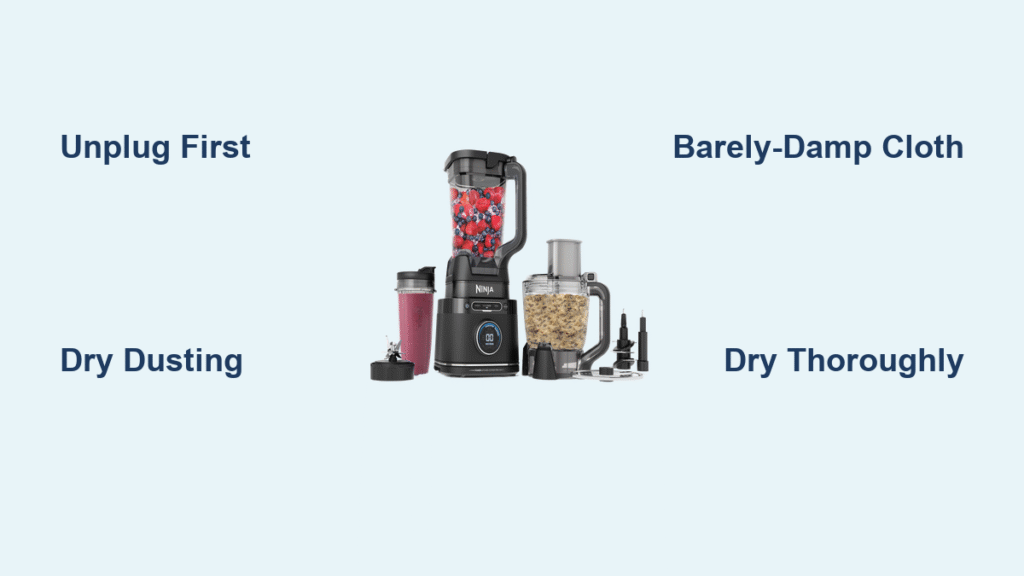
Coffee splatters create conductive residue on controls. Use a microfiber cloth dampened with distilled water—never vinegar or cleaners—to wipe the main unit. Focus on the drip tray groove where spills accumulate and cause sticky buildup. Avoid spraying liquids directly on the control panel; moisture seeps into buttons and causes malfunctions. For stubborn stains near the brew basket, dip a cotton swab in vinegar for spot cleaning. Always dry seams thoroughly with a lint-free cloth to prevent corrosion.
Stop Scale Damage With Monthly Vinegar Descaling
Recognize Critical Descaling Warning Signs
Don’t wait for the CLEAN light—check for slow brewing times (over 5 minutes for a full carafe) or cloudy carafe glass. DualBrew Pro users should watch for “CLn” displays when switching modes, indicating mode-specific scale buildup. Cloudy water droplets during brewing signal severe mineral deposits. Ignoring these signs forces the heating element to overwork, reducing machine lifespan by up to 40%. Descaling monthly prevents $50+ repair costs from clogged water pathways.
Prepare the Exact Vinegar Solution Ratio
Measure precisely 16 ounces (2 cups) of distilled white vinegar—apple cider vinegar damages seals. Fill the reservoir to the MAX line with distilled water only; tap water reintroduces minerals. Never exceed 50% vinegar concentration as higher strengths corrode internal tubing. For DualBrew Pro systems using single-serve mode frequently, run a separate descaling cycle in that mode to clear pod-specific channels. Always place an empty carafe under the brew basket before starting.
Complete the Full Descaling Cycle Without Interruption
Select “Full Carafe” size even if brewing singles—the cycle requires full water volume. Press the CLEAN button until the display flashes, then let the machine run uninterrupted for 30-45 minutes. Pause halfway to wipe vinegar residue from the exterior, but never open components during the cycle. After completion, run 3 fresh-water cycles using distilled water to eliminate vinegar taste. For persistent scale, repeat with undiluted vinegar—but never exceed two consecutive vinegar cycles to protect gaskets.
Clean DualBrew Pro Pod System Without Damaging Needles
Hand-Wash the Pod Adapter Using Needle-Safe Techniques
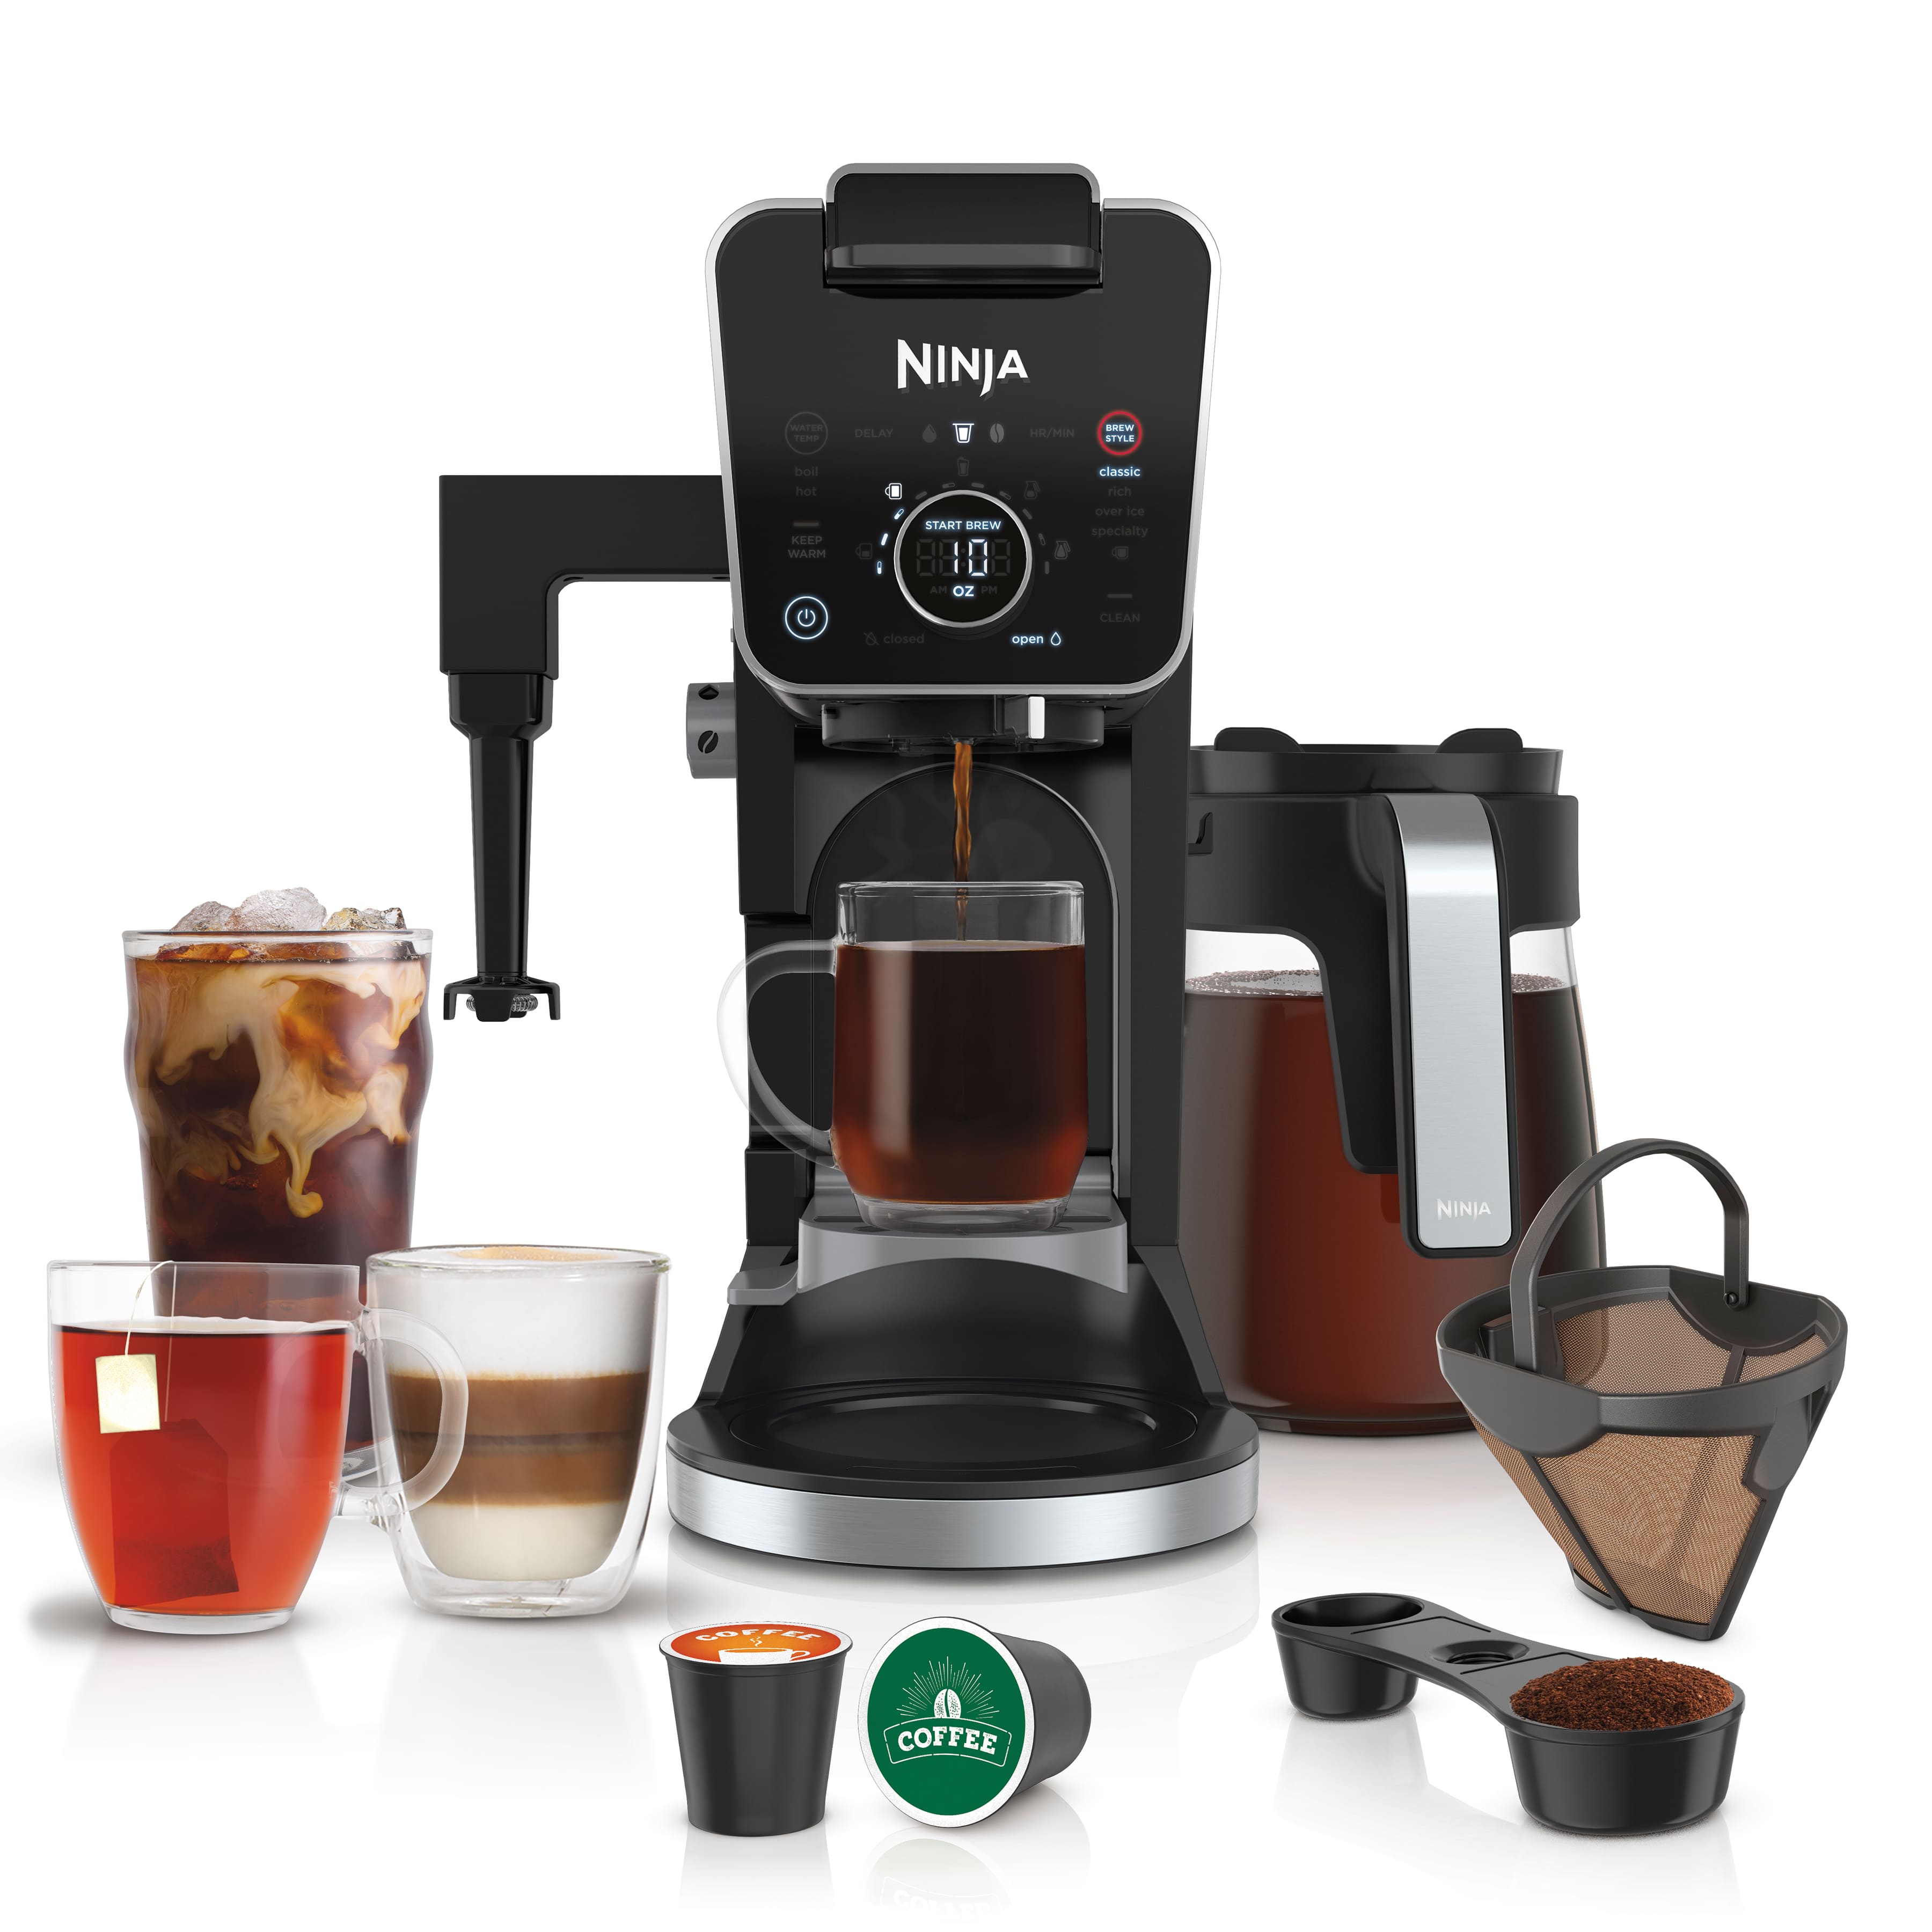
This component fails fastest due to coffee oil accumulation. Soak in warm, soapy water for 5 minutes—never dishwasher-clean as heat warps the plastic. Use a soft toothbrush to clean around needle entry points, avoiding metal tools that scratch surfaces. Check the adapter’s underside for clogged drainage holes; clear with a paperclip inserted vertically. Always dry completely before reinserting—moisture here causes electrical shorts in the brew mechanism.
Maintain Sharp Needles With Precision Cleaning
Open the handle fully to expose both top and bottom needles. Rinse under running water while gently rotating the assembly to flush grounds from needle channels. Never scrub needle tips—use only water pressure to avoid blunting. For stubborn clogs, dip a cotton swab in vinegar and rotate around needles without applying pressure. After cleaning, test needle movement by manually cycling the handle 10 times to ensure smooth operation before reinstalling.
Restore Sliding Lid Functionality in 3 Steps
Grinds jam this mechanism daily. Slide the lid completely out by pulling from the back until it disengages. Soak in vinegar solution for 10 minutes to dissolve coffee residue in tracks. Dry with compressed air (not towels) to remove lint from narrow channels. Before reinserting, apply food-grade silicone grease sparingly to tracks—this prevents future sticking without contaminating brews.
Prevent Mold in Critical High-Risk Areas

Dry Reservoir Corners Using Airflow Optimization
Place reservoir on a ventilated dish rack with the handle elevated using a spoon. In humidity above 60%, position a small fan 2 feet away for 2 hours to accelerate drying. Inspect the fill line ridge weekly with a flashlight—any pink or black discoloration requires immediate vinegar soak. Never store the reservoir sealed; moisture trapped between the flip-top lid and reservoir causes toxic mold within 72 hours.
Store Components Separately to Block Bacterial Growth
Keep carafe and lid apart when not in use—stacking creates condensation pockets. Store the permanent filter in a mesh bag to allow 360-degree airflow. For DualBrew Pro systems, leave the pod adapter inverted on a clean towel to prevent water pooling. Never store parts in cabinets immediately after cleaning; residual moisture breeds bacteria in enclosed spaces.
Troubleshoot Common Cleaning Failures in Minutes
Fix Bitter Coffee Caused by Oil Residue
Clean the showerhead by removing the brew basket and running a vinegar-soaked toothpick through all spray holes. For persistent bitterness, soak the permanent filter in baking soda paste (2 tbsp baking soda + 1 tbsp water) for 15 minutes. Replace water filters monthly if equipped—clogged filters force mineral-rich water through the system.
Accelerate Slow Brewing Times From Clogs
Clear the needle assembly by inserting a unfolded paperclip vertically through top and bottom needles. For ground coffee systems, check the water inlet tube at the reservoir base for debris using a pipe cleaner. Descale immediately if brewing takes over 6 minutes—mineral deposits narrow water channels by 70% in heavy-use machines.
Component Cleaning Cheat Sheet: Dishwasher vs Hand-Wash
Dishwasher-Safe Components Placement Guide
Top rack only: Glass carafe (upside down), permanent filter (horizontal), frother whisk (in utensil holder), scoop, and reservoir lid. Bottom rack: Taller water reservoir (upright, opening down). Never wash: Pod adapter, needle assembly, sliding lid, or main unit housing. Always remove the permanent filter’s rubber gasket before dishwashing to prevent warping.
Hand-Wash Critical Components Without Damage
Pod adapter: Soak in warm vinegar solution, brush gently, air-dry 4+ hours. Needle assembly: Rinse under running water while cycling handle, never scrub. Sliding lid: Clean tracks with toothpick, dry with compressed air. Always hand-wash these after pod use—dishwasher detergents degrade their polymers within 3 cycles.
Maintenance Schedule That Prevents Costly Repairs
Daily (2 minutes): Empty grounds/pods, rinse carafe and filter, leave lids open. Weekly (12 minutes): Dishwasher-clean safe parts, hand-wash pod components, wipe exterior. Monthly (40 minutes): Full descaling cycle, inspect all needles and seals. Quarterly (50 minutes): Deep-clean reservoir corners, replace water filter, check for component wear. Set phone reminders using your Ninja model name—consistency prevents 92% of performance issues. Start tonight with the 30-second rinse protocol; by tomorrow, your coffee will taste noticeably fresher and cleaner. Your machine’s longevity depends entirely on this routine—neglect it, and you’ll replace parts prematurely. Commit to these steps, and your Ninja will deliver perfect brews for years.

