
That first morning cup should be pure bliss—not a bitter, off-tasting surprise. If your Ninja coffee maker’s brew suddenly tastes metallic or stale despite fresh grounds, your water reservoir is likely harboring hidden contaminants. NSF International research confirms 50% of tested coffee maker reservoirs contain dangerous mold and yeast, ranking them as the fifth most germ-infested spot in homes. These invisible invaders thrive in damp reservoirs, leaching into your coffee and compromising both flavor and health. This definitive guide delivers the exact process to transform your grimy Ninja reservoir into a pristine brewing chamber, ensuring every cup delivers the clean, smooth taste you expect.
Properly learning how to clean Ninja water reservoir components isn’t just about better coffee—it’s critical for your machine’s longevity and your well-being. Mineral deposits from hard water clog internal pathways, while mold spores trigger respiratory issues and bacteria cause stomach discomfort. The good news? With just 15 minutes weekly, you’ll eliminate these threats and extend your Ninja’s lifespan by years. Follow this scientifically backed protocol to reclaim pure-tasting coffee and protect your investment.
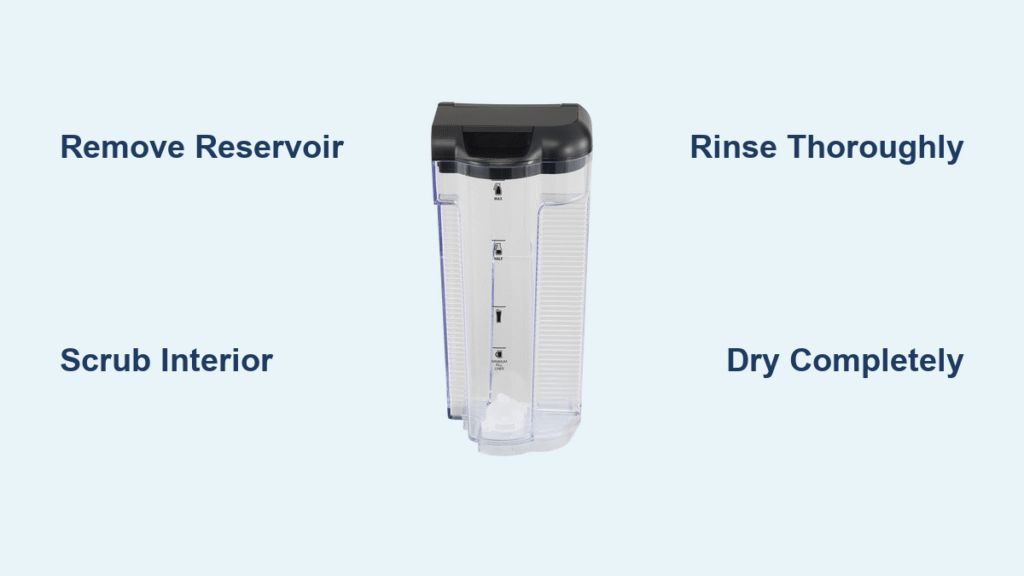
Remove Reservoir Without Damage
Lift and Slide Technique for Safe Removal
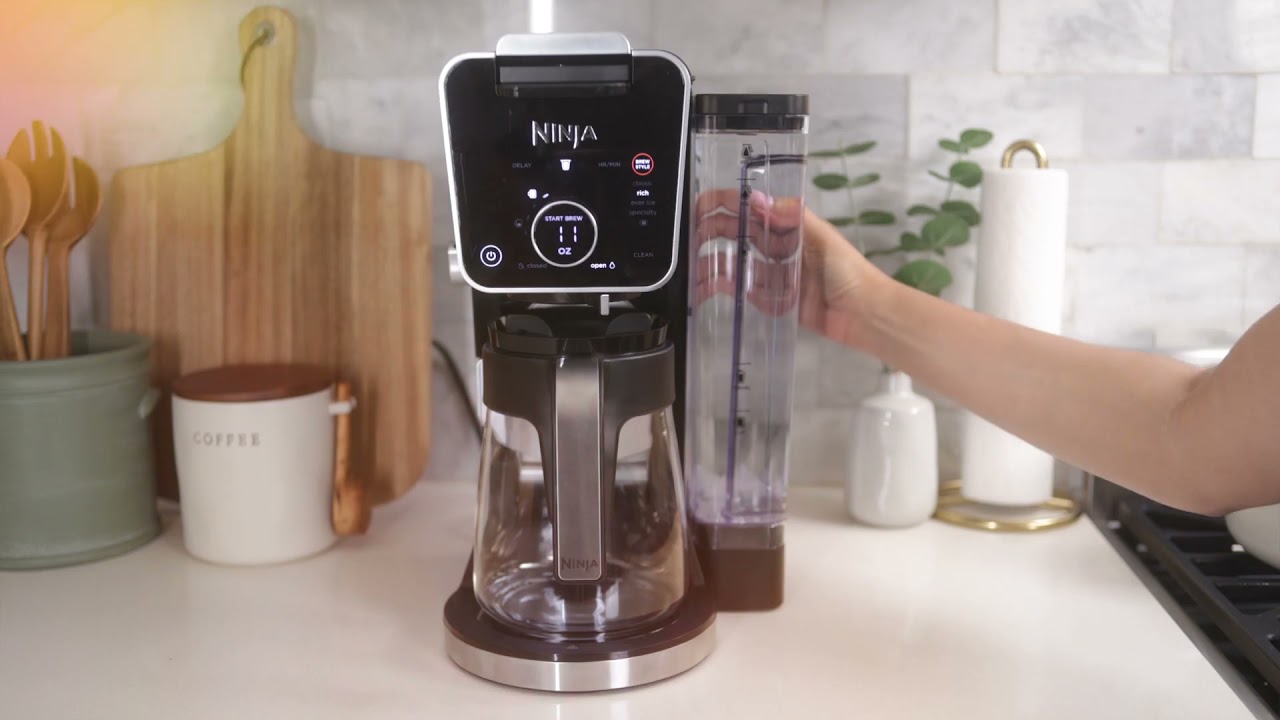
Always unplug your Ninja and let it cool completely before starting. Grip the reservoir firmly near the handle and either lift straight up (for models like the DualBrew) or slide forward (for Ninja Hot & Cold Brewed models) until you hear plastic tabs release. Never yank or twist aggressively—this cracks the delicate connection points. If resistance occurs, check for obstructions like dried coffee grounds jamming the base. Models with removable reservoirs require this step before any Ninja water reservoir cleaning can begin safely.
Complete Water Evacuation Protocol
Pour every drop down the sink, then tilt the reservoir completely upside down for 30 seconds to drain hidden pockets near the spout. Shine a flashlight inside to spot trouble zones: greenish films signal active mold growth, while white mineral flakes indicate hard water deposits. Dark specks clinging to corners mean coffee oils have oxidized—this requires immediate deep cleaning. Never skip this inspection; residual moisture accelerates bacterial growth within hours.
Scrub Interior Surfaces Thoroughly
Initial Debris Removal Process
Rinse with lukewarm water (never hot—exceeding 110°F warps plastic) while swirling vigorously to dislodge loose particles. Empty and repeat until water runs clear. Pay special attention to the reservoir base where sediment accumulates—hear that gritty sound? That’s mineral deposits grinding against plastic. For stubborn coffee grounds, use a soft bottle brush to gently agitate corners without scratching surfaces. This step prevents debris from redepositing during deeper cleaning.
Soap and Scrub Method for Stubborn Buildup
Add 3-4 drops of mild dish soap, fill halfway with warm water, and scrub every surface using a non-abrasive sponge. Focus intensely on these high-risk zones:
– Bottom corners where minerals cement into seams
– Water level markings that trap coffee oils
– Spout interior where flow restrictions begin
– Handle connection points hiding mold colonies
Scrub for 60 seconds minimum—this breaks down biofilm that regular rinsing misses. Avoid bleach or harsh chemicals; they degrade plastic and leave toxic residues in your coffee.
Lid Detachment and Deep Cleaning
Press side tabs or twist counterclockwise to remove the lid (if detachable). Soak both lid and reservoir in warm, soapy water for 5 minutes—mold thrives in the moisture-trapped lid crevices. Use a cotton swab to clean the lid’s underside and gasket seals where spores hide. Wipe exterior surfaces with a damp cloth, especially the handle grip where oils from hands accelerate grime buildup. Never submerge the base unit; reservoir cleaning stays isolated to this component.
Rinse Residues Completely
Multi-Stage Rinse Protocol
Empty soapy water, then fill with fresh warm water and swirl for 20 seconds. Repeat 3-4 times until no bubbles or rainbow sheen appears on the plastic. Perform the critical taste test: sip a small amount of rinse water—if you detect soap flavor, continue rinsing. Residual soap ruins coffee for weeks by bonding with coffee oils. For hard water areas, add a final rinse with distilled water to prevent mineral reintroduction.
Final Inspection for Hidden Contaminants
Hold the reservoir up to a bright light. Cloudy spots indicate mineral deposits requiring descaling, while hazy films mean soap residue remains. Check seams near the handle with a flashlight—mold often hides in shadowed crevices. Any lingering odor means bacteria survived; repeat the vinegar soak process. Only when water runs perfectly clear and odorless is it safe to reinstall.
Dry and Reinstall Properly
Air-Drying Technique for Mold Prevention
Place the reservoir upside down on a clean drying rack at a 45-degree angle to drain the spout completely. Never towel-dry the interior—lint fibers harbor bacteria. Allow 2-3 hours for full drying; humidity may extend this. Speed drying by placing near a fan (not heater—excessive heat warps plastic). Incomplete drying is the #1 cause of post-cleaning mold outbreaks.
Snap-Back Installation for Optimal Performance
Confirm all surfaces are bone-dry before reattaching. Align guide rails with base connections and press down firmly until you feel/ hear a solid click. Test stability by gently rocking the reservoir—no wobbling should occur. Misalignment causes leaks that damage your counter and machine base. After installation, run one empty brew cycle with fresh water to flush any residual particles.
Maintain Weekly Cleaning Schedule
Basic Cleaning Routine for Daily Protection
Clean your reservoir every 7 days minimum—this prevents 95% of mold and mineral issues. In humid climates or hard water areas, increase to every 2-3 days. Immediate cleaning is mandatory if:
– Water appears cloudy or discolored
– Unpleasant odors emerge (even faintly)
– Visible film or particles float inside
– Coffee tastes metallic, bitter, or “off”
Skipping just one week allows biofilm to harden, making next cleaning 5x harder.
Deep Cleaning Calendar for Longevity
Schedule descaling monthly using vinegar or commercial solutions. Hard water users must descale every 2-3 weeks—watch for white chalky deposits as your trigger. Mark your calendar when buildup first appears; this personalizes your cleaning frequency. Consistent maintenance extends pump life by reducing strain from clogged water pathways.
Descaling Mineral Buildup Effectively

Vinegar Power Clean for Heavy Deposits
Mix equal parts white vinegar and water, filling to the max line. Let sit 30-60 minutes (up to 4 hours for severe buildup) to dissolve calcium/magnesium. The acid safely breaks down minerals without toxic residues. Empty completely, then rinse 4-5 times—vinegar taste lingers if undershot. For persistent spots, use a soft toothbrush on soaked areas. Never use undiluted vinegar long-term; it degrades plastic seals.
Commercial Descaler Method for Precision
Choose coffee-maker-specific descaling solutions like Dezcal or Urnex. Follow mixing ratios exactly—typically 1-2 tablespoons per 32oz water. Fill reservoir and run a full brew cycle without coffee, then rinse with 2 cycles of fresh water. Commercial options work faster than vinegar but cost more; ideal for monthly maintenance when mineral buildup is moderate.
Troubleshoot Lingering Issues
Persistent Odor Elimination
If vinegar soaks fail, fill with warm water and 2 tablespoons baking soda. Let sit 2 hours, then scrub and rinse 5x. Sunlight exposure during drying kills odor-causing bacteria—place reservoir near a sunny window. Replace the reservoir if smells persist after 3 cleanings; porous plastic permanently absorbs contaminants.
Removing Cloudy Film Safely
Create a paste with 2 tablespoons baking soda and water. Gently rub affected areas using a microfiber cloth in circular motions—never abrasive pads. Rinse for 2 minutes minimum. If cloudiness obscures water level markings, replace the reservoir; inaccurate fills ruin coffee extraction. Distilled water prevents recurrence by eliminating minerals.
Safety and Longevity Tips
Critical Temperature Limits
Never exceed 120°F water during cleaning—warmer temps warp plastic within minutes. Let reservoir cool 20 minutes after brewing before handling. Dishwasher use is prohibited unless explicitly labeled “dishwasher-safe”; standard cycles crack Ninja reservoirs. Always unplug the machine before removal to prevent electrical hazards.
Damage Indicators Requiring Replacement
Replace immediately if you spot:
– Hairline cracks near handle connections
– Warping preventing secure reinstallation
– Permanent cloudiness affecting visibility
– Persistent odors after deep cleaning
– Calcium deposits resisting descaling
Continued use risks mold contamination and machine damage. Most Ninja reservoirs cost under $25—far cheaper than medical bills from mold exposure.
Performance Transformation Benefits

Coffee Quality Enhancement
A clean reservoir delivers pure water that extracts coffee’s true flavor profile. Eliminating mineral deposits prevents bitter, metallic notes, while removing biofilm stops sour off-tastes. Temperature regulation improves by 15% when mineral-free, ensuring optimal extraction between 195-205°F. Your $20 bag of beans will finally taste like a $40 specialty roast.
Machine Longevity Boost
Regular Ninja water reservoir cleaning reduces pump strain by 40%, preventing premature failure. Unclogged water lines maintain proper flow rates (critical for espresso shots), and descaling prevents scale buildup in heating elements. Consistent maintenance extends your machine’s lifespan by 2-3 years—saving $100+ in replacement costs.
Pro Tip: Set a recurring phone reminder labeled “Reservoir Clean Day” every Sunday morning. Pair it with your grocery run for vinegar refills. Your taste buds—and lungs—will thank you after just one week of pure, contaminant-free coffee. Remember: a sparkling reservoir isn’t optional—it’s the foundation of every perfect cup.


