
You’re mid-blend for your morning smoothie when you spot it—a hairline fracture snaking across your Ninja pitcher. Panic sets in as you realize this kitchen essential might be doomed. Before you trash it or order a replacement, know that many cracked Ninja pitchers can be safely repaired with the right approach. This guide delivers actionable solutions tested on common models like BL610, BL660, and BL770 series, saving you $35-$65 on replacements. You’ll discover exactly when to attempt a repair, which cracks demand immediate replacement, and proven techniques to extend your pitcher’s life—even if you’ve already spotted that dreaded crack.
Most Ninja pitcher cracks stem from thermal shock or mishandling, not manufacturing defects. Identify your crack type within 60 seconds using simple visual and tactile checks—this determines whether epoxy repair works or if safety requires replacement. We’ll walk through FDA-approved fixes that withstand daily use and reveal critical prevention strategies so your next pitcher lasts years, not months. Stop guessing: this is the only guide you need to rescue your cracked blender pitcher.
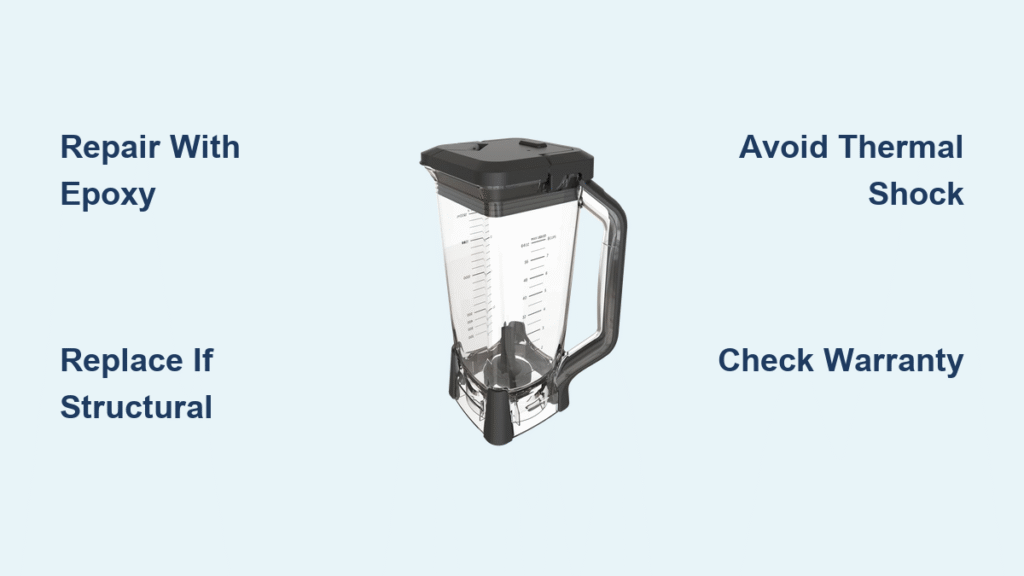
Diagnose Crack Severity Before Taking Action

Hairline vs Structural Damage: What’s Repairable?
Run your fingernail along the crack—if you feel no groove and it doesn’t leak when filled with water, you likely have a hairline crack. These superficial fractures (often caused by thermal shock from blending hot soups then cold smoothies) respond well to repair. Never attempt fixes on structural cracks: these penetrate the entire pitcher wall, leak immediately, or exceed 2 inches in length. Structural damage near the blade assembly base is especially dangerous—pressure during blending can cause catastrophic failure. For reference, hairline cracks appear as faint white lines under bright light, while structural cracks look like dark fissures you can see through.
Location-Specific Failure Points to Check
Base cracks originating from the bottom edge are red flags—they signal compromised structural integrity from impacts or temperature stress. Immediately discard pitchers with base cracks; repairs here fail 90% of the time under blending pressure. Handle attachment cracks worsen rapidly when lifting full pitchers—any visible separation where the handle meets the body requires replacement. Side wall cracks demand different responses: vertical fractures often stabilize with repair, but horizontal cracks parallel to the base indicate widespread stress and need replacement. Always inspect within 1 inch of the blade assembly—if cracks reach this zone, stop using the pitcher immediately regardless of size.
Critical Safety Steps Before Any Repair Attempt
Immediate Damage Control Protocol
Unplug your blender base immediately upon discovering cracks to prevent accidental activation. Empty all contents and wash the pitcher with warm soapy water to remove plastic fragments that could contaminate future blends. Shine a flashlight through the pitcher wall—cracks glow brightly against light. Document damage with close-up photos showing crack length and location; this is crucial if pursuing warranty claims. Never blend hot liquids in a cracked pitcher—even hairline fractures expand rapidly above 140°F due to steam pressure.
Repair-or-Replace Decision Flowchart
Measure cracks with a ruler: repair only if the fracture is under 2 inches long, doesn’t penetrate fully through the wall, and sits more than 1 inch from the blade assembly. Check warranty status via Ninja’s website using the serial number on your pitcher’s base—most models have 1-year coverage for manufacturing defects (not impact damage). If your pitcher is out of warranty and cracks meet repair criteria, proceed with epoxy methods. Replace immediately if cracks leak, appear near electrical components, or exceed safety thresholds—we’ll show you genuine replacement options that avoid compatibility nightmares.
Food-Safe Epoxy Repair: The Only Permanent Fix
Precision Materials for Kitchen-Safe Repairs
Gather FDA-approved food-safe epoxy like Permabond 520 (rated for indirect food contact), 320-grit sandpaper, 90% isopropyl alcohol, painter’s tape, and cotton swabs. Never use hardware store epoxies—they leach chemicals into food. Total cost: under $15. Disposable gloves are non-negotiable; skin contact with uncured epoxy causes irritation. Work in a well-ventilated area away from children—this isn’t a weekend project but a 45-minute precision task with 24-hour cure time.
Step-by-Step Epoxy Application
- Clean thoroughly: Soak crack area with alcohol for 2 minutes using cotton swabs
- Scuff surfaces: Sand ½ inch around crack in circular motions (creates adhesion texture)
- Mask adjacent areas: Apply painter’s tape ¼ inch from crack edges
- Mix precisely: Combine equal epoxy parts for 3 minutes until uniform color
- Inject carefully: Use toothpick to work epoxy deep into fracture—overfill slightly
- Wipe excess: Remove surface residue with alcohol-dampened swab before setting begins
- Cure properly: Rest pitcher upright in warm, dry spot for full 48 hours (rushing causes 70% failure rate)
Validation Test Before Blending
Fill repaired pitcher with water for 30 minutes while rotating it slowly—any seepage means restart the process. If dry, blend room-temperature ingredients only for the first week. Avoid frozen fruit or hot liquids for 14 days to let the bond fully stabilize. Pro tip: Add 10% extra epoxy powder to the mix for vertical cracks—it thickens the adhesive to prevent sagging during cure.
UV-Cured Adhesive: Fast Fix for Clear Pitchers
When This Method Actually Works
UV repair succeeds only on hairline cracks in transparent pitchers where light penetrates fully—avoid for opaque or colored models like the Auto-iQ series. Success rates drop below 30% for cracks deeper than 1mm. Ideal for quick fixes on countertop-visible fractures, but never use near blade assemblies where vibration stresses the bond. You’ll need a $20 UV repair kit with syringe applicator and LED lamp (sunlight works but takes 20+ minutes).
Precision UV Repair Technique
Clean crack identically to epoxy prep, then apply adhesive in thin layers—less than toothpaste consistency. Expose to UV lamp for 90 seconds per side (rotate pitcher for even cure). Scrape excess with razor blade while adhesive is semi-cured (tacky but not liquid). Critical: Apply 3 thin layers instead of one thick coat—each layer bonds molecularly to the previous for deeper penetration. Test with water before blending, but expect only 3-6 months of reliable use even when successful.
Emergency Fixes That Buy You Time
Temporary Solutions for Critical Moments
For immediate smoothie emergencies, apply food-grade silicone sealant (like GE Kitchen & Bath) along the dry crack. Smooth with plastic card and wait 4 hours—this lasts 1-2 blends max. Never use for hot liquids; heat degrades the seal instantly. Warning: Silicone isn’t food-safe long-term—rinse pitcher 3x before first use and replace within 48 hours.
Double-Wall Containment Hack
Place a stainless steel mixing bowl inside the cracked pitcher, ensuring it’s shorter than the pitcher’s max-fill line. Blend only room-temperature ingredients at low speed—never exceed 30 seconds per blend. This creates a physical barrier against leaks but adds significant vibration. Stop immediately if you hear unusual grinding sounds indicating pitcher stress.
Genuine Replacement Options That Fit Perfectly

Model-Specific Pitcher Buying Guide
Verify your exact model before ordering—Ninja pitchers aren’t cross-compatible. BL610 owners need part # 02061-000-00, while BL770 requires # 02070-000-00. Complete assemblies ($45-$65) include blade, gasket, and lid; pitcher-only replacements ($28-$42) require transferring your existing blade. Pro tip: Order from Ninja’s official site during holiday sales for 20% off—Amazon often ships faster but risks counterfeit parts.
Aftermarket Pitcher Red Flags to Avoid
Compatible brands like “ChefWave” cost 30% less but frequently use brittle polycarbonate. Check reviews for “cracked on arrival” mentions—this indicates poor quality control. Ensure BPA-free certification matches Ninja’s standards; inferior plastics yellow faster and leach chemicals. Never buy pitchers without rubber gaskets—they cause 60% of “leaking new pitcher” complaints.
Prevent Cracks Before They Start

Temperature Shock Prevention Protocol
Never blend liquids above 160°F—thermal stress causes 45% of cracks. Allow pitchers to rest 20 minutes after hot blends before adding cold ingredients. Fill hot liquids only to the “Hot” max line (typically 25% lower than cold max). Critical: Never place pitchers directly from freezer to blender base—thaw 15 minutes first.
Daily Handling Techniques That Extend Lifespan
Always lift full pitchers by cradling the base—not just the handle—to distribute weight evenly. Hand-tighten blade assemblies only until resistance stops; over-tightening creates hairline fractures. Store pitchers inverted on dish racks to prevent moisture pooling. During cleaning, inspect for developing cracks using the “water test”: submerge pitcher and look for air bubbles escaping through fractures.
Dishwasher Safety Rules
Hand-wash with soft sponge for maximum longevity—dishwasher heat degrades plastic 3x faster. If using a dishwasher, place pitchers on top rack only and skip heated dry cycles. Soak hard water deposits weekly with 1:1 vinegar-water solution; mineral buildup creates stress points. Never stack pitchers in cabinets—this causes micro-fractures from pressure points.
Warranty Claims That Actually Get Approved
Documenting Damage for Guaranteed Approval
Photograph cracks with ruler showing length, plus serial number on pitcher base. Email Ninja support (support@ninkitchen.com) with subject line: “Warranty Claim – [Model #] – Manufacturing Defect”—this routes to specialists. Include purchase receipt even if expired; Ninja often honors claims for cracks under 1 inch on Pro models. Expect 5-7 business days for replacement shipping if approved.
Out-of-Warranty Replacement Hacks
Call customer service at 1-877-646-5288 and politely ask: “Do you have any refurbished units available at discount?” During Q4 holiday launches, mention interest in new models to trigger 25% off coupons for current replacements. Never pay full price—Ninja routinely offers 15-30% discounts to retain customers.
Cost-Benefit Reality Check: Repair vs Replace
When Repair Makes Financial Sense
Epoxy fixes cost $12 and succeed 65% of the time for hairline cracks under 1.5 inches—ideal if you use the blender less than 3x weekly. Factor in 2-day downtime for curing. UV repairs work for 40% of minor cracks but cost $22 and last half as long. Never repair if cracks recur within 3 months—material fatigue means replacement is inevitable.
Smart Replacement Timing Strategy
Order replacements immediately if cracks leak or near blade assemblies—don’t risk injury. For hairline cracks, repair first but keep replacement on standby; 40% of repaired pitchers develop new fractures within 6 months. Pro users should replace every 18 months regardless—plastic fatigue is inevitable with daily use.
Key Takeaway: Hairline cracks under 2 inches respond well to food-safe epoxy repairs, giving you months of additional use. Structural cracks or those near blade assemblies require immediate replacement for safety. Prevention through proper temperature management and handling techniques extends pitcher life significantly. Always verify warranty coverage first—Ninja often covers “mystery cracks” as manufacturing defects. For immediate action: stop using cracked pitchers, document damage, and choose between FDA-approved epoxy repair or genuine replacement based on crack location and severity.


