
You’re mid-smoothie when you realize you need to add one more ingredient—and the lid won’t budge. That frustrating moment when your Ninja blender lid seems permanently fused to the pitcher is more common than you think. Whether you’ve just made a thick frozen drink or simply forgot the proper release technique, knowing exactly how to open a Ninja blender lid can save you from unnecessary stress and potential injury. Most Ninja models use a safety-locking mechanism that requires specific steps to release properly, and once you understand the system, you’ll never struggle with a stuck lid again.
Many users mistakenly try to force the lid off, risking damage to the pitcher or injury from accidental blade movement. The truth is that Ninja blenders are designed with precise release mechanisms that work flawlessly when used correctly. This guide reveals the exact techniques for both button-release and handle-release models, along with troubleshooting for stubborn lids and maintenance tips to prevent future issues. You’ll learn the one critical safety step 90% of users skip and the simple cleaning routine that keeps your lid functioning smoothly for years.
Why Ninja Blender Lids Get Stuck: Common Causes
Food Residue Jamming the Mechanism
Dried smoothie ingredients, frozen fruit particles, or nut butter residue often accumulate around the locking mechanism. When these substances harden, they prevent the release button from moving freely or stop the handle from lifting properly. The most vulnerable spots are the crevices around the release button and the pivot points of handle-release models. This buildup happens gradually, which is why your lid worked fine yesterday but won’t budge today.
Incorrect Release Technique
Most users attempt to open their Ninja blender lid using only one hand or try to lift before fully disengaging the lock. The two-step release process requires coordinated pressure on the button while simultaneously lifting the handle—trying to do both with one hand rarely works. For handle-release models, users often lift the handle only partially, which doesn’t fully disengage the locking tabs. This incomplete motion creates the illusion that the lid is stuck when it’s actually just not being released properly.
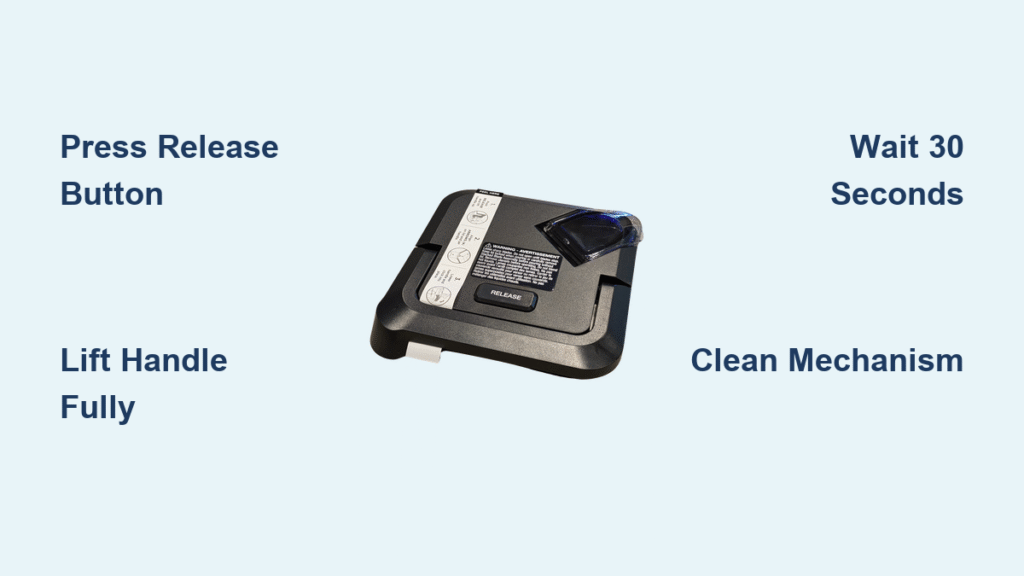
Standard Release Button Method: Two-Hand Technique That Works

Locating the Release Button on Your Ninja Lid
Find the small, slightly raised button molded into the top center of your Ninja lid. This button typically has a subtle indentation or texture for better grip and is positioned directly above where the locking tabs engage with the pitcher rim. On most models, it’s about the size of a pencil eraser and may have a small icon indicating its function. If you’re struggling to locate it, run your finger across the lid’s top surface—you should feel a distinct raised area that moves slightly when pressed.
Perfect Press-and-Lift Execution
Press the release button firmly with your index finger while placing your thumb and middle finger on the lid handle. Wait one full second after pressing the button, then lift straight up with steady pressure. Never twist or wiggle the lid—this can misalign the locking tabs. The lid should lift off smoothly within 2-3 seconds of pressing the button. If you feel resistance, release both the button and handle, clean around the mechanism, and try again. Rushing this process is the #1 reason users think their lid is broken when it’s just not being released correctly.
Handle-Based Release System: One-Motion Opening
Identifying Your Handle-Release Ninja Model
Look for a horizontal handle spanning the entire width of your lid—if your Ninja has this feature, you have a handle-release model. These are common on newer Ninja blender series like the Foodi or Auto-iQ lines. The handle sits flush against the lid when locked and lifts to a 45-degree angle when ready for removal. Unlike button models, these don’t have a separate release button—the handle itself serves as both the locking mechanism and lifting point.
Correct Handle-Lifting Motion for Smooth Release
Place one hand flat on top of the pitcher for stability while using your other hand to lift the handle in one continuous motion. Lift straight up until the handle reaches its full vertical position—do not stop halfway. As the handle rises, you’ll feel the locking tabs disengage with a subtle click. Once fully upright, the lid will lift off effortlessly. If the handle feels stiff, gently press down on the lid center while lifting the handle to relieve pressure on the locking mechanism.
Critical Safety Steps Before Opening Any Ninja Blender

Powering Down Completely: Non-Negotiable Safety Step
Always unplug your Ninja blender and wait 30 seconds before attempting to open the lid, even if the blades appear stopped. Many users don’t realize Ninja blenders have safety sensors that keep blades spinning briefly after shutdown to prevent ingredient buildup. Trying to open the lid during this period risks serious injury from unexpected blade movement or hot liquid ejection. This waiting period is especially crucial after making hot soups or thick smoothies that create suction.
Verifying Blade Stoppage with the Shake Test
Perform the “shake test” before touching the lid: gently tilt the pitcher while keeping one hand ready to catch it. If you hear or feel blade movement, wait another 10-15 seconds. Properly stopped blades create no sound or movement when the pitcher is tilted. Never rely solely on visual confirmation through the pitcher—some blade assemblies continue rotating slowly after the motor stops. This simple check prevents the most common Ninja blender injuries related to premature lid removal.
Troubleshooting Stuck Ninja Blender Lids: Quick Fixes
Unjamming a Stuck Release Button
If the button won’t depress, dampen a cotton swab with warm water and clean around the button’s edge to remove dried residue. For stubborn buildup, use a toothpick to gently dislodge particles from the button’s seam. Never use sharp objects that could damage the mechanism. After cleaning, apply light pressure to the button while running warm water over it—this often loosens stuck components. If the button still won’t move, place the lid in warm (not hot) soapy water for 10 minutes before retrying.
Fixing a Handle That Won’t Release Properly
For handle-release models that resist lifting, press down firmly on the lid’s center while simultaneously lifting the handle. This relieves tension on the locking tabs. If the handle moves but the lid stays put, the locking tabs may be misaligned—rotate the lid slightly while lifting the handle. Never force the handle beyond its natural resistance point, as this can break the internal mechanism. If these steps fail, check for food debris around the pitcher rim where the lid locks in place.
Visual Indicators: Locked vs. Unlocked Ninja Lids
Reading Handle Position for Instant Status Check
On handle-release models, the handle position tells you everything: fully lowered = locked, partially raised = partially engaged, fully upright = ready to remove. When properly unlocked, you’ll see a small gap (about 1/16 inch) between the lid and pitcher rim all the way around. If the lid appears uneven or higher on one side, the locking tabs haven’t fully disengaged—reposition your grip and try again. This visual cue prevents the common mistake of thinking the lid is stuck when it’s actually just unevenly released.
Button Models: Spotting a Fully Released Lid
After pressing the release button, look for the lid to rise slightly (about 1/8 inch) from the pitcher rim. This small gap indicates the locking tabs have disengaged. If you don’t see this gap, the button hasn’t been pressed far enough. Some models have small indicator dots that align when properly released—check your lid for these subtle markers. The lid should lift off with virtually no resistance when correctly released; any grinding or catching means you need to re-engage and try again.
Preventing Future Lid Sticking Problems
Weekly Cleaning Routine for Smooth Operation
Disassemble your lid weekly by removing the gasket and cleaning all crevices with a soft brush. Pay special attention to the area around the release button or handle pivot points where residue accumulates. Soak stubborn buildup in warm, soapy water for 5-10 minutes before gently scrubbing. Never put Ninja lids in the dishwasher—the high heat and harsh detergents degrade the plastic components over time, causing premature sticking. Rinse thoroughly and air dry completely before reassembling.
Proper Lubrication of Moving Parts
Apply one tiny drop of food-grade mineral oil to the release button mechanism and handle pivot points every 3 months. Use a cotton swab to distribute the oil evenly without over-applying. This maintains smooth operation without attracting dust or residue like petroleum-based lubricants do. Wipe away any excess oil before reassembling—too much lubricant can actually cause more sticking by trapping food particles. This simple maintenance step extends the life of your lid mechanism by years.
Final Tip: The secret to effortlessly opening your Ninja blender lid every time is understanding that it’s not about force—it’s about precise timing and technique. Press fully before lifting for button models, or lift the handle completely upright for handle-release versions. When in doubt, clean the mechanism first—90% of “stuck lid” problems stem from food residue rather than broken parts. Implement the weekly cleaning routine and quarterly lubrication, and you’ll rarely face lid issues again. If you consistently follow these steps, your Ninja blender will remain a reliable kitchen companion for smoothie mornings and beyond.


