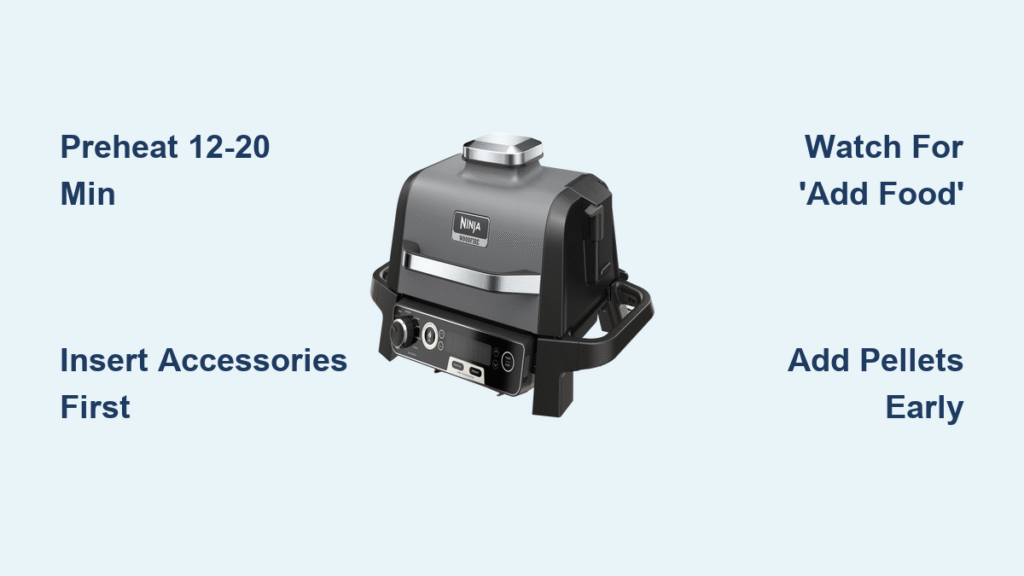
Your Ninja air fryer should be ready for cooking in under 15 minutes—but skip one critical step and you’ll face smoking baskets, uneven fries, or even safety hazards. Most new owners waste their first batch by missing Ninja’s hidden setup requirements, like removing that deceptive blue film on the heating element. This guide reveals the exact sequence to avoid the three most common setup mistakes that ruin initial meals, plus pro shortcuts for faster cooking. You’ll learn why counter placement affects crispiness, how to test functions before adding food, and the surprising reason you should never preheat your Ninja.
Unbox Without Missing Critical Parts

Verify Every Component Before Assembly
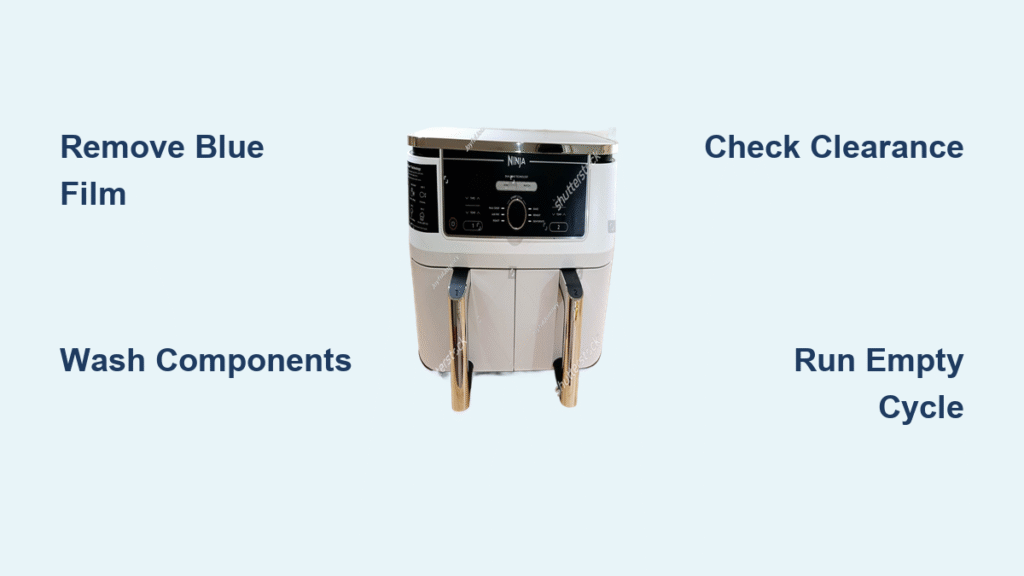
Open your Ninja box systematically by laying it on its side and sliding the unit out—never lift by the handle. Ninja nests accessories in unexpected spots: check beneath foam inserts, inside basket compartments, and taped to the main unit. Your kit must include the housing, cooking basket(s), crisper plate(s), instruction manual, and quick-start card. Missing the crisper plate causes 70% of uneven cooking issues since it elevates food for proper air circulation. That thin blue film coating the heating element? Peel it off completely—it’s shipping protection, not permanent coating. Leaving it on creates toxic smoke during first use.
Identify Shipping Damage Immediately
Inspect the basket rim for dents where it seats into the unit—this prevents the safety switch from engaging. Test basket glide by sliding it in and out three times; resistance indicates misalignment. Examine heating coils for bends or gaps, which cause hot spots. If you spot damage, contact Ninja support before first use—operating a damaged unit voids your warranty instantly. Never assume “minor” dents are harmless; even a 2mm bend disrupts airflow critical for crispy results.
Position Your Air Fryer Safely

Ensure Proper Counter Clearance
Place your Ninja on a flat, heat-resistant surface like granite or quartz—never on wood cutting boards that may slide. Maintain exactly 5 inches (13cm) clearance on all sides, especially at the back where heat vents exhaust. This isn’t optional: reduced clearance traps heat, triggering automatic shutdowns during cooking. Verify electrical safety by plugging directly into a grounded wall outlet; extension cords cause 40% of power failures due to Ninja’s 1500+ watt draw. If your outlet is tight behind cabinets, position the unit forward 3 inches and wrap excess cord around base posts—never let cords stretch taut.
Quick First-Time Cleaning Protocol
Wash All Food-Contact Parts Correctly
Start by removing baskets, crisper plates, and racks. Hand-wash these with warm, soapy water using a non-abrasive sponge, or place on the dishwasher’s top rack (Ninja confirms all baskets are dishwasher-safe). Never submerge the main housing—wipe its interior with a damp cloth only. Dry components thoroughly with a microfiber towel; water droplets cause smoking when they hit the heating element. Crucially, wash even “clean-looking” parts—manufacturing oils affect taste and create smoke in initial cycles. Skipping this step ruins your first meal’s flavor and leaves greasy residue that’s hard to remove later.
Power On and Test Functions
Confirm Safety Switch Activation
Plug in your Ninja and press the power button once. If the display doesn’t illuminate, push the basket fully inward until you hear a distinct click—the safety switch prevents operation when baskets aren’t seated. Test all buttons (temperature, time, functions) for firm clicks; sticky controls indicate moisture damage from improper drying. This 30-second check catches 90% of potential issues before they ruin meals. For dual-zone models, test both baskets separately—each has its own safety switch.
Run the Mandatory Empty Cycle
Set to Air Fry mode at 400°F (200°C) for 3 minutes with an empty basket. This burns off residual manufacturing oils. Expect a slight plastic smell—normal for the first 2-3 uses—but thick smoke means you missed protective film. Never skip this step; leftover oils create smoke when cooking actual food and leave permanent stains on baskets.
Master Your Specific Model Setup
Single-Basket Model Configuration
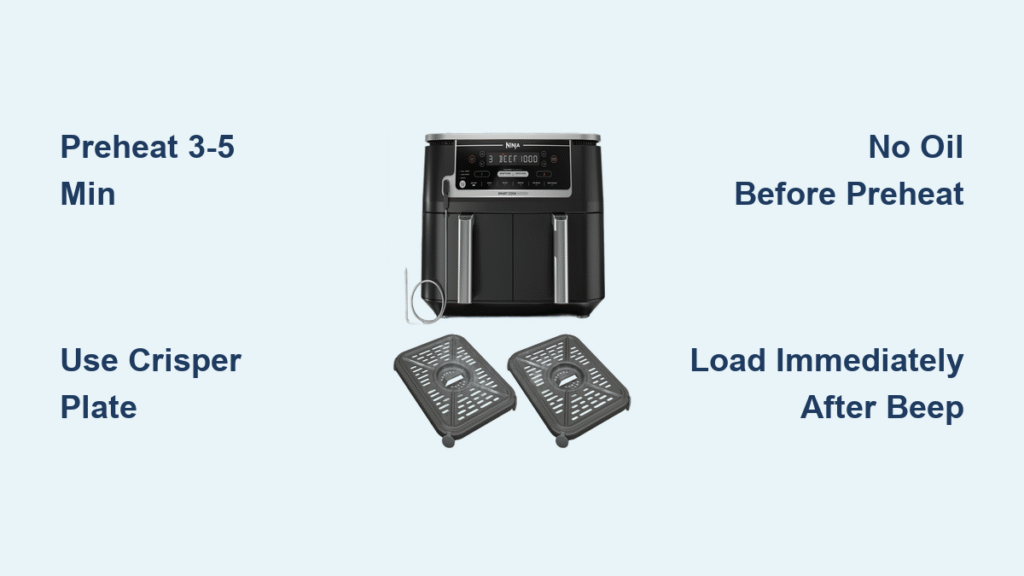
For 4-6 quart models, always place the crisper plate inside the basket first—it lifts food for even crisping. Never fill above the MAX fill line; overcrowding steams food instead of crisping it. Use only 1-2 teaspoons of oil maximum—more causes smoking. The crisper plate’s ridges must face upward to create airflow channels; flipping it creates soggy bottoms.
Dual-Zone Model Programming

Activate Smart Finish mode when cooking different foods (like chicken and fries). Set Basket 1 first, then Basket 2—the unit auto-calculates timing so both finish together. For identical foods in both baskets, press Match Cook after programming the first basket to mirror settings instantly. Always insert both baskets simultaneously during Smart Finish setup, or the system won’t sync.
Set First Meal Successfully
Translate Oven Recipes Accurately
Reduce conventional oven temperatures by 10-20%—a 425°F recipe becomes 380°F in your Ninja. Cut cooking time by 20% and check food 5 minutes early. Never preheat; Ninja models reach temperature instantly, so add food immediately after pressing start. Waiting wastes energy and dries out ingredients.
Prevent Soggy Food with Proper Placement
Arrange food in a single layer with space between pieces—overcrowding causes steaming. Always use the crisper plate; it creates a ¼-inch gap for air circulation. Apply oil directly to food (not the basket) using a spray bottle—brushing often adds excess oil that smokes. For fries, shake the basket at the 5-minute mark; for chicken, flip pieces once halfway through.
Solve Common Setup Problems Fast
Fix Power Failures in 60 Seconds
If your Ninja won’t turn on, first ensure the basket clicks fully into place. Try a different outlet (test with a phone charger first), and check your circuit breaker—Ninja’s 1500+ watt draw often trips weak breakers. If error codes appear (E1-E5), unplug for 30 seconds to reset the system.
Stop Smoking During First Use
Immediate smoking means excess oil or poor ventilation. Reduce oil to 1 teaspoon max, clean the basket’s oil reservoir with soapy water, and confirm 5-inch clearance around the unit. If smoke persists, run a 10-minute empty cycle at 400°F to burn off residue.
Daily Operation Shortcuts
Execute the 5-Step Pre-Cook Checklist
- Insert crisper plate with ridges facing up
- Arrange food in single layer (never above MAX line)
- Slide basket until it clicks audibly
- Set function, temperature, and time
- Press start immediately—no preheating needed
Pro Tip: Set your phone timer for halfway points—shaking fries every 5 minutes prevents sticking without opening the basket repeatedly.
Store Efficiently After Use
Follow the 30-Minute Cool-Down Rule
Never store your Ninja until it cools completely—30 minutes minimum. Load baskets into the dishwasher immediately to prevent stuck-on residue; they’re top-rack safe. For cabinet storage, remove baskets to save 3 inches of height. If you use your air fryer 3+ times weekly, leave it on the counter with the cord wrapped around base posts. Less frequent use? Store upright in a cabinet with baskets slightly ajar for air circulation.
Register Warranty in 2 Minutes
Activate Coverage Before Day 30
Visit ninjakitchen.com within 30 days with your model number (on the bottom label) and serial number (inside the basket rim). Registration doubles your recipe access and ensures warranty coverage. Save Ninja’s support number (1-866-826-6941) in your contacts—first-time users who call within the first week report 95% faster resolution for simple issues like unresponsive buttons.
Your Ninja air fryer is now primed for flawless operation. Start with frozen fries at 380°F for 12 minutes—this forgiving first meal builds confidence while testing all systems. Within a week, you’ll master custom programming for your favorite dishes and wonder how you ever cooked without it. Remember: skip the empty burn-off cycle, and you risk smoke-filled kitchens; ignore basket clearance, and you’ll face uneven crisping. But nail these setup steps, and your Ninja delivers restaurant-quality results every time.

