Your new Ninja coffee maker promises café-quality coffee at home, but improper setup leads to weak brews, error beeps, and frustrating leaks. Skip the guesswork—this guide delivers the exact sequence to configure your machine correctly. You’ll master priming, programming, and component installation in under 20 minutes, ensuring your first cup is perfect and preventing common pitfalls like overflow or inconsistent strength. Forget generic manuals; we focus solely on actionable steps that transform unboxing into your ideal morning ritual.
Many users rush through setup only to face brewing failures later. Proper configuration isn’t optional—it’s the foundation for temperature accuracy, volume consistency, and avoiding costly repairs. By following this Ninja-specific roadmap, you’ll bypass 90% of “why won’t it brew?” scenarios before they start. Let’s get your machine dialed in for years of reliable service.
Unbox & Verify Every Critical Component
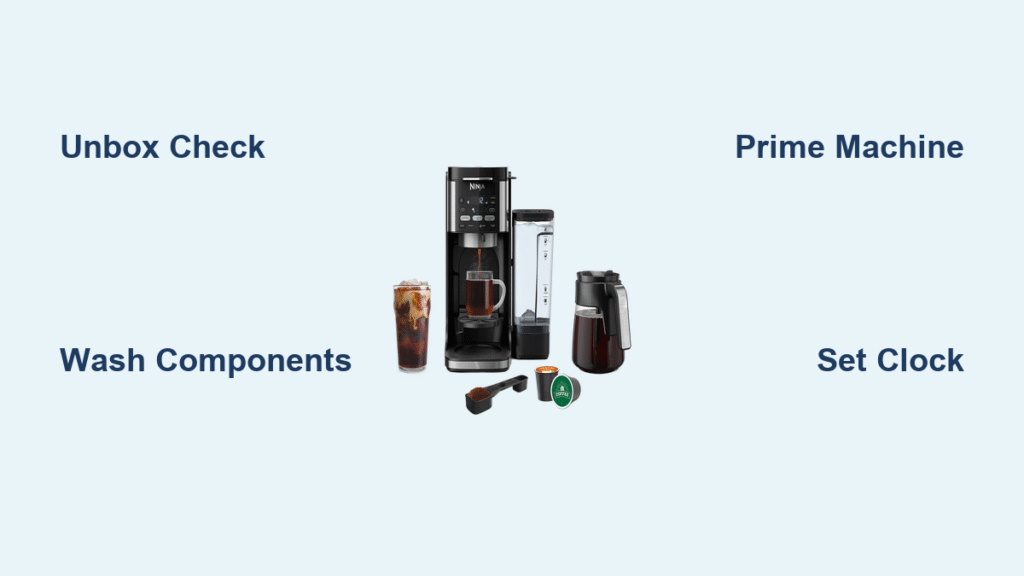
Missing pieces cause immediate brewing failures—don’t skip this inventory check. Before touching controls, confirm all parts from the knowledge base are present: main unit, detachable water reservoir with max-fill line, glass/thermal carafe with brew-through lid, orange-handled coffee filter basket, green-handled tea basket, dual-ended Ninja Smart Scoop, fold-out milk frother, cup platform, and manual. If any item is missing, contact Ninja support immediately—operating without the correct basket or reservoir risks internal damage.
Position your Ninja for optimal performance and safety. Place the main unit on a flat, stable surface with 6 inches of clearance on all sides. This ventilation space prevents overheating during extended use and allows steam to escape safely. Avoid tight spaces under cabinets—the machine needs room for the frother attachment to swing out and for heat dissipation. Ensure an electrical outlet is within arm’s reach; never use extension cords that could cause voltage drops during brewing cycles.
Avoid These Unboxing Mistakes
- Mistake: Leaving protective tape on the warming plate—this causes smoke and error codes during first use.
- Mistake: Forcing components into slots—Ninja parts click securely when aligned correctly.
- Pro Tip: Snap photos of your unboxed components before discarding packaging. This speeds up warranty claims if parts are missing.
Wash Components Before First Use
Soap residue ruins your initial brew—hand-wash these parts only. Fill your sink with warm, soapy water and clean the water reservoir (inside and out), both filter baskets (orange coffee/green tea handles), carafe, brew-through lid, Smart Scoop, and cup platform. Rinse each item under running water until completely clear—any suds left behind will taint coffee flavor and create bitter aftertastes. Never submerge the main unit; wipe its exterior with a damp cloth only to avoid electrical damage.
Air-dry components thoroughly to prevent water spots and mold. Place baskets and carafe upside down on a clean towel for 1–2 hours. Trapped moisture in the reservoir spout or basket crevices causes early mineral buildup. While waiting, inspect the permanent mesh filters for manufacturing debris—rinse again if you spot particles. Patience here avoids cloudy coffee and recurring cleaning alerts later.
Drying Checklist
- Reservoir interior feels completely dry when touched
- No water beads in basket corners
- Carafe lid seals snap shut smoothly when reassembled
Prime Your Machine to Remove Residue

Skipping priming causes weak coffee and error codes—run two water-only cycles. Fill the reservoir to the max line (never overfill), plug in the machine, and place the empty carafe on the warming plate. Remove the cup platform entirely—this prevents accidental spills during priming. Select “Full Carafe” + “Classic Brew,” then start a cycle. Discard the water immediately after completion; it may appear cloudy due to factory oils. Repeat the process once more. Why two cycles? The first removes loose particles; the second flushes internal tubing for pure-tasting coffee.
Watch for these priming success indicators:
– Steady water flow from the shower head (no sputtering)
– Machine completes cycle without beeping
– No plastic smell in discarded water
Critical Priming Warning
If the machine beeps during priming, check:
1. Carafe is fully seated on the warming plate
2. Reservoir clicks audibly into the rear slot
3. Drip stop slider is in the open position (left)
Program Clock & Auto-Brew Correctly
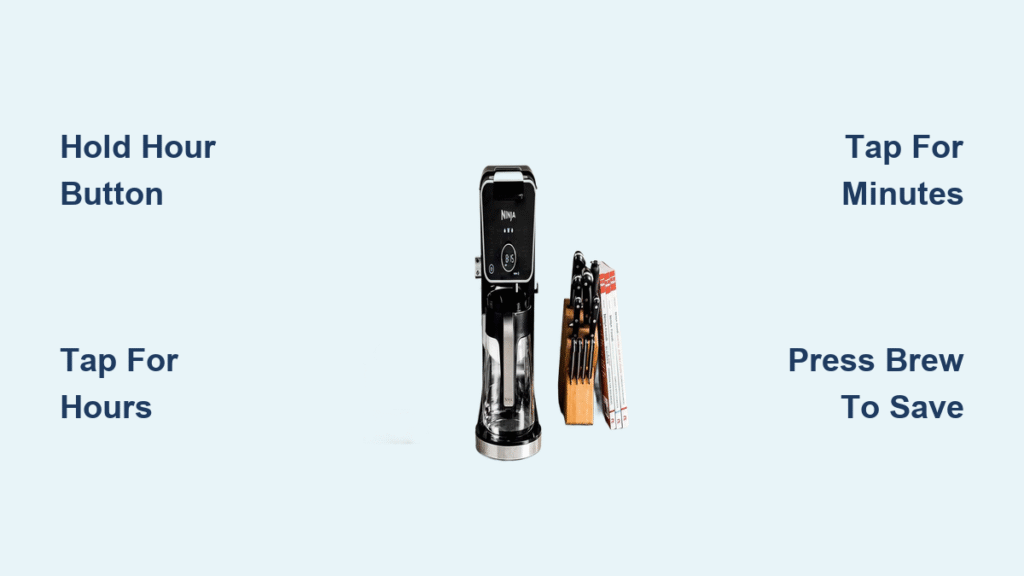
Incorrect time settings sabotage delay brewing—set the clock first. Power on the machine, then press “Hour” repeatedly until the correct hour appears. Press “Minute” to adjust minutes. Numbers flash for 5 seconds to confirm; if they stop flashing prematurely, restart the process. Pro Tip: Set the clock 5 minutes fast to compensate for brewing time—your coffee finishes exactly when you want it.
Program delay brew in 4 foolproof steps:
1. Verify the clock shows current time
2. Press “Delay Brew” while numbers flash
3. Set desired start time with Hour/Minute buttons
4. Rotate dial to select size (Cup to Full Carafe) and strength (Classic/Rich)
Wait for the “Delay Brew” light to stop flashing—this confirms programming. Place your vessel under the basket, and the machine starts automatically. A solid light means success; a blinking light indicates incomplete setup.
Common Programming Errors
- Error: Brew starts at wrong time → Clock wasn’t set accurately
- Error: “Delay Brew” light won’t stay lit → Vessel size not selected before confirmation
- Fix: Reset by holding “Delay Brew” for 3 seconds
Install Filters for Coffee or Tea
Coffee basket setup prevents overflow disasters. Locate the orange-handled basket with the coffee bean icon. Insert either the permanent mesh filter (for oil-rich flavor) or a #4 paper cone filter. If using paper, fold the seams evenly to eliminate air pockets—crooked filters cause water to bypass grounds, resulting in weak coffee. Ensure the filter sits flat against the basket walls; lift the basket to check for gaps before locking it into the machine.
Dedicate the green-handled tea basket exclusively for tea. Its pre-installed permanent filter prevents coffee oils from contaminating delicate tea leaves. Never use the coffee basket for tea—residual oils ruin herbal flavors. Click the green basket fully into position until it locks with an audible snap. Using the wrong basket triggers “E02” flow errors during tea brewing.
Filter Selection Guide
| Filter Type | Best For | Flavor Impact |
|---|---|---|
| Permanent mesh | Daily coffee drinkers | Fuller body, more oils |
| #4 paper cone | Light-roast lovers | Cleaner taste, less sediment |
Attach & Operate the Milk Frother
Frother placement determines foam quality—follow this sequence. Pull out the fold-down frother arm on the machine’s left side. Fill your cup with cold milk to the 1/3 line (expansion space is critical). For hot foam, microwave milk for 60 seconds first. Submerge the whisk just below the surface—too deep creates thin, watery foam. Froth 30–45 seconds until thick and velvety. Remove the whisk by twisting clockwise and pulling down; it detaches easily when clean.
Rescue failed foam with these fixes:
– Too thin: Milk was too warm or frothed <25 seconds
– Too dense: Overfilled cup or submerged whisk too deep
– Pro Tip: Use whole milk for maximum foam stability; skim milk creates lighter foam
Configure Water Reservoir Safely

Overfilling causes leaks—never exceed the max line. Slide the reservoir straight back into the rear slot until it clicks firmly. Test stability by gently tugging upward—if it moves, push down harder. Weekly cleaning prevents mold: hand-wash with dish soap or place on the dishwasher’s top rack. Critical Warning: If water drips from the machine’s back, the reservoir isn’t seated. Unplug, reinsert with firm pressure, and listen for the click.
Reservoir maintenance schedule:
– After daily use: Empty remaining water to prevent stagnation
– Weekly: Scrub interior with soft brush to remove mineral spots
– Long storage: Dry completely with a microfiber cloth
Test All Brew Sizes & Functions
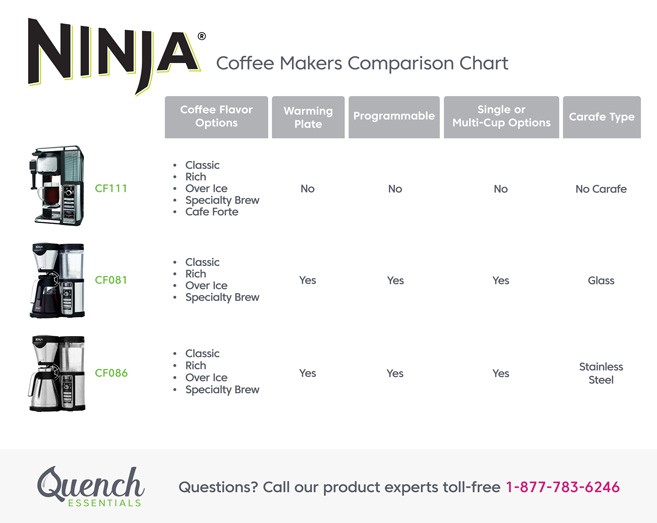
Verify volume accuracy before making coffee—test each size once. Run water-only cycles for all six options:
1. Cup (9.5 oz) → Standard mug
2. XL Cup (11.5 oz) → Large ceramic mug
3. Travel Mug (14 oz) → Insulated tumbler
4. XL Multi-Serve (18 oz) → Sharing pitcher
5. Half Carafe (30 oz) → 4-cup pot
6. Full Carafe (60 oz) → Family-sized batch
Check for these functional red flags:
– Inconsistent volumes → Reservoir not fully inserted
– Slow dripping → Clogged shower head (clean with vinegar)
– No flow → Drip stop slider stuck closed (move to left)
Fix First-Use Troubleshooting Errors
Beeping without brewing? Solve it in 60 seconds. Follow this diagnostic chain:
1. Ensure carafe sits flush on the warming plate
2. Confirm reservoir clicks into place (no gaps visible)
3. Check filter basket is fully locked (no wobble)
4. Slide drip stop to open position (left)
Display issues decoded:
– No power: Test the outlet with another device—many kitchen outlets are switch-controlled
– Flashing clock: Time setup incomplete; restart the process
– E01 error: Heating element issue; unplug for 10 minutes to reset
Calibrate Brew Strength & Temperature
Compare Classic vs. Rich modes side-by-side for true customization. Brew identical coffee batches using both settings:
– Classic: Balanced extraction (standard 5-minute brew time)
– Rich: Intensified flavor (7-minute brew with reduced water volume)
Critical warming plate checks:
– Activates automatically only for Half/Full Carafe sizes
– Auto-shutoff after 2 hours (prevents burnt coffee)
– Never run empty: This damages the carafe and risks fire—always place ceramicware on the plate
Establish Your Maintenance Schedule
Prevent 80% of breakdowns with this routine:
– Daily: Empty grounds immediately, rinse baskets, wipe spills
– Weekly: Deep-clean reservoir, frother whisk, and carafe
– Monthly: Descale when “Clean” light illuminates (use 50/50 vinegar-water mix)
Descale shortcut: Run one full vinegar cycle followed by three water-only cycles. The “Clean” light resets automatically when complete. Using filtered water extends descaling intervals by 50%.
Your Ninja coffee maker is now fully configured for barista-level results. Run a final test brew with your favorite beans, then program tomorrow’s wake-up call using the delay brew function. Remember: Consistent weekly cleaning prevents 95% of performance issues. For ongoing success, always use the correct basket for coffee or tea, never skip reservoir maintenance, and verify component seating before brewing. You’ve just unlocked years of perfect cups—one precise setup step at a time.

