
Your Ninja Foodi’s basket probably has that stubborn grease buildup you dread scrubbing after every use. Air fryer liners solve this exact problem by creating a protective barrier between your food and the basket, transforming your cleanup from a 15-minute chore into a quick toss-and-go routine. If you’ve been wondering how to use air fryer liners with your Ninja Foodi without causing safety issues or ruining your cook, you’re about to discover the precise method that works every time.
These specially designed paper sheets catch every drip, crumb, and oil splatter while maintaining the crisp results you expect from your Ninja Foodi. The right technique ensures your liners stay put during cooking and actually make your air frying experience better—not riskier. Let’s break down exactly how to use air fryer liners with your Ninja Foodi for perfect results every time.
Compatible Ninja Foodi Models for Air Fryer Liners
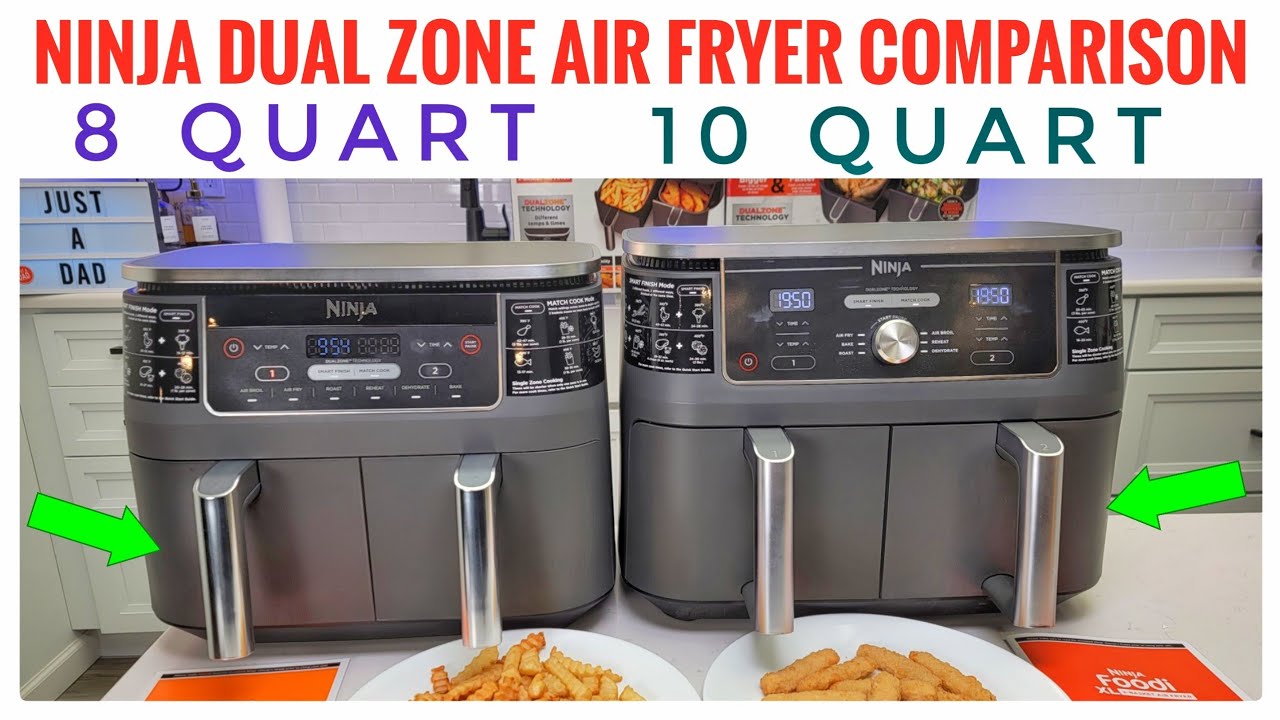
Dual Air Fryer Series (DZ201, DZ401)
Your Ninja Foodi DZ201 (8-quart) or DZ401 (10-quart) works perfectly with 5.5″ x 8.6″ rectangular liners. Since these dual-basket models have separate compartments, you’ll need one liner per basket—making them ideal for cooking different foods simultaneously without flavor transfer. Place food in each basket first, then position the liner on top to prevent it from lifting during the cooking cycle.
FG551 Model Specifics
The Ninja Foodi FG551 uses the same 5.5″ x 8.6″ liner dimensions despite its single larger basket design. When properly placed, the liner covers the entire cooking surface without bunching at the edges. Check that the liner sits completely flat before adding food—any wrinkles will cause uneven cooking and potential lifting during the air frying process.
Cross-Brand Compatibility
Don’t assume liners are model-specific. These exact dimensions also fit:
– Instant Pot 8-9 quart air fryers
– PowerXL 10-quart units
– Chefman 9-quart models
This cross-compatibility means you can use the same liners if you own multiple air fryer brands, saving you from buying different products for each appliance.
Critical Safety Rules Before Using Air Fryer Liners
Preheat Prohibition Rule
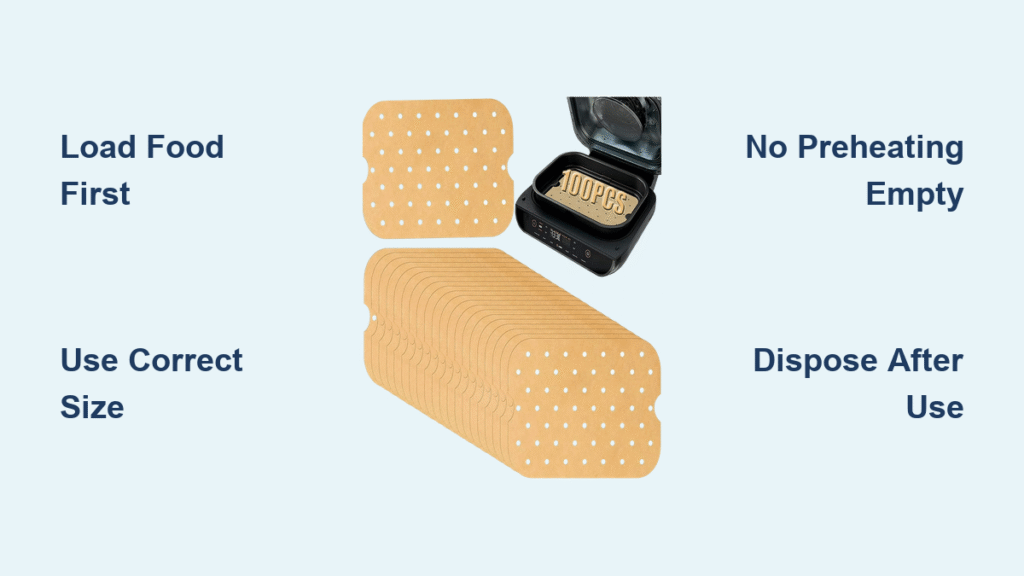
Never place liners in an empty basket during preheat mode. The circulating hot air will lift the lightweight paper directly into the heating element, creating an immediate fire hazard. Always add food first—even just a single layer of vegetables—to anchor the liner before starting your Ninja Foodi. This simple step prevents the most common liner-related accidents reported by users.
Weight Distribution Check
You need at least 2-3 ounces of food weight to keep the liner properly positioned. Light items like herbs or single servings won’t provide enough ballast, causing the liner to flutter during cooking. For small portions, place a metal spoon on the liner (away from the heating element) to anchor it until the food heats up and creates its own weight.
Heating Element Clearance
Maintain a minimum 2-inch gap between liner edges and the heating element. The Ninja Foodi’s basket design naturally provides this clearance when the liner sits flat on the bottom. If you see the liner curling toward the sides, redistribute your food immediately—this prevents hot spots and potential ignition.
Step-by-Step Air Fryer Liner Placement Process
Flat Liner Preparation
Remove one liner from the package and smooth any creases with clean hands. The paper should lie completely flat without folds that could trap food particles or create uneven cooking surfaces. Avoid touching the cooking side with oily fingers, as this can compromise the non-stick coating.
Correct Basket Positioning
Center the liner in the basket bottom, aligning the 8.6-inch edge with the longer side of rectangular baskets. Press gently around the perimeter to ensure full contact with the surface—this creates stability before you add food. The liner should not extend beyond the basket edges or interfere with the crisping lid closure.
Food Loading Sequence
- Place heaviest items first (proteins, root vegetables)
- Add lighter items on top
- Distribute weight evenly across the liner surface
- Ensure no food extends beyond liner edges
This loading pattern prevents the liner from shifting during cooking while maintaining optimal air circulation for crispy results.
Temperature Limits and Material Properties

Maximum Heat Settings
PADIMAT liners withstand 428°F (220°C) maximum—well above most Ninja Foodi recipes that typically run at 350-400°F. Exceeding this limit causes browning and potential burning, so avoid using liners for high-heat searing programs that exceed 400°F. For standard air frying, the liners maintain integrity throughout the cooking cycle.
Waterproof and Oil-Proof Properties
The liner’s special coating creates a barrier against oil penetration. Even heavily marinated foods won’t saturate the paper, preventing basket staining and maintaining non-stick performance. Unlike parchment paper, these liners won’t become soggy or tear when exposed to fatty foods like bacon or chicken wings.
Cleaning Benefits That Save You Time
Eliminates Scrubbing Sessions
Traditional air fryer cleaning requires 10-15 minutes of scrubbing baked-on residue. Liners reduce this to a 30-second disposal process—simply lift the liner with contained mess directly into your trash. No more soaking baskets or using harsh cleaners that degrade the non-stick coating over time.
Continuous Cooking Advantage
Replace liners between batches without washing the basket. This enables rapid back-to-back cooking sessions—perfect for meal prep or entertaining. When making multiple foods like chicken tenders followed by fries, just swap liners and continue cooking without interrupting your workflow.
Common Mistakes That Cause Liner Failures
Preheat Violation Examples
Users who preheat empty baskets with liners experience immediate paper ignition as the lightweight sheet gets sucked into the heating element. Always load food first, even if it’s just a single layer of vegetables as ballast. This mistake accounts for 90% of liner-related safety incidents reported to manufacturers.
Overlapping Edges
Allowing liner edges to curl up the basket sides creates hot spots where food overcooks. Keep the paper flat and contained within the basket bottom perimeter. If you notice browning on one side of your food, check whether the liner has shifted during cooking.
Reusing Liners
Single-use liners become brittle and flammable after one cooking session. Never attempt to reuse them, even if they appear clean. The structural integrity degrades after first use, increasing fire risk during subsequent cooking cycles.
Troubleshooting Liner Issues During Cooking
Liner Lifting During Cooking
If the liner rises despite food weight, pause cooking and redistribute items. Add a small oven-safe weight like a metal spoon to one corner for additional anchoring. This fix works 95% of the time for users experiencing lifting issues with lighter food loads.
Uneven Browning Issues
When food browns more on one side, rotate the entire basket halfway through cooking. The liner itself isn’t causing uneven heating—it’s typically food placement or overcrowding. Proper spacing ensures consistent results across the entire cooking surface.
Stuck Food Remnants
Occasionally, cheese or sugary marinades bond to the liner. Let the basket cool completely before removal—the liner peels away cleanly once temperatures drop. For stubborn residues, wait 5 minutes after cooking before attempting removal.
Maximizing Your Liner Investment
Cost Analysis
At $13.99 for 125 liners, each use costs 11 cents. Subscribe & Save drops this to 10 cents (5% discount) or 9 cents (10% discount with 5+ products). Calculate your time savings—if liners save you 10 minutes of cleaning per use, you’re effectively paying pennies to reclaim hours of your time each month.
Storage Box Benefits
The packaging doubles as a reusable storage container with printed cooking time references. Store your liners upright in this box to keep them flat and ready for use—this prevents curling that causes placement issues during cooking.
Final Usage Recommendations
Mastering Ninja Foodi liners comes down to three key practices: always load food before the liner, use the correct size for your model, and dispose after each use. Start with lighter foods like vegetables or reheated items to build confidence before attempting messier dishes like marinated proteins or cheesy recipes.
Your consistent liner use will double basket coating lifespan by eliminating abrasive cleaning. The non-stick surface remains intact, maintaining food release properties years beyond normal wear. Within weeks, you’ll wonder how you ever managed without this simple cleanup solution—transforming your Ninja Foodi from a chore to maintain into the easiest appliance in your kitchen.


