
Your new Ninja Chopper just arrived, and you’re staring at five separate pieces wondering how this compact machine transforms vegetables into perfect dice in seconds. Whether you’re meal-prepping for the week or whipping up fresh salsa for tonight’s dinner, mastering this powerful tool will revolutionize your kitchen workflow. Let’s get you from box to expert in under fifteen minutes. Knowing how to use Ninja Chopper properly makes the difference between restaurant-quality results and a kitchen disaster—this guide gives you the insider techniques professionals rely on.
Quick Assembly in 60 Seconds
Motor base placement matters more than you think. Set it on a dry, stable counter at least six inches from the edge—those rubber feet need full contact to prevent dancing across your counter during operation. You’ll see arrow indicators on both the base and bowl; align these arrows, then twist clockwise until you hear that satisfying click. No click? Start over—this safety lock prevents the motor from engaging if anything’s misaligned.
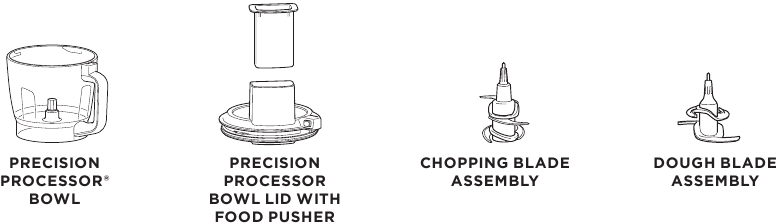
Blade installation requires attention to edge direction. The dual-tier blade assembly slides onto the center post with cutting edges facing up—think of it like loading a blender. The upper blades chop what’s on top while lower blades grab sinking pieces, creating that restaurant-quality uniformity home cooks crave. Before adding ingredients, verify the lid locks completely; you should feel resistance followed by a distinct click that engages the safety mechanism. This precise assembly sequence is your first step in learning how to use Ninja Chopper effectively for any task.
Master Pulse Technique Control
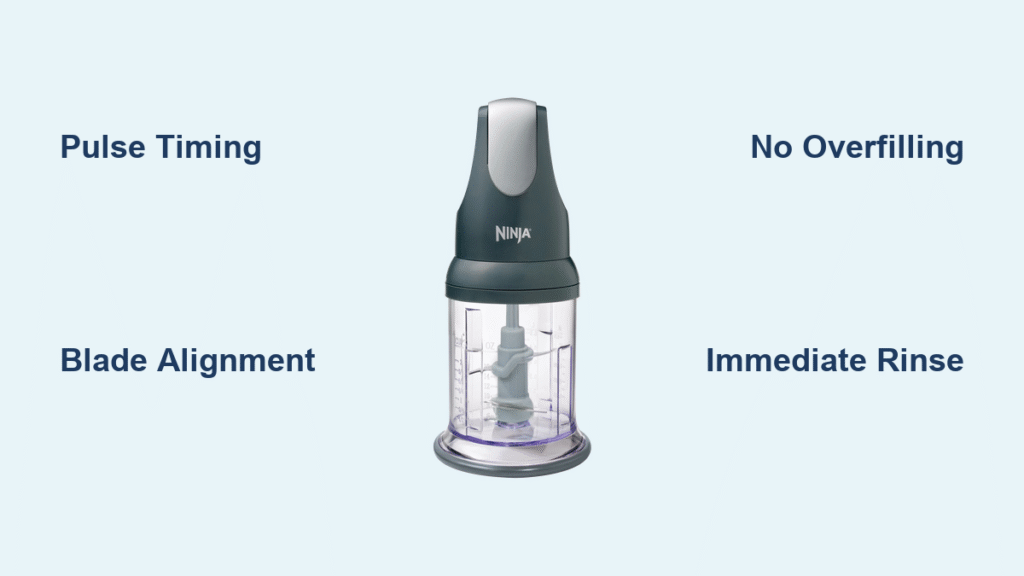
1-2 second pulses create perfect chunky salsa. Think of it as staccato bursts—press, release, press, release. You’ll see ingredients jump and resettle, giving you visual feedback on texture progression. For garlic and herbs, shift to 3-4 second pulses—this timing allows the blades to complete multiple rotations while preventing that dreaded paste consistency.
Continuous mode unlocks smooth purees but demands respect. Slide the switch to “ON” and count Mississippis—20 seconds creates silky tomato sauce, 45 seconds transforms nuts into butter. The motor generates heat, so follow the 30-second rule: process for 30 seconds, rest for 60. This prevents overheating and extends your chopper’s lifespan significantly. When you’re learning how to use Ninja Chopper for the first time, resist the urge to hold the button down—master these pulse variations and you’ll achieve perfect consistency every time.
Why Pulse Timing Makes All the Difference
Understanding pulse duration prevents common beginner mistakes. For coarse chopping like pico de gallo, use 4-5 pulses with 2-second intervals. Need finely minced onions for mirepoix? Six 3-second pulses deliver perfect uniformity. Over-processing happens in seconds—watch through the transparent bowl and stop when ingredients reach your desired texture. The visual cue you’re looking for is consistent size with no large chunks remaining but no paste forming either.
Perfect Herb and Onion Chopping Every Time
Herbs Without the Mush
Pat herbs bone-dry first—water creates steam that wilts leaves into unappealing mush. Fill the bowl only halfway; crowded herbs compress and process unevenly. 6-8 pulses creates restaurant-quality chiffonade for garnishes. For pesto, pulse herbs first, then switch to continuous mode while drizzling oil through the feed tube. This technique preserves volatile oils that give fresh herbs their vibrant flavor.
Onion Tears No More
Quarter onions through the root—this keeps layers intact for even processing. 4-5 pulses delivers perfect soup-ready dice. Process onions immediately before cooking; the Ninja’s speed actually reduces tear-inducing compounds compared to knife cutting. For mirepoix base, process onions, carrots, and celery separately, then combine—this prevents over-processing the softer vegetables. When you master how to use Ninja Chopper for aromatics, you’ll never chop by hand again.
Nut Butter Made Simple
Transform Raw Nuts into Creamy Goodness
Toast nuts at 350°F for 8-10 minutes, then cool completely—warm nuts release oils faster, creating smoother butter. Start with 1 cup maximum; the blade needs space to work. Process in 10-second intervals, scraping sides between rounds. After 2 minutes total, you’ll have fresh almond butter without preservatives or added sugars.
The magic happens around the 90-second mark when the nut meal suddenly transforms into liquid gold—this is the emulsification point where natural oils release. If your butter seems too thick, add 1-2 teaspoons of neutral oil through the feed tube while processing. Never exceed 1 cup of nuts at once—overfilling causes uneven processing and strains the motor. This is where knowing how to use Ninja Chopper properly separates decent results from truly professional-quality nut butters.
Cleaning Hacks That Save Time

Immediate rinse protocol prevents cemented-on food. Disassemble immediately after use—blades lift straight up with a counterclockwise twist. Rinse blades under warm water while holding the plastic center post (never the sharp edges). For stubborn residue, fill the bowl with warm water and a drop of soap, then pulse 5-6 times—this power-washes the blades safely.
Weekly deep clean keeps flavors pure. Remove the blade assembly completely and wash all pieces in warm, soapy water. The motor base gets only a damp cloth—never submerge. Check blade sharpness monthly; nicked blades create uneven results and work the motor harder. Proper cleaning is essential when learning how to use Ninja Chopper long-term—it prevents flavor transfer between batches and maintains peak performance.
Troubleshooting Fast Fixes
Motor Silence Solutions
No power? First, verify the bowl clicks into place—this safety lock prevents 90% of “dead” motor complaints. Check your GFCI outlet; kitchen circuits trip easily. If you’ve been processing for extended periods, wait 15 minutes—the thermal protection resets automatically.
Uneven Results Fixes
Crowded bowls cause uneven processing—work in smaller batches. Check for food trapped between blade tiers; disassemble and rinse if needed. Dull blades create ragged edges; replacement blades restore factory performance for under $20. These quick fixes ensure you’re always using how to use Ninja Chopper at its full potential without frustration.
Storage and Maintenance Pro Tips
Complete drying prevents mold and odors. Air-dry all components separately—stacking wet parts warps seals. Store the blade assembly in its original box or wrap in a kitchen towel; those edges stay razor-sharp for years with proper care.
Cord management prevents accidents. Wrap the cord loosely around the motor base’s built-in storage posts. Never kink the cord—this damages internal wiring over time. Position the chopper within 2 feet of an outlet to avoid extension cords. These simple habits extend your appliance’s life and keep it ready for immediate use whenever you need it.
Warranty Wisdom
Register online within 10 days using the code inside your manual—this activates your 1-year motor warranty. The blade assembly carries 90-day coverage, so inspect immediately for defects. Keep your receipt; electronic copies work for warranty claims. Most issues resolve with a phone call to Ninja support, who often ship replacement parts overnight.
Your Ninja Chopper isn’t just another appliance—it’s your ticket to faster meal prep, fresher flavors, and consistent results. Master these techniques, and you’ll wonder how you ever cooked without it. Start with simple herbs tonight, work up to nut butters this weekend, and soon you’ll be creating restaurant-quality purees and emulsifications that impress even your foodie friends. The real secret to how to use Ninja Chopper effectively isn’t just knowing the buttons—it’s understanding the timing, capacity limits, and food-specific techniques that transform this compact machine into your most valuable kitchen ally.


