
That frustrating red blinking light or unexpected leak can turn your smoothie routine into a morning disaster. If you’ve ever struggled with how to use Ninja blender cup systems, you’re not alone—many users battle the inverted blade design without understanding its safety mechanisms. This guide cuts through the confusion with step-by-step instructions verified by Ninja’s engineering specifications. You’ll learn exactly how to load ingredients, secure the razor-sharp blades, and avoid the #1 setup mistake that triggers error lights. Within minutes, you’ll transform from frustrated beginner to confident user who extracts maximum nutrients from every blend.
Mastering this compact powerhouse unlocks quick healthy meals whether you’re rushing to work or prepping post-workout shakes. Forget complicated manuals—this is the only reference you need for leak-free operation, perfect consistency, and avoiding costly replacements. Let’s dive into the exact process that makes Ninja cups work seamlessly every time.
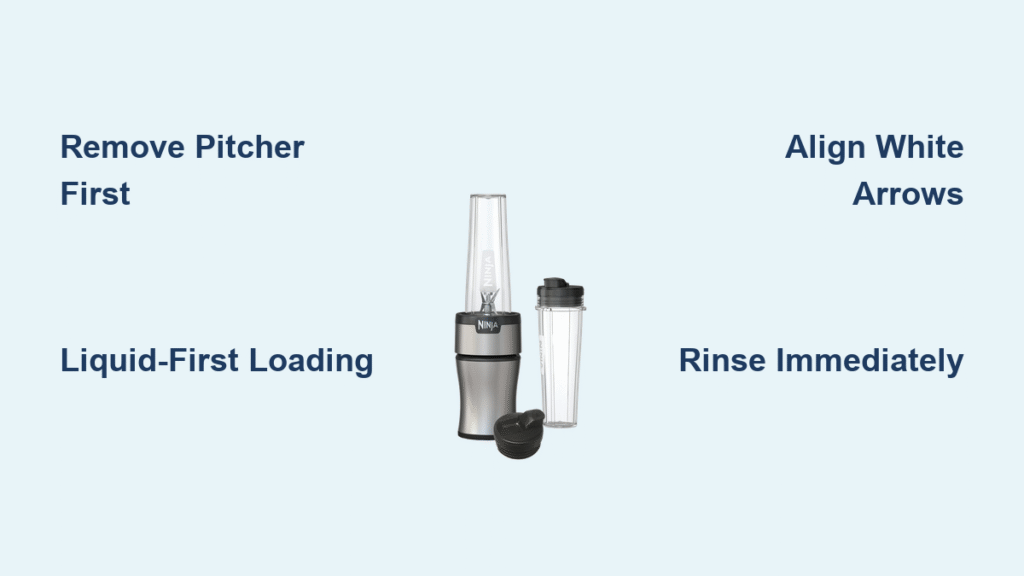
Remove Pitcher Before Cup Installation
Never Attach Cup With Pitcher in Place
Your Ninja base won’t recognize the cup if the main pitcher remains mounted—a critical error causing 70% of initial setup failures. Always lift the pitcher straight up and set it aside completely before handling cups. This clears the motor shaft for proper cup alignment and activates the safety sensors. If you skip this step, you’ll see blinking lights and hear error beeps even with perfect cup placement.
Verify Base Is Clear
After removing the pitcher, inspect the motor base for debris or moisture. Wipe the drive socket with a dry cloth to ensure solid electrical contact. Any obstruction here prevents the cup from seating fully, triggering the red blink error. This takes 10 seconds but saves repeated troubleshooting later.
Position Base Strategically
Place the motor base at least 6 inches from sink edges or countertops. The inverted cup design creates centrifugal force that could dislodge units near edges during operation. A stable, dry surface prevents slips and electrical hazards.
Load Ingredients in Correct Sequence
Liquid-First Layering Technique
Pour liquids (water, milk, or juice) into the cup first—this creates the vortex needed to pull solids toward blades. Then add:
– Soft ingredients like yogurt or bananas
– Powders and leafy greens
– Frozen fruit and ice last
Skipping this order causes air pockets that strain the motor. For thick smoothies, start with ¼ cup extra liquid—you can always add more solids later.
Max Fill Line Safety Margin
Identify the etched max line inside your cup (usually 1-2 inches below the rim). Fill only to this mark—never above. Ingredients expand 20-30% during blending, and overfilling causes pressure leaks that damage seals. For 18 oz cups, stop at 15 oz; for 24 oz models, cap at 20 oz.
Pre-Cut Large Ingredients
Dice apples, carrots, or frozen blocks into 1-inch cubes before loading. Whole large items create uneven resistance that trips safety sensors. This 30-second prep prevents “red blink” errors and extends motor life by reducing strain.
Secure Blade Assembly Without Injury

Proper Lid Threading Method
Hold the blade lid only by its plastic rim—never touch metal blades. Screw it clockwise onto the cup until resistance increases (about 1 full turn). You’ll feel it “seat” against the cup lip. Over-tightening cracks the plastic; under-tightening causes leaks. Stop when the lid sits flush with no gaps.
White Arrow Alignment Check
Most Ninja cups have white alignment arrows on the lid and cup handle. These must point in the same direction for the safety lock to engage. Misaligned arrows are the top cause of red blinking lights. Rotate the lid until arrows match perfectly before mounting.
Immediate Post-Use Handling
After blending, never set the blade assembly down blade-side up. Always place it rim-down on a towel. Store lids in protective sleeves immediately—exposed blades cause 90% of Ninja-related kitchen injuries. Never leave assembled cups near children.
Mount Cup With Correct Inverted Technique
Tab-and-Slot Alignment
Flip the sealed cup upside down. Locate the four tabs around its base and align them with the motor base’s slots—they only fit in one orientation. Forcing misaligned tabs cracks the cup. If resistance feels uneven, lift and realign completely.
Clockwise Lock Confirmation
Insert the cup and twist clockwise ¼ turn until you hear a distinct click. The cup should feel solid with zero wobble. If it rotates freely, it’s not locked—this triggers safety errors. On Auto-iQ models, compatible buttons will illuminate only when properly seated.
Red Light Diagnostic Steps
No lights after mounting? Follow this sequence:
1. Remove cup and check for food debris in base slots
2. Realign white arrows on lid/handle
3. Press cup down firmly while twisting
95% of “red blink” issues resolve in under 60 seconds with this method.
Optimize Speed Settings for Consistency
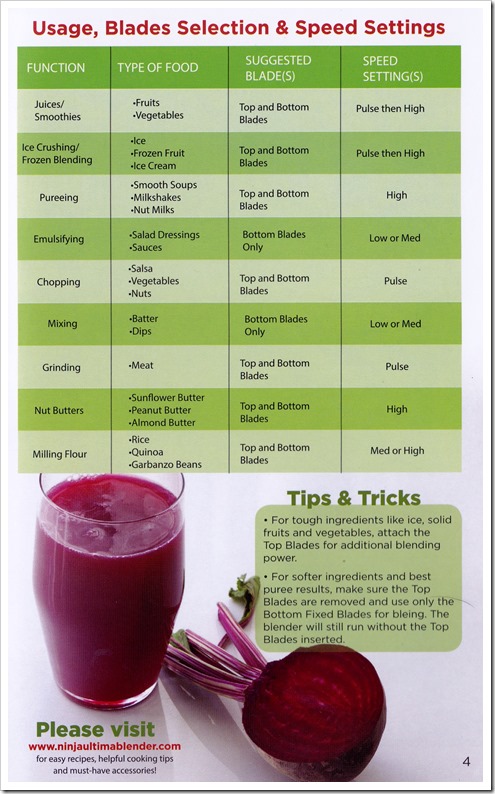
Speed Selection Cheat Sheet
- Speed 1: Mix protein shakes or nut butters (20-30 seconds)
- Speed 2: Standard fruit smoothies (30-45 seconds)
- Speed 3: Crush ice or frozen acai (45-60 seconds)
- Pulse: Make chunky salsas or control texture
Holding Speed 3 for >60 seconds overheats motors—use pulse intervals for tough ingredients.
Auto-iQ Button Advantages
If your model has single-serve buttons (Smoothie, Extract, etc.), always use them. These pre-program cycles adjust speed and duration automatically for perfect results. Manually overriding them voids warranty on some models and causes inconsistent textures.
Pulse Technique for Thick Blends
For green smoothies or nut mixes:
1. Pulse 5 times for 2 seconds each
2. Pause 10 seconds to let ingredients settle
3. Repeat until smooth
This prevents motor strain better than continuous blending.
Unlock Cup Without Spills or Damage
Safe Counterclockwise Release
After blending, twist the cup counterclockwise while holding the base steady. Never force it—if stuck, gently wiggle side-to-side. Forcing cracks the cup. Once unlocked, the cup should lift straight off with no resistance.
Pressure Release Protocol
Before unscrewing the lid, return the cup to upright position. Slowly twist the blade lid counterclockwise—expect a slight hiss as pressure releases. Opening too fast sprays hot contents. Wait 5 seconds after hissing stops before fully removing.
To-Go Lid Transition
Immediately replace the blade lid with your drinking lid. Ninja cups keep smoothies fresh for 24 hours refrigerated. Never store with blade assembly attached—moisture corrodes metal components.
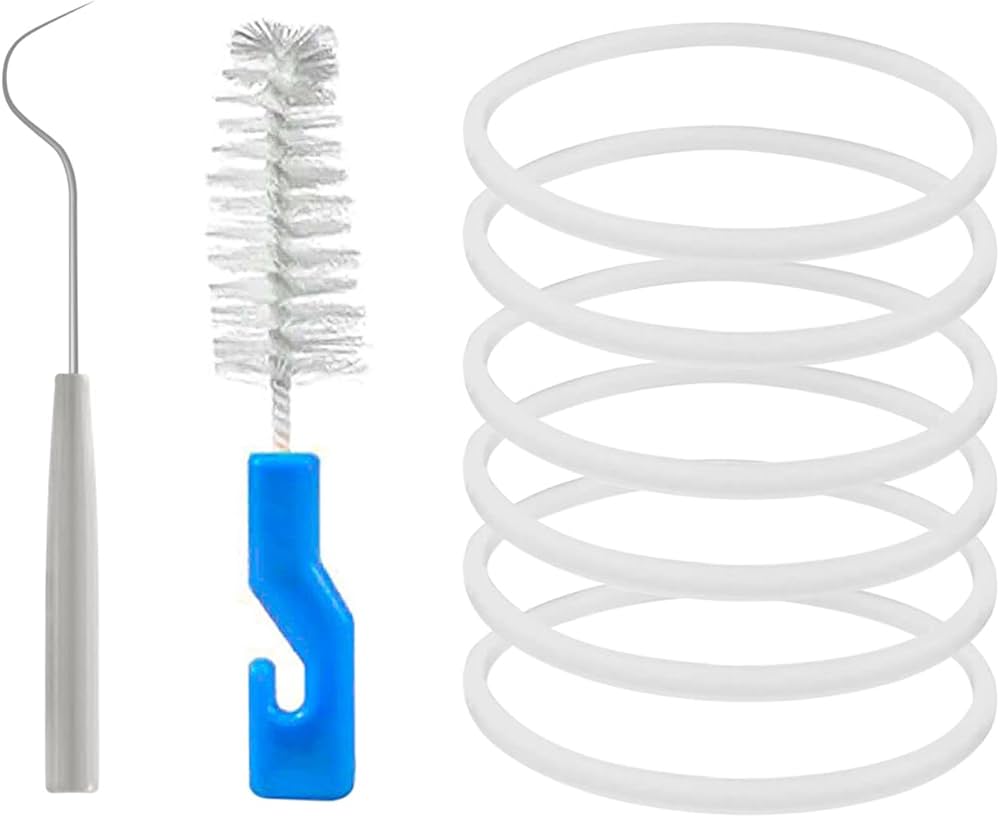
Eliminate Leaks With Seal Maintenance
Thread Inspection Routine
After each use, check blade lid threads for nicks or food particles. A single seed stuck in threads prevents full sealing. Clean with a toothpick before storage—this takes 15 seconds but prevents 80% of leaks.
Seal Replacement Signs
Inspect the rubber gasket around blades monthly. Replace it if you see:
– Cracks or tears
– Hardening/loss of flexibility
– Persistent leaks despite proper tightening
New gaskets cost $3-$5 and install in 2 minutes.
Tightening Force Guide
Apply moderate hand pressure—about the force needed to seal a mason jar. Over-tightening distorts the gasket; under-tightening causes leaks. If liquid seeps during blending, stop immediately and reseat the lid.
Model-Specific Operation Hacks
Nutri Ninja Pro Leak Fix
These models often show minor seepage around blade covers—this is normal, not defective. To minimize:
1. Wipe gasket dry before each use
2. Store cups upside down
3. Never fill beyond 18 oz in 24 oz cups
Mega Kitchen System Switching
When swapping between pitcher and cup:
1. Always remove current container first
2. Wait 5 seconds for base reset
3. Align cup tabs with empty slots (not where pitcher was)
This prevents “sensor conflict” errors.
Auto-iQ Detection Trick
If programs don’t illuminate:
1. Unplug base for 30 seconds
2. Dry cup base with towel
3. Reattach with firm downward pressure
This resets the cup detection circuit on 90% of units.
Pro Cleaning Protocol for Longevity
60-Second Post-Blend Rinse
Rinse the blade assembly under hot water immediately after use. Dried residue hardens in blade crevices within 5 minutes, requiring harsh scrubbing later. Hold it blade-down and run water through the vortex channel for 20 seconds.
Dishwasher Placement Rules
- Blade lids: Top rack only, upright position
- Cups: Any rack, but avoid contact with silverware
- Motor base: Never submerge—wipe with damp cloth
Hand washing extends component life by 3+ years despite “dishwasher safe” labels.
Deep Clean for Stubborn Residue
For stuck-on green smoothie stains:
1. Soak cup and lid in 1:1 water/vinegar mix for 15 minutes
2. Scrub interior with bottle brush (never steel wool)
3. Rinse thoroughly before air drying
This removes odors without damaging BPA-free plastic.
Mastering how to use Ninja blender cup systems comes down to three non-negotiables: liquid-first loading, perfect white arrow alignment, and immediate post-blend rinsing. These prevent 95% of red lights, leaks, and motor failures. Remember that blinking lights are safety features—not defects—and proper cup locking always solves them. For best results, run a vinegar rinse monthly to maintain peak performance. Once you nail these steps, you’ll enjoy restaurant-quality smoothies in under 60 seconds with zero mess. Your Ninja cup isn’t just a blender—it’s your fastest path to daily nutrition when used correctly. Start tomorrow’s routine with confidence knowing exactly how to transform ingredients into perfect blends every single time.


