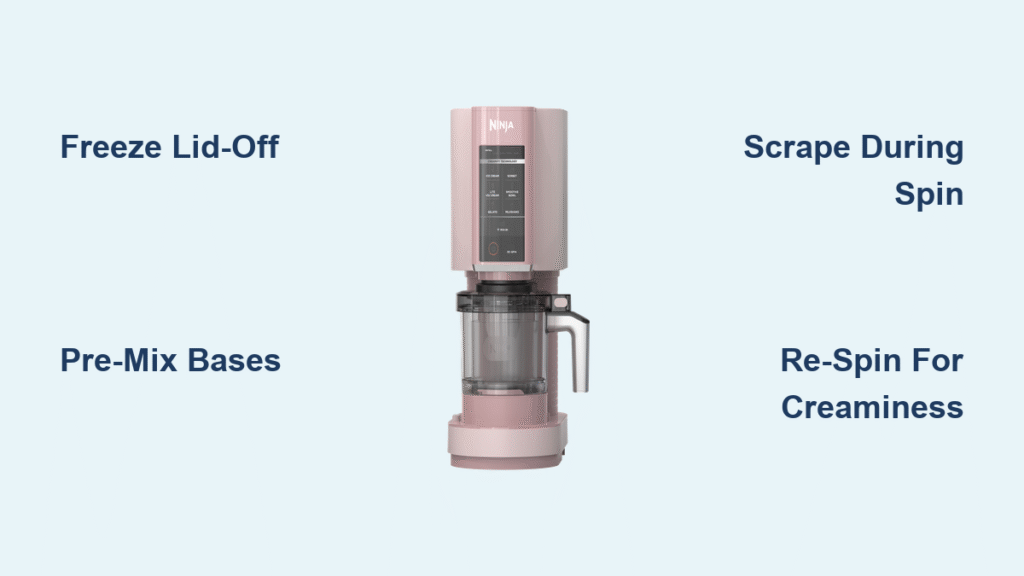
Your Ninja Creami sits ready to transform frozen pints into creamy desserts the moment you crave them—but only if you master its unique workflow. Unlike traditional ice cream makers that churn for hours, this countertop wizard processes pre-frozen bases into scoopable perfection in under two minutes. Whether you’re crafting protein-packed ice cream, dairy-free sorbet, or thick smoothie bowls, learning how to use Ninja Creami properly unlocks restaurant-quality results at home. Skip the common pitfalls like icy textures or blade collisions, and you’ll enjoy flawless frozen treats every time.
The secret lies in understanding its two-phase process: the critical 24-hour freeze and the precise spin technique. Getting either step wrong guarantees disappointing results—but nail both, and your freezer becomes an endless ice cream parlor. This guide cuts through the confusion with battle-tested methods from thousands of power users. You’ll discover why freezing lid-off prevents “hump” disasters, how to rescue crumbly textures mid-spin, and why your first scoop should never come straight from the freezer.
Ninja Creami Models: Match Your Machine to Your Needs

Don’t waste time troubleshooting compatibility issues—know your model’s limits before mixing your first base. The Original and Swirl both handle standard 16-ounce pints with seven core programs (Ice Cream, Lite Ice Cream, Sorbet, Gelato, Milkshake, Smoothie Bowl, Slushy), while the Deluxe adds 24-ounce capacity and drink-specific settings. Swirl owners get a built-in dispenser for soft-serve style servings but sacrifice some power for quieter operation. Crucially, all models use identical recipes and techniques—your pint container size is the only variable.
Must-Have Tools Beyond the Machine
Skip these three items, and you’ll fight lumps, blade damage, or messy cleanups:
– Electric milk frother (non-negotiable for protein/pudding mix integration)
– Soft nylon brush (dishwasher heat warps the blade assembly)
– Butter knife (for scraping frozen bases without scratching containers)
Noise & Placement Reality Check
Position your Creami toward the back of your counter—it operates at jet-engine volume (comparable to a NutriBullet grinding oats). Power users swear by rubber mats underneath to reduce vibration noise. Never place it near bedrooms if someone’s sleeping; the 90-second spin cycle sounds like rocks in a blender.
Freeze Like a Pro: The 24-Hour Foundation

Your texture is determined before you even plug in the machine. Skipping this phase properly causes 90% of “why is my Creami icy?” complaints.
Base Mixing Secrets That Prevent Disaster
Always mix bases directly in your pint container using these pro methods:
– Powder integration: Froth protein powder or pudding mix with liquid first—never dump dry powders into cold bases.
– Solid prep: Pre-blend frozen fruit/nuts into a slurry; the Creami blades cannot cut chunks larger than peas.
– Fill level: Stop ½ inch below the max-fill line. Bases expand violently during spinning—overfilling causes leaks and motor strain.
Freezer Protocol: Lid Off Is Non-Negotiable
This single mistake ruins more batches than anything else: never freeze with the lid snapped on. Without headspace, your base domes upward (“hump”), causing the blade to jam on spin day. Place pints flat on a level freezer shelf at 0°F or colder for 24 hours. Only snap the lid on after freezing for storage. Short on time? An 8-hour freeze works in commercial freezers but risks icy edges—reserve this for emergency cravings.
Spin Day: Your Step-by-Step Operation Sequence
Pre-Spin Tempering: Soften Without Melting
Choose one method based on your schedule:
– Counter thaw: 5-20 minutes at room temperature (ideal for most bases)
– Warm water bath: 30 seconds under running tap while rotating (for urgent cravings)
Stop when the outer 1-2mm feels slightly soft—no pooling liquid. Over-thawing causes runny results.
Machine Operation: 6 Steps to Creamy Perfection
- Lock pint securely into the processing bowl—twist outer lid until it clicks.
- Select program: Use Ice Cream for full-fat dairy bases; Lite Ice Cream for protein/non-dairy.
- First spin: Let the 90-second cycle complete uninterrupted.
- Scrape down: Remove bowl, use a knife to redistribute icy chunks clinging to sides.
- Re-spin or customize: Press Re-spin 1-2 times for creamier texture, or add mini chips/sprinkles to the center well and run Mix-in cycle.
- Perfect consistency: If still crumbly, Re-spin with 1 Tbsp milk added. Never spin beyond desired texture—over-spinning separates fats.
Fix Icy or Crumbly Textures Immediately
Ice Rescue Protocol During Spinning
Stop mid-cycle if you spot icy edges:
– Low-fat bases: Add ½ Tbsp instant pudding mix or ⅛ tsp xanthan gum to the next batch.
– Insufficient sweetener: Sugar lowers freezing points—use erythritol or allulose for keto versions.
– Under-spinning: Re-spin 2-3 times, scraping sides between cycles.
Dry Texture Emergency Fix
Add exactly 1 Tbsp milk before your final Re-spin. For protein-heavy bases, blend 1 Tbsp Greek yogurt into your next batch—it adds creaminess without diluting flavor. Never add liquid mid-spin; it creates uneven texture.
Ingredient Hacks for Perfect Bases Every Time
Liquid & Sweetener Swaps That Actually Work
| Original Ingredient | Foolproof Substitute | Critical Tip |
|---|---|---|
| Whole milk | Oat milk (full-fat) | Add 1 Tbsp coconut cream to prevent iciness |
| Sugar | Allulose syrup | Reduce other liquids by 1 Tbsp |
| Heavy cream | Full-fat coconut milk | Chill overnight before mixing |
Texture Enhancers: Less Is More
Overdo these, and you’ll get gummy disasters:
– Xanthan gum: Max ¼ tsp per pint (¼ tsp = 1,000x thickening power)
– Instant pudding: ½ Tbsp masks protein chalkiness without sweetness
– Cottage cheese: 2 Tbsp blended smooth adds protein and creaminess
Mix-In Mastery: Timing Saves Your Motor
When to Add What
- Pre-blend large items: Frozen fruit/cookie chunks must be puréed into your base.
- Mix-in cycle only: Mini chocolate chips, sprinkles, or crushed candy.
- Hand-swirl after spinning: Nut butter ribbons or fresh fruit—never during cycles.
Volume Danger Zone
Fill the mix-in well only one-third full. Overfilling strains the motor and creates uneven distribution. Test with 1 Tbsp mix-ins first—most users overestimate capacity.
Cleaning Secrets for Long Machine Life
Outer Lid Deep Clean (The Silent Killer)
This part traps ice cream in hidden crevices, causing mold and motor issues:
1. Soak lid in hot soapy water for 20 minutes
2. Shake vigorously while submerged
3. Rinse each water hole under strong tap pressure
4. Dry upright in sunlight for 1 hour (prevents mildew)
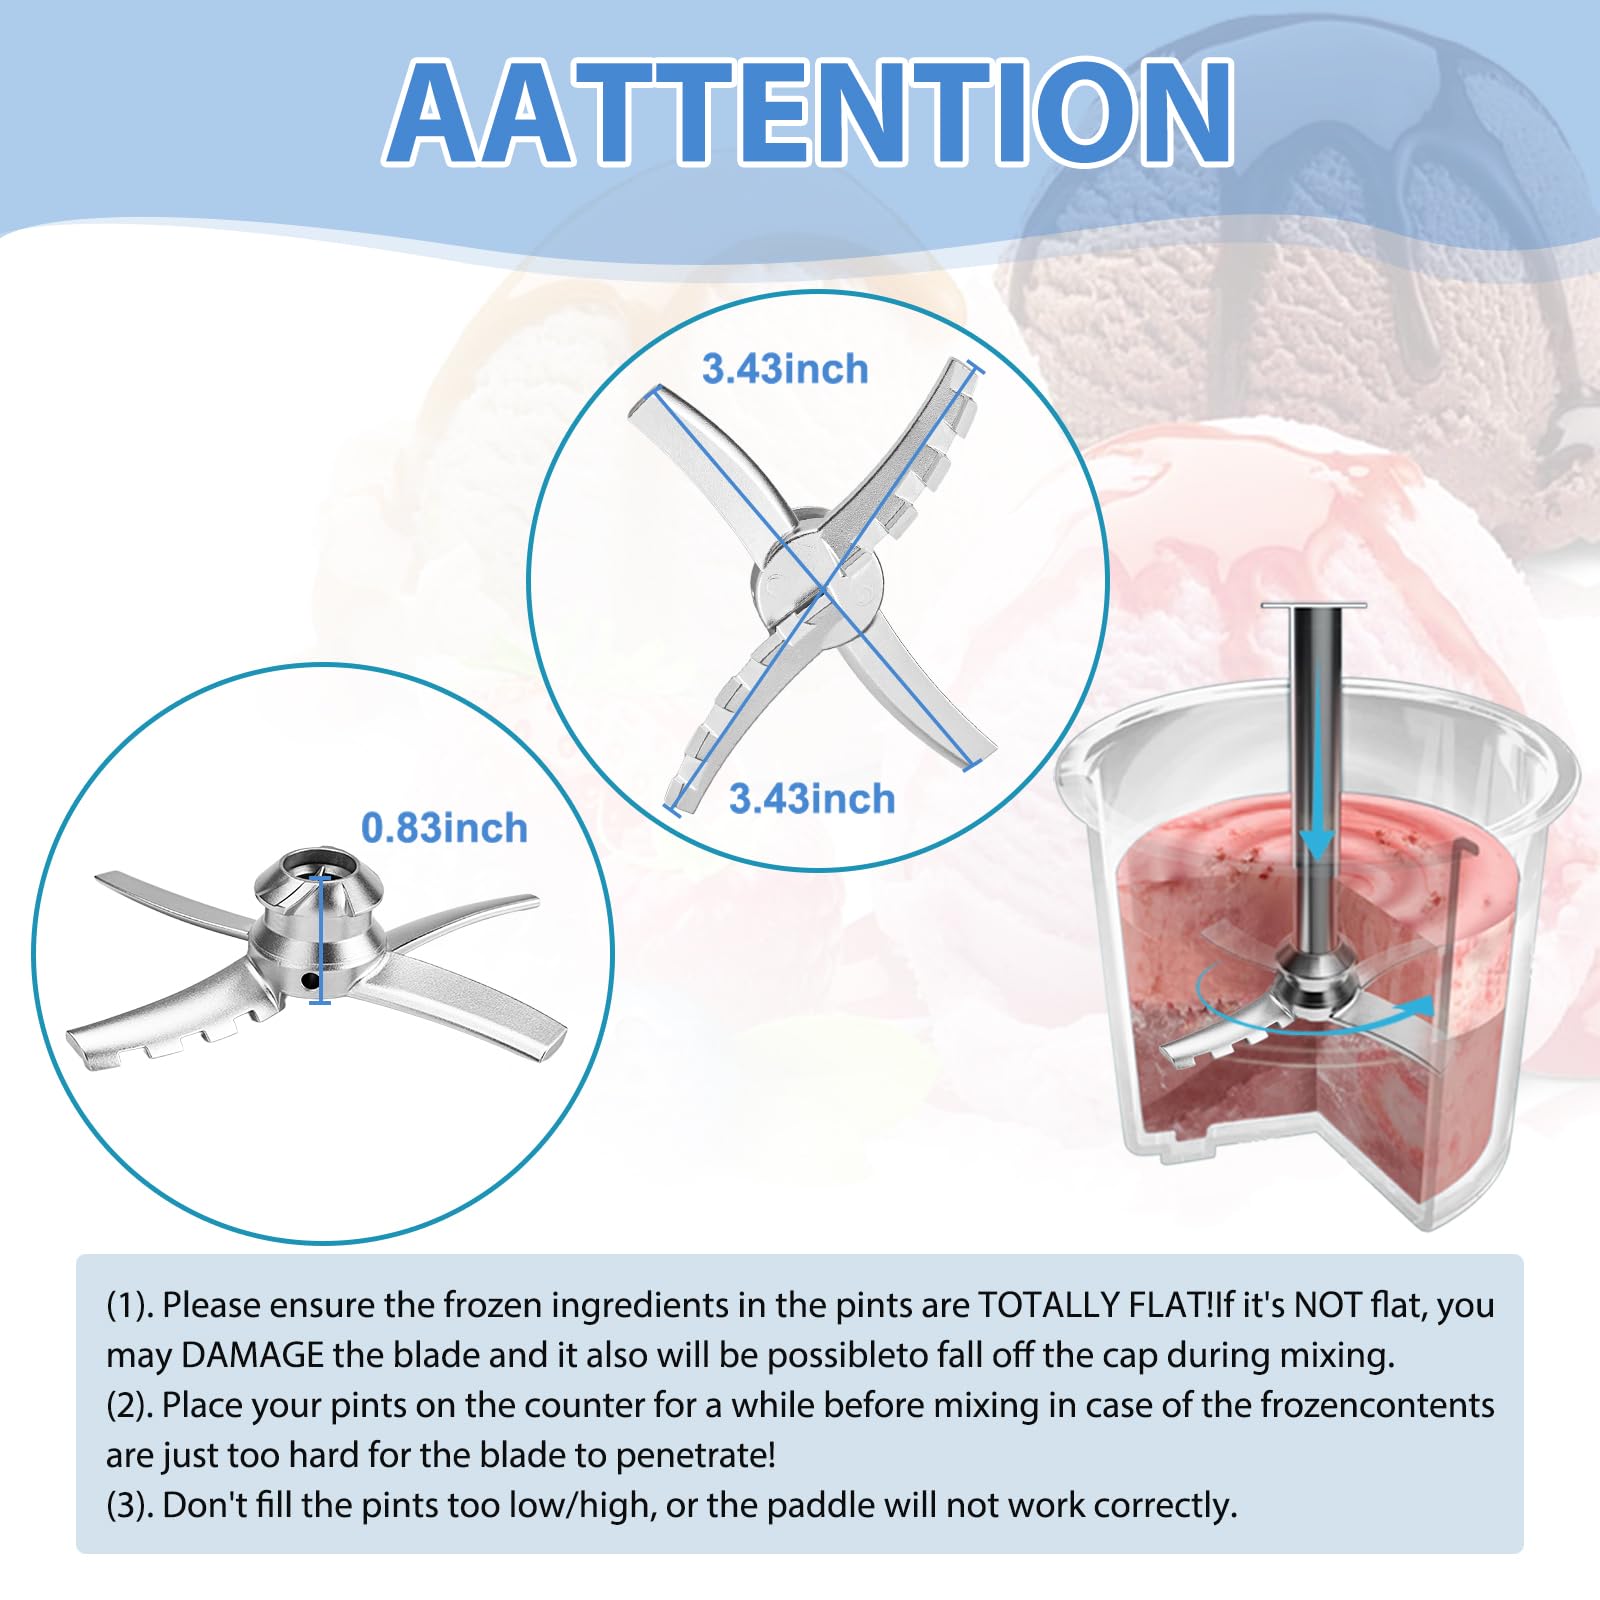
Blade Assembly Care
Never dishwasher—heat warps the precision-fit components. Hand-wash with a soft brush, air-dry completely, and reassemble only when bone-dry. Rust spots indicate trapped moisture; repeat drying.
Power User Shortcuts You Need Now
Batch Freeze Like a Pro
- Sunday prep: Freeze 4-6 pints with flavor labels (e.g., “Vanilla-Protein-Day3”)
- Texture log: Track freeze time/spin cycles in your Notes app—refine recipes fast
- Sound hack: Place a folded towel under the machine to cut noise by 30%
Re-Spin Leftovers Perfectly
Level the surface with a spoon, cover, and freeze. Next time:
– Thaw 7 minutes at room temperature
– Re-spin with ½ Tbsp milk
– Texture improves with 1-2 re-spins (yes, you can re-freeze indefinitely!)
Quick-Fix Troubleshooting Table
| Emergency | Instant Solution | Prevention |
|---|---|---|
| Blade hits hump | Shave dome with spoon; re-spin | Always freeze lid-off |
| Chalky after Re-spin | Add 1 Tbsp milk; Re-spin | Use pudding mix in base |
| Leaking from lid | Reduce fill level by 10% | Never exceed max-fill line |
| No spin cycle | Re-seat bowl firmly | Clean bowl grooves weekly |
Master how to use Ninja Creami by treating freezing as your foundation and spinning as your finesse. Start with simple vanilla bases to learn texture cues, then experiment boldly with protein powders or fruit purées. Remember: every failed batch teaches you what your freezer—and your palate—prefer. With these steps, your first scoop will be creamy perfection, not icy disappointment. Your freezer isn’t just storage anymore—it’s your personal dessert factory, ready to spin magic in 90 seconds.

