
You’ve spent $50 on a thick-cut ribeye, carefully seasoned it, and seared it to perfection—but when you slice in, it’s either raw in the middle or dried out like shoe leather. That frustrating guessing game ends the moment you master your Ninja meat thermometer. This wireless probe eliminates temperature anxiety by monitoring your meat remotely via Bluetooth, alerting you the instant it hits your exact doneness target. Whether you’re smoking brisket at 3 AM or roasting chicken for a weeknight dinner, this guide delivers the precise steps to transform your cooking from inconsistent to restaurant-perfect.
Unlike traditional thermometers requiring constant door-opening, the Ninja meat thermometer’s 150-foot wireless range lets you monitor temperatures from your couch while keeping oven heat steady. With preset guides for every protein and alerts that prevent overcooking, it’s the secret weapon serious home chefs swear by. In the next 10 minutes, you’ll learn foolproof probe placement, app programming hacks, and troubleshooting fixes—so you never serve undercooked chicken or gray steak again.
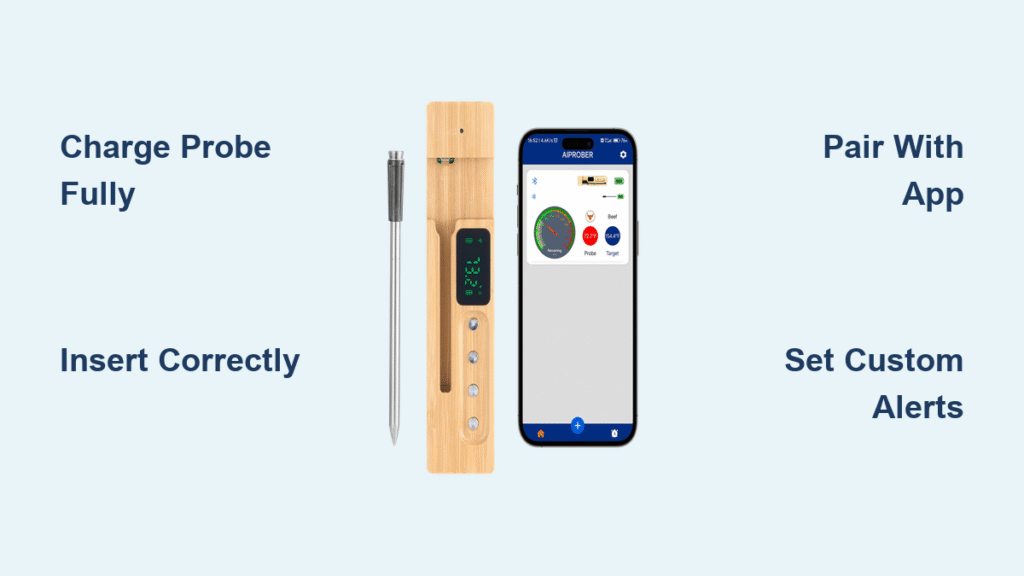
Initial Charging and App Connection Steps
Skip this critical first step, and you’ll face Bluetooth failures mid-cook. Immediately unbox your Ninja meat thermometer and dock the probe—it needs 2-3 hours for a full charge (red LED = charging, green = ready). Never skip the initial charge even if the battery seems adequate; partial charges degrade long-term performance. While it charges, download the Ninja Kitchen app and create your account—this syncs your user preferences across devices.
When pairing, stand within 3 feet of the probe with Bluetooth active on your phone. Tap “Add Device” in the app, then select “Ninja Meat Thermometer” from the list. If it doesn’t appear within 30 seconds, close other Bluetooth devices like speakers. A successful connection shows “Device Paired” with a checkmark icon—test it by walking 10 feet away. If the signal drops, restart your phone’s Bluetooth before re-pairing; microwave interference often causes this.
Pre-First-Use Verification Checklist
Before cooking, complete these 3 steps:
1. Wash the probe tip with warm soapy water (avoid submerging the handle)
2. Insert it into a glass of ice water—it must read 32°F within 1 minute
3. Confirm app notifications are enabled for alerts
Pro Tip: Store the charging dock near your stove—the magnetic backing sticks to range hoods for instant access. Most users overlook that the probe’s stainless steel shaft must air-dry completely before charging to prevent corrosion at the contact points.
Precision Probe Placement That Prevents Ruined Meals
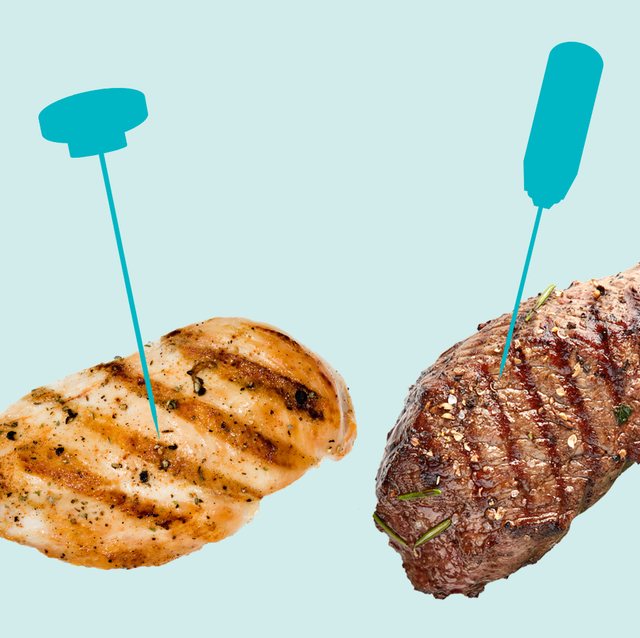
Inserting your Ninja meat thermometer incorrectly causes 90% of temperature errors. For steaks or chops, slide the probe horizontally through the side until the tip rests in the geometric center—never from the top down where it hits bone or fat. In whole birds, target the inner thigh muscle where it connects to the breast, angling away from the bone. Crucially: The probe must be 2-3 inches deep with the tip fully surrounded by meat, not touching pan surfaces.
Deadly Placement Mistakes to Avoid
- Bone contact: Reads 10-15°F lower than actual meat temp (causes undercooking)
- Fat pockets: Insulates the probe, delaying temperature rise (triggers false “done” alerts)
- Edge positioning: Registers ambient oven heat instead of meat core (yields 20°F+ inaccuracies)
Visual cue: When inserted correctly, the probe handle should sit perpendicular to the meat surface. For roasts, rotate the meat 90 degrees after inserting—the handle won’t wobble if seated properly.
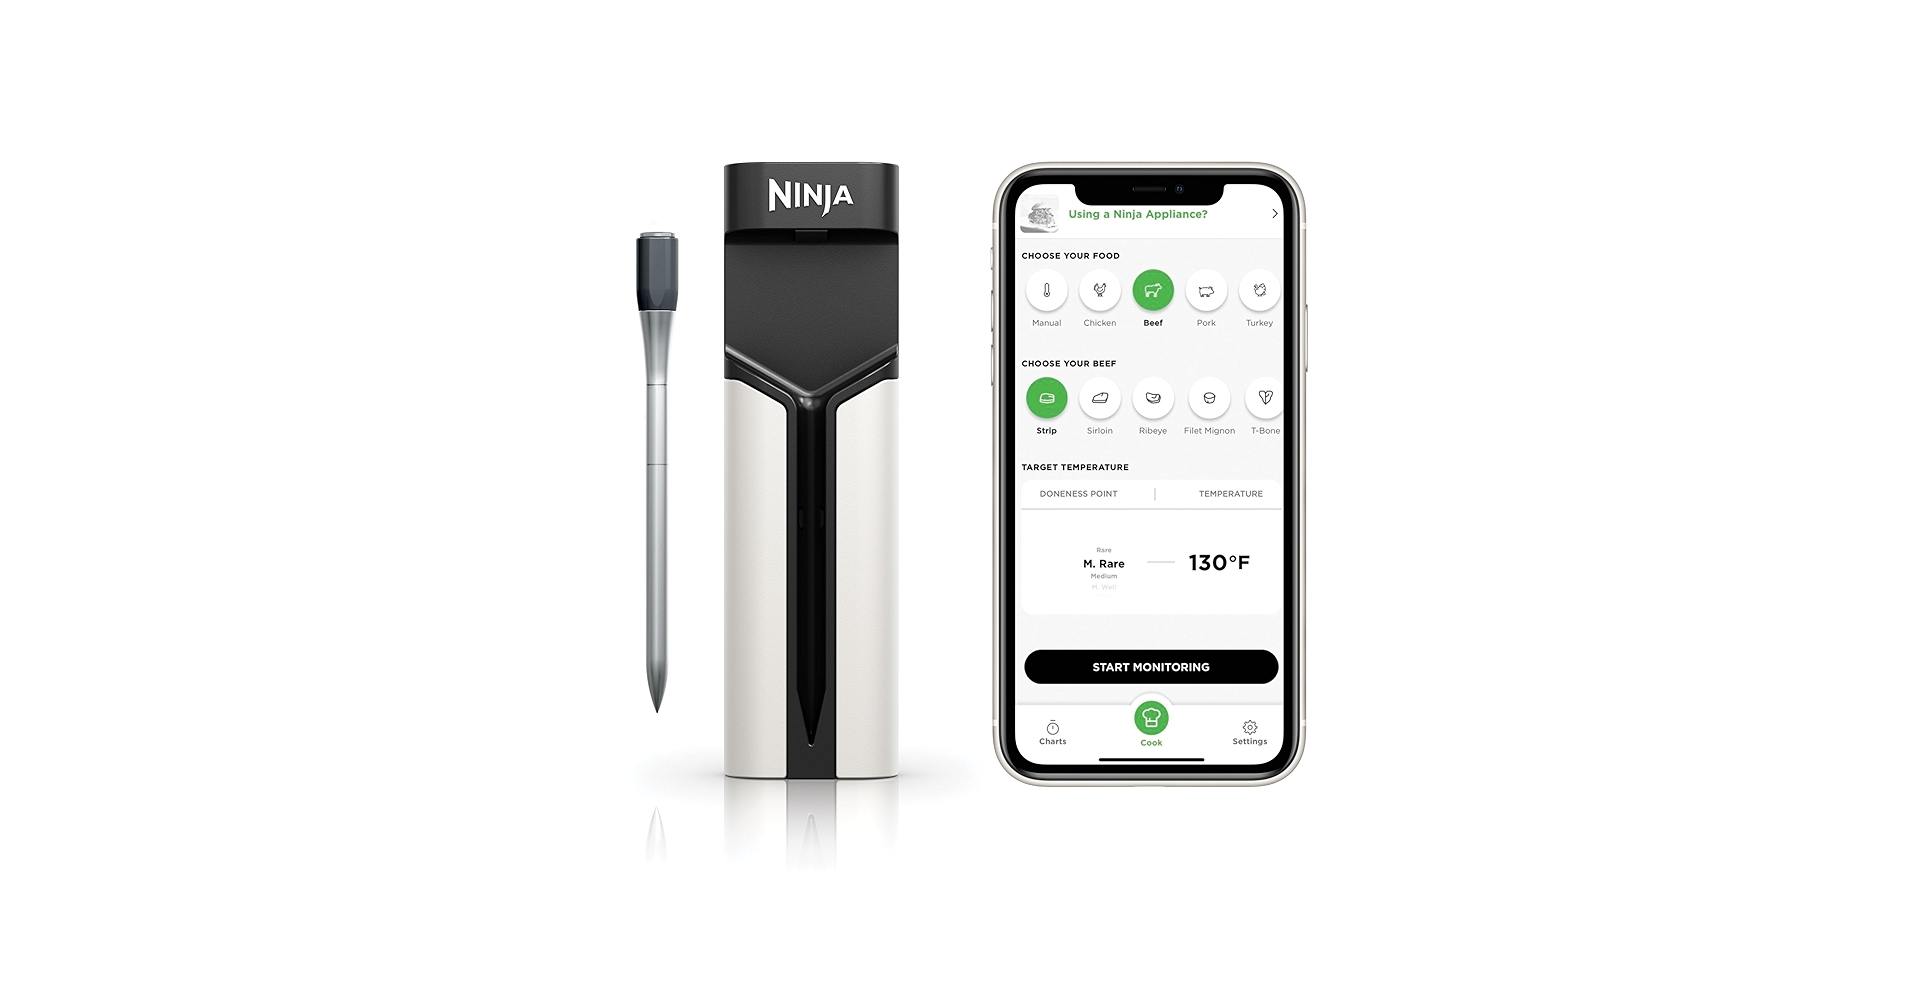
Program Custom Alerts Before Your First Cook

Stop memorizing temperature charts—the Ninja meat thermometer app has built-in doneness guides. Open the “Presets” tab and select your protein: Chicken instantly shows 165°F as the safe minimum, while salmon defaults to 145°F. But the real power lies in custom programming. Tap “Custom Temp,” enter your target (say, 130°F for medium-rare beef), then set stage alerts: Get notified at 120°F (10° before target) to prep resting boards, and again at 135°F if it overshoots.
Time-Saving Alert Hacks
- Rest timer auto-start: When meat hits target, the app counts down optimal resting time (10 mins for steaks, 30 for roasts)
- Overcook shield: Enable “5°F Over” alerts to catch carryover cooking
- Multi-stage cooking: For sear-finish methods, program initial sear temp (400°F) followed by oven finish (130°F)
Note: Always verify final temps with an instant-read thermometer for food safety—especially with poultry. The Ninja probe is accurate within 1°F, but cross-checking prevents rare calibration drift.
Grill, Oven, and Smoker-Specific Techniques
On gas grills, position the probe in indirect heat zones away from flames. When flipping burgers, never remove the probe—rotate the meat around it to maintain consistent readings. For charcoal setups, place the thermometer handle on the cooler side of the grill to avoid cable melting during flare-ups. The wireless range shines here: Monitor brisket from your patio chair while keeping the smoker lid sealed.
Oven Roasting Without Door Opening
Insert the probe before placing meat in a preheated oven, routing the cable through the door seal. Set your target temp, then close the door gently—the cable groove prevents pinching. For turkey, insert two probes: one in the breast (160°F target), another in the thigh (165°F). The app’s split-screen view tracks both simultaneously, alerting when either hits target. Critical: Never let the cable touch oven racks—it can melt at 500°F+.
Smoking Session Pro Tips
During 12+ hour smokes, the Ninja meat thermometer’s 36-hour battery outlasts most cooks. Place the probe in the thickest section of brisket flat, angled slightly upward to avoid fat pockets. Program 10°F interval alerts (180°F, 190°F, 195°F) to catch the stall phase. When wrapping in butcher paper, simply tuck the cable inside—no need to reset. The probe handles 150°F-275°F ranges flawlessly, but never exceed 572°F (the max rating).
Fix These 3 Common Issues in Under 60 Seconds
Bluetooth drops during cook: Immediately open the Ninja Kitchen app and tap the “Reconnect” icon (circular arrow). If unresponsive, slide your phone’s Bluetooth toggle off/on—this resets connections faster than restarting the app. Persistent issues? Move your phone away from microwaves or Wi-Fi routers emitting 2.4GHz interference.
Probe reads 20°F too high: This almost always means improper placement. Pull the probe out, wipe the shaft with a damp cloth, and reinsert deeper into the meat’s center mass. If inaccurate in ice water tests, recalibrate via the app’s “Settings > Sensor Check” menu—takes 30 seconds.
Charging failure: Clean the probe’s gold contacts and dock pins with a dry microfiber cloth (grease blocks charging). If the LED stays red after 3 hours, press the probe firmly into the dock until you hear a magnetic click. Still no green light? Try a different USB-C cable—the dock requires 5V/1A input.
Maximize Battery Life and Prevent Damage
After cooking, wash the probe shaft immediately—dried juices corrode the sensor tip. Use a soft sponge, never steel wool, and never submerge the handle. Sanitize weekly with diluted bleach (1 tbsp/gallon water), then air-dry for 2 hours before charging. Critical: Always dock the probe after cleaning—it trickle-charges to 100% while stored, unlike leaving it at partial charge.
Battery Lifespan Extenders
- Charge when the app shows 20% (not 0%) to reduce lithium-ion stress
- Store docked in a cool, dry spot—avoid garages where temps exceed 104°F
- Skip charging after short cooks (<30 mins); the battery handles 500+ cycles
Warning: If the probe feels warm during charging, unplug immediately—it indicates faulty contacts. Discontinue use if the shaft bends more than 5 degrees; internal wiring damage risks inaccurate readings.
Warranty Activation and Pro Support Shortcuts
Ninja’s 1-year warranty covers sensor failures but excludes melted cables from grill flare-ups. To file a claim, email support@ninjakitchen.com with your receipt and a 15-second video showing the issue. Pro tip: Mention “Guide Reference 7B” in your message—this routes you to advanced technicians who resolve 80% of cases without returns.
For urgent issues during holiday cooking, use the app’s live chat between 7-9 AM EST—support staff prioritize pre-Thanksgiving/Christmas queries. Describe your problem as: “Probe [issue] during [cook type] at [temp]” (e.g., “Bluetooth drop during 250°F brisket smoke”). This triggers faster troubleshooting than generic “it’s broken” messages.
Mastering your Ninja meat thermometer means never second-guessing doneness again. Start with simple oven roasts to build confidence, then leverage multi-probe tracking for holiday feasts. Remember: Perfect placement prevents 95% of errors, custom alerts eliminate guesswork, and immediate post-cook cleaning ensures years of accuracy. Within three uses, you’ll instinctively know when that turkey thigh hits 165°F from across the house—transforming stressful cooking into confident, consistent results. Your next perfectly cooked steak awaits; fire up the grill and let the thermometer do the worrying.


