
Your new Ninja grill sits on the counter, promising restaurant-quality steaks and perfect smoke flavor—but where do you start? Whether you’ve got the Woodfire Outdoor model or the Foodi Indoor version, mastering these versatile machines unlocks everything from crispy air-fried wings to competition-worthy brisket. This guide transforms confusion into confidence with step-by-step instructions that actually work. Learn exactly how to use Ninja grill features properly to avoid common mistakes that ruin your first cookout.
Choose the Right Ninja Grill for Your Space and Needs

Woodfire Outdoor vs Foodi Indoor: Critical Differences You Must Know
Don’t waste money on the wrong model—your cooking space determines which Ninja grill works best. The Woodfire Outdoor runs exclusively on your patio or deck with electric heat and wood pellets for authentic smoke flavor. Its ceramic-coated cooking surface handles everything from delicate fish to 10-pound briskets. Meanwhile, the Foodi Indoor Smokeless Grill operates safely inside your kitchen with its special ceramic nonstick coating that minimizes smoke while delivering perfect grill marks. If you live in an apartment with limited outdoor space, the Woodfire’s compact footprint (just 22″ wide) makes it perfect for balconies, while the Foodi replaces five appliances on your counter.
Capacity Comparison: How Many Burgers Fit on Each Model
Stop guessing how much food your Ninja can handle—know these exact capacities before your next cookout. The Woodfire Original’s 14.5″ × 10.5″ surface fits six burgers, four chicken breasts, or three steaks simultaneously. Upgrade to the XL model for 30% more space that accommodates two whole rib racks, 10 burgers, or even two 7-pound chickens. The Foodi Indoor’s 12″ circular cooktop maxes out at six steaks (though four delivers better results), while its air fry basket handles two pounds of wings per batch. Always leave space between items—overcrowding causes uneven cooking and prevents proper searing.
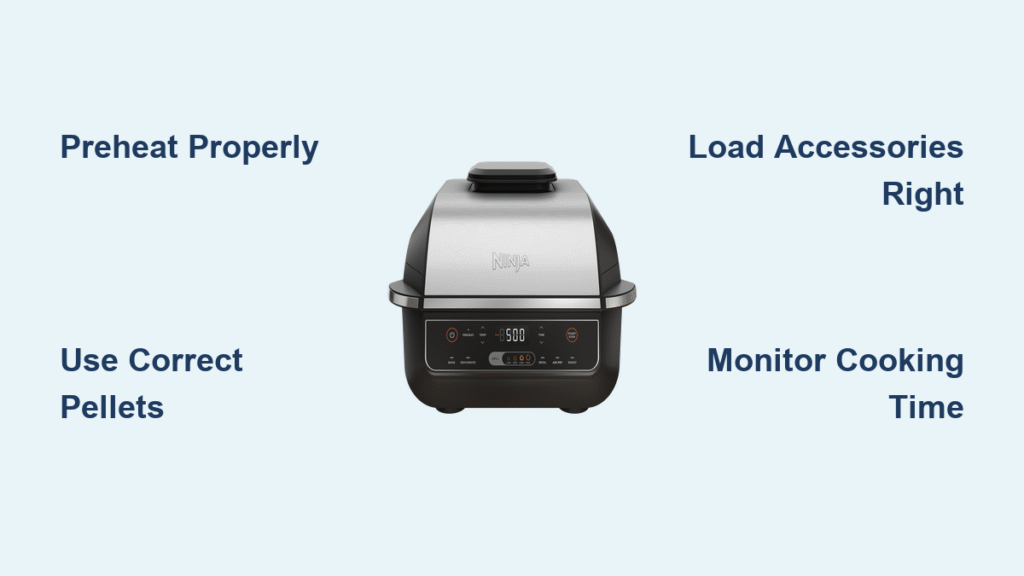
Essential Setup Steps Before Your First Cook
Inserting Accessories Properly: Grill Plate vs Griddle vs Crisper Basket
Most beginners damage their Ninja by forcing accessories incorrectly—here’s how to do it right. For perfect sear marks on steaks and burgers, snap the grill plate into place with the ridges facing up until you hear a definitive click. When making pancakes or smash burgers, flip the plate to use the flat griddle side. Air frying requires the crisper basket—align the handle with the front of the unit and press down firmly until it locks. Never force accessories; if they don’t click easily, rotate them slightly until they seat properly. This ensures even heat distribution and prevents frustrating cooking failures.
Woodfire Pellet Loading: Avoid the #1 Smoke Flavor Mistake
New Woodfire owners often ruin their first cook by using wood chips instead of pellets—this critical error produces bitter smoke and voids your warranty. Only use Ninja-approved wood pellets in the smoke box, never wood chips. For light smoke on delicate foods like chicken or fish, add just 2-3 tablespoons of pellets. Go heavy (a full scoop) for brisket or pork butt that needs intense smoke flavor. Load pellets before preheating—once the grill reaches temperature, press the Woodfire Flavor button to auto-ignite them. If you miss the ignition window, add more pellets and press the button again.
Perfect Preheating: Why Timing Varies by 12 Minutes

Woodfire Outdoor Preheat Times by Weather Conditions
Cold weather adds significant preheating time to your Woodfire Outdoor—ignoring this causes unevenly cooked food. In 70°F+ weather, preheat takes 12 minutes for proper searing. Below 50°F? Add 5-8 minutes to reach optimal temperature. The Foodi Indoor preheats consistently in 8-12 minutes regardless of kitchen temperature. Never skip preheating—this crucial step ensures instant searing that locks in juices. Watch for the “add food” prompt on the display; adding food too early creates steam that prevents proper browning.
Execute Flawless Cooking with the 9-Step Ninja Method
The Universal Cooking Process That Works for All Models
Follow these exact steps every time to guarantee perfect results from your Ninja grill. First, insert your chosen accessory until it clicks securely. Select your cook function using the control dial—grill for steaks, air crisp for wings. Woodfire users press the Woodfire Flavor button now for smoke. Set temperature per your recipe (more on ideal settings below), then add 2-3 minutes to the cooking time to prevent auto-shutoff. Wait for the “add food” prompt before placing items on the hot surface. Close the lid firmly—you’ll hear it seal properly. Monitor doneness via thermometer (best method) or visual cues. Finally, rest meats appropriately before serving.
Master Temperature Settings for Perfect Results Every Time
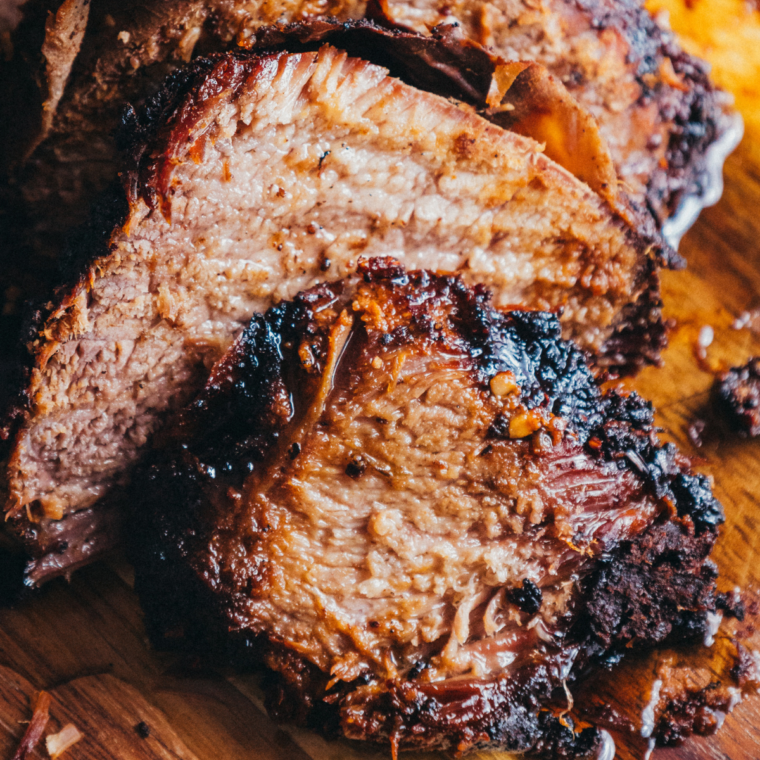
Woodfire Outdoor Grill Time & Temperature Cheat Sheet
Stop guessing cooking times—use these verified settings for flawless results. For chicken breasts, grill at Medium heat for 19-22 minutes until reaching 165°F internally. Filet mignon needs Medium heat for 9-12 minutes to hit 130°F for medium-rare. Brisket requires patience: smoke at 225°F for 5.5 hours until it reaches 205°F internally. Chicken wings achieve ultimate crispiness with Air Crisp at 390°F for 20 minutes, then boost to 450°F for the final 5 minutes. Always insert your thermometer probe through the thickest part of the meat, avoiding bones for accurate readings.
Control Smoke Like a Pitmaster with These Advanced Techniques
Adjusting Smoke Intensity for Different Foods
Professional results come from matching smoke intensity to your food type—don’t treat all cooks the same. For delicate items like fish or mac and cheese, use light smoke (just 2-3 tablespoons of pellets). Heartier meats like brisket or pork butt need heavy smoke (a full scoop). Add pellets before they completely burn out—wait too long and you’ll miss the ignition window. While electric heat won’t create a traditional smoke ring, the flavor remains exceptional. Remember that foods cook 20-30% faster than traditional grills, so check for doneness 5 minutes early.
Clean Your Ninja Grill in 5 Minutes With This Daily Routine
Dishwasher-Safe Cleaning That Preserves Nonstick Coating
Most owners damage their Ninja’s ceramic coating with abrasive cleaners—here’s the safe method. All accessories (grill plate, griddle, crisper basket) are completely dishwasher safe—place them on the top rack. For quick hand cleaning, wipe warm (not hot) surfaces with a damp cloth and mild soap. Never use metal scrapers or steel wool—they scratch the nonstick surface permanently. Empty the Woodfire’s smoke box after each use to prevent ash buildup. Store pellets in a sealed container to maintain freshness for optimal smoke flavor.
Fix These 4 Common Ninja Grill Problems Immediately
“Why Isn’t My Woodfire Producing Smoke Flavor?”
This frequent issue usually stems from using wood chips instead of pellets—a critical error that creates bitter smoke. Only Ninja-approved pellets work correctly in the smoke box. Another cause: adding pellets after preheating. Load pellets before starting the grill, then press the Woodfire Flavor button when prompted. If you miss the ignition window, add more pellets and press the button again. For overpowering smoke, reduce pellet quantity—delicate foods need just 2-3 tablespoons.
“My Food Cooks Too Fast—What’s Wrong?”
Ninja grills heat more efficiently than traditional units, cooking foods 20-30% faster. The solution? Reduce cooking times by 20% and monitor closely. Start checking doneness 5 minutes before the recipe suggests. For large cuts like brisket, trust the internal temperature (205°F for perfect tenderness) rather than exact timing. Indoor model users should cook smaller batches—overcrowding causes steaming instead of searing.
Maximize Your Ninja’s Performance With These Pro Tips
Resting Times That Transform Tough Meats Into Tender Masterpieces
Skipping proper resting ruins even perfectly cooked meats—follow these exact times. Large cuts (brisket, pork butt, prime rib) need 30-60 minutes resting wrapped in foil. Steaks and chops require just 3-5 minutes. Wings, burgers, and hot dogs serve immediately—no rest needed. This critical step allows juices to redistribute, preventing dry, disappointing results. For indoor models, utilize the smart thermometer feature to cook hands-free while preparing sides—just insert the probe, select your doneness level, and the grill alerts you when perfect.
Master these fundamentals and your Ninja grill becomes your most versatile cooking tool—from Tuesday night chicken breasts to weekend competition-style brisket. The key is trusting the technology while respecting the faster cooking times. Start with simpler proteins, then graduate to low-and-slow smoking as confidence builds.


