
Your Ninja smoothie maker sits on the counter, promising nutrient-packed drinks but staring back with confusing buttons and attachments. You’ve tossed in frozen berries only to face a jammed motor or watery disaster, wondering how to use ninja smoothie maker correctly. These powerful machines can transform frozen fruit into velvet-smooth breakfasts and even whip up nut butters—but only when you master their unique assembly, settings, and safety protocols.
Most users skip critical setup steps that cause leaks or motor strain, while others overload cups beyond max fill lines, triggering frustrating red-light errors. This guide cuts through the confusion using Ninja’s official specifications to show you exactly how to use ninja smoothie maker components for flawless results. You’ll learn pitcher assembly tricks, Auto-IQ® program hacks, and emergency fixes for blinking lights—all drawn from Ninja’s technical documentation.
Stop battling your blender. By the end, you’ll confidently layer ingredients, select perfect settings for ice-crushing or hummus, and clean like a pro. Let’s turn that intimidating countertop tower into your daily health ally.
Set Up Your Ninja Smoothie Maker
Choose the Right Surface
Place your Ninja on a stable kitchen countertop or table away from sink splashes. The surface must be completely dry to prevent electrical hazards and even to stop violent vibrations during high-speed blending. Position it so the power cord reaches an outlet without stretching across walkways—tripping over cords could shatter the pitcher. Never operate on wobbly surfaces like folding tables, as instability forces the motor to work harder, shortening its lifespan.
Unbox and Inspect Components
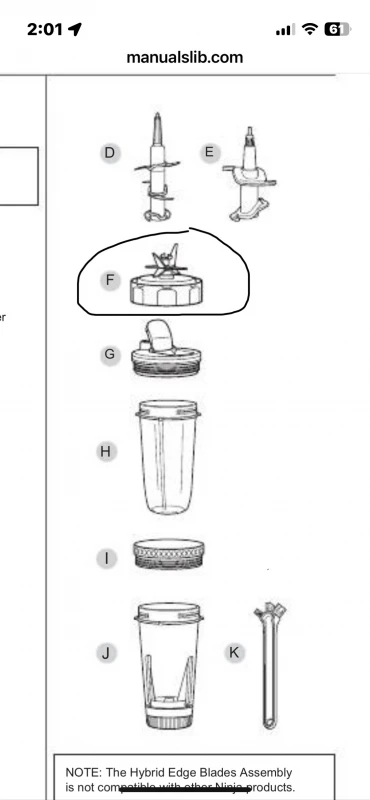
Remove all parts from packaging: pitcher or single-serve cups, blade assembly, lid, and twistable lids for spread functions. Immediately check for shipping damage—run fingers along pitcher seams for hairline cracks and inspect blade edges for bends. Even minor imperfections cause leaks or uneven blending. Verify the blade assembly spins freely when twisted by hand; resistance indicates internal shipping damage. If parts arrive broken, contact Ninja support before first use—warranty claims require prompt reporting.
Assembly for Pitcher Models
- Insert the stacked blade assembly onto the pitcher’s drive shaft, pressing down until fully seated
- Twist clockwise firmly until you hear a distinct click—this locks it to the drive system
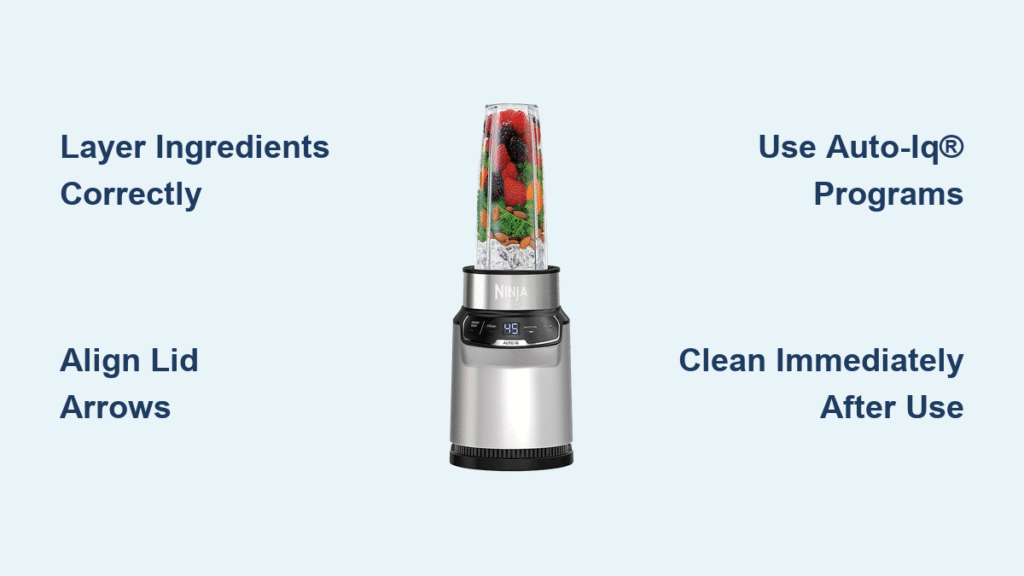
- Place the lid on the pitcher, pressing straight down (not at an angle) until it seals completely
- Align the white arrow on the lid with the arrow on the pitcher handle
- Set the pitcher on the motor base and rotate clockwise until it locks into place with a solid thunk
Skipping the arrow alignment or insufficient twisting causes leaks and blinking red lights. Never force components—gentle but decisive pressure ensures safety interlocks engage.
Master Single-Serve Operation
Fill Your Cup Correctly
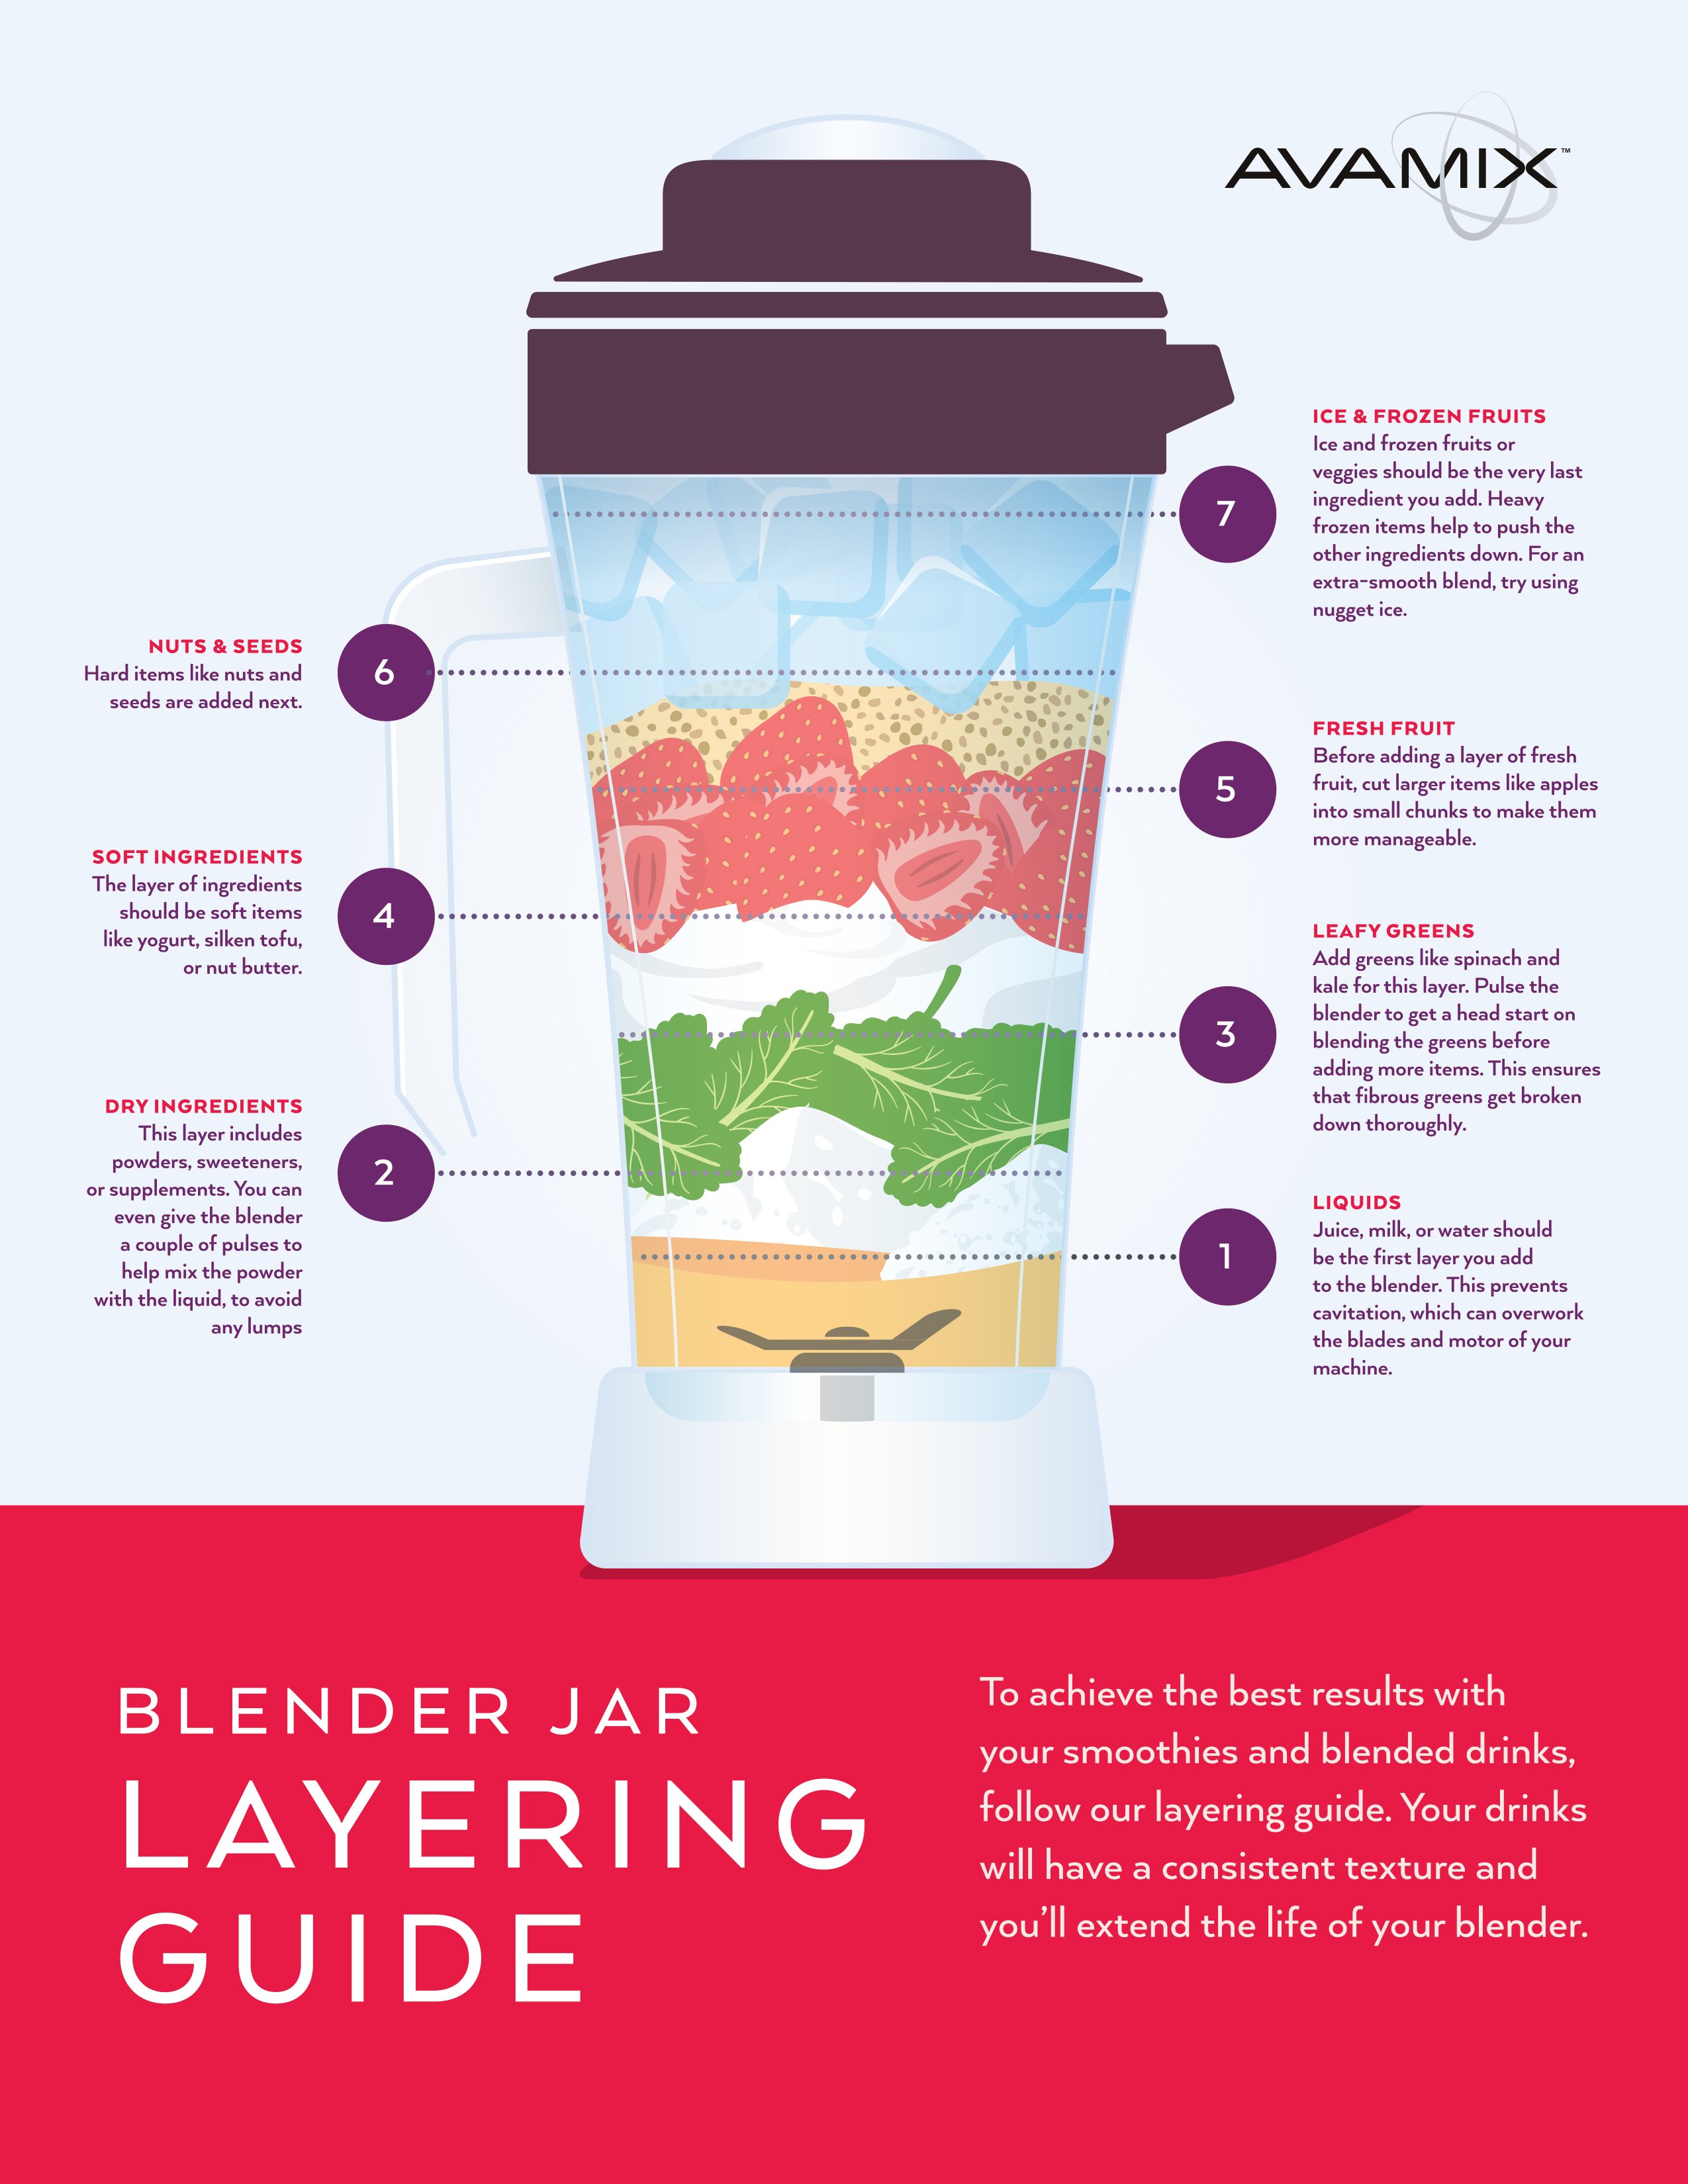
Always pour liquid bases like almond milk or juice first to cushion blades. Add soft ingredients (yogurt, bananas) next, then frozen items (berries, spinach) on top. This layering prevents air pockets that stall motors. Stop filling ½ inch below the max line—ingredients expand during blending, and overfilling triggers overflow or red-light errors. For thick recipes like nut butters, leave even more space to allow ingredient movement.
Attach Blade Assembly
Screw the blade assembly onto your cup clockwise using moderate pressure—just until resistance increases. Over-tightening cracks cup threads, while loose connections leak during blending. Test security by flipping the sealed cup upside down; no wobbling should occur. If ingredients seep from the rim, disassemble and re-tighten. Never operate with a loose blade assembly—it’s a major safety hazard.
Single-Serve Mode Steps
- Remove the pitcher from the motor base (if attached)
- Place your filled cup blade-side down on the base
- Press the dedicated single-serve button—don’t use speed settings
- Let the Auto-IQ® program run (30-60 seconds) without lifting the cup
- Wait 5 seconds after stopping before removing to avoid spills
Using speed controls instead of the single-serve button often under-blends ingredients. The preset program automatically adjusts cycles for perfect texture.
Decode Control Panel Settings
Speed Control Basics
- Speed 1: Gentle mixing for delicate ingredients like leafy greens—prevents fiber shredding
- Speed 2: Standard for most smoothies; balances power and texture control
- Speed 3: Reserved for ice crushing or frozen fruit; never run empty to avoid blade damage
Function Mode Selection
- Pulse: Manual bursts for chunky salsas—press and release for controlled chopping
- Blend/Smoothie: One-touch cycle for creamy drinks; stops automatically when smooth
- Extract: 45-second high-speed cycle maximizing nutrient release from greens
- Spread: Slow, powerful blending for nut butters; requires periodic scraping
Auto-IQ® Program Magic
These preset programs adjust speed and duration automatically based on your selection. Choose “smoothie,” and the Ninja runs a precise sequence: pulse to break chunks, blend to emulsify, then extract to maximize nutrition—no button pressing needed. For frozen desserts, the “ice crush” program cycles between speeds to create slushy textures without melting. Always select the matching Auto-IQ® setting—manual speed overrides void warranty protections.
Fix Common Blending Problems
Red Light Blinking? Do This
A blinking red light means safety interlocks aren’t engaged. Troubleshoot in this order:
- Press the lid straight down with palm pressure until it clicks
- Realign the white arrows on lid and handle—misalignment is the #1 cause
- Lift and reseat the pitcher on the base, rotating clockwise to lock
- Verify no ingredient buildup under the pitcher’s locking mechanism
If the light persists after these steps, unplug for 60 seconds to reset the motor—never force operation.
Prevent Overflow Disasters
Layer ingredients as instructed (liquids → soft → frozen) and never exceed the max fill line. For thick recipes like hummus, fill cups only halfway. If blending hot liquids like soups, leave the vent hole uncovered and cover with a towel to release steam. Overfilling strains motors and voids warranties—Ninja explicitly states this in all manuals.
Handle Stuck Blades
If ingredients jam the blades, immediately stop blending. Remove the cup and:
– Add 2 tablespoons more liquid for lubrication
– Use pulse function in 3-second bursts to break chunks
– For frozen fruit, let ingredients thaw 2 minutes first
Never use utensils to dislodge items while plugged in—this damages blades.
Clean Your Ninja Properly
Immediate Post-Blend Care
Rinse blades and lids under hot water within 5 minutes of use. Dried smoothie residue bonds to plastic like cement and requires dangerous scrubbing near razor-sharp blades. Hold the blade assembly by its base (never the edges) while rinsing. For sticky nut butters, soak cups in warm water for 2 minutes before rinsing.
Self-Cleaning Cycle Method
- Fill pitcher halfway with warm water and 1-2 drops dish soap
- Run 30-second blend cycle (use “clean” setting if available)
- Pour out soapy water and rinse twice with clean water
- Air-dry upside down on a rack—never towel-dry interiors
This method cleans hard-to-reach crevices but isn’t sufficient for nut butters—always pre-rinse sticky residues.
Dishwasher Guidelines
Place blades and lids on the top rack only—bottom racks expose them to heating elements that warp plastic. Pitchers and cups can go on any rack but position them vertically so water drains completely. Never use abrasive detergents; Ninja recommends Dawn® Platinum. Dishwasher cleaning voids warranties if components warp from improper placement.
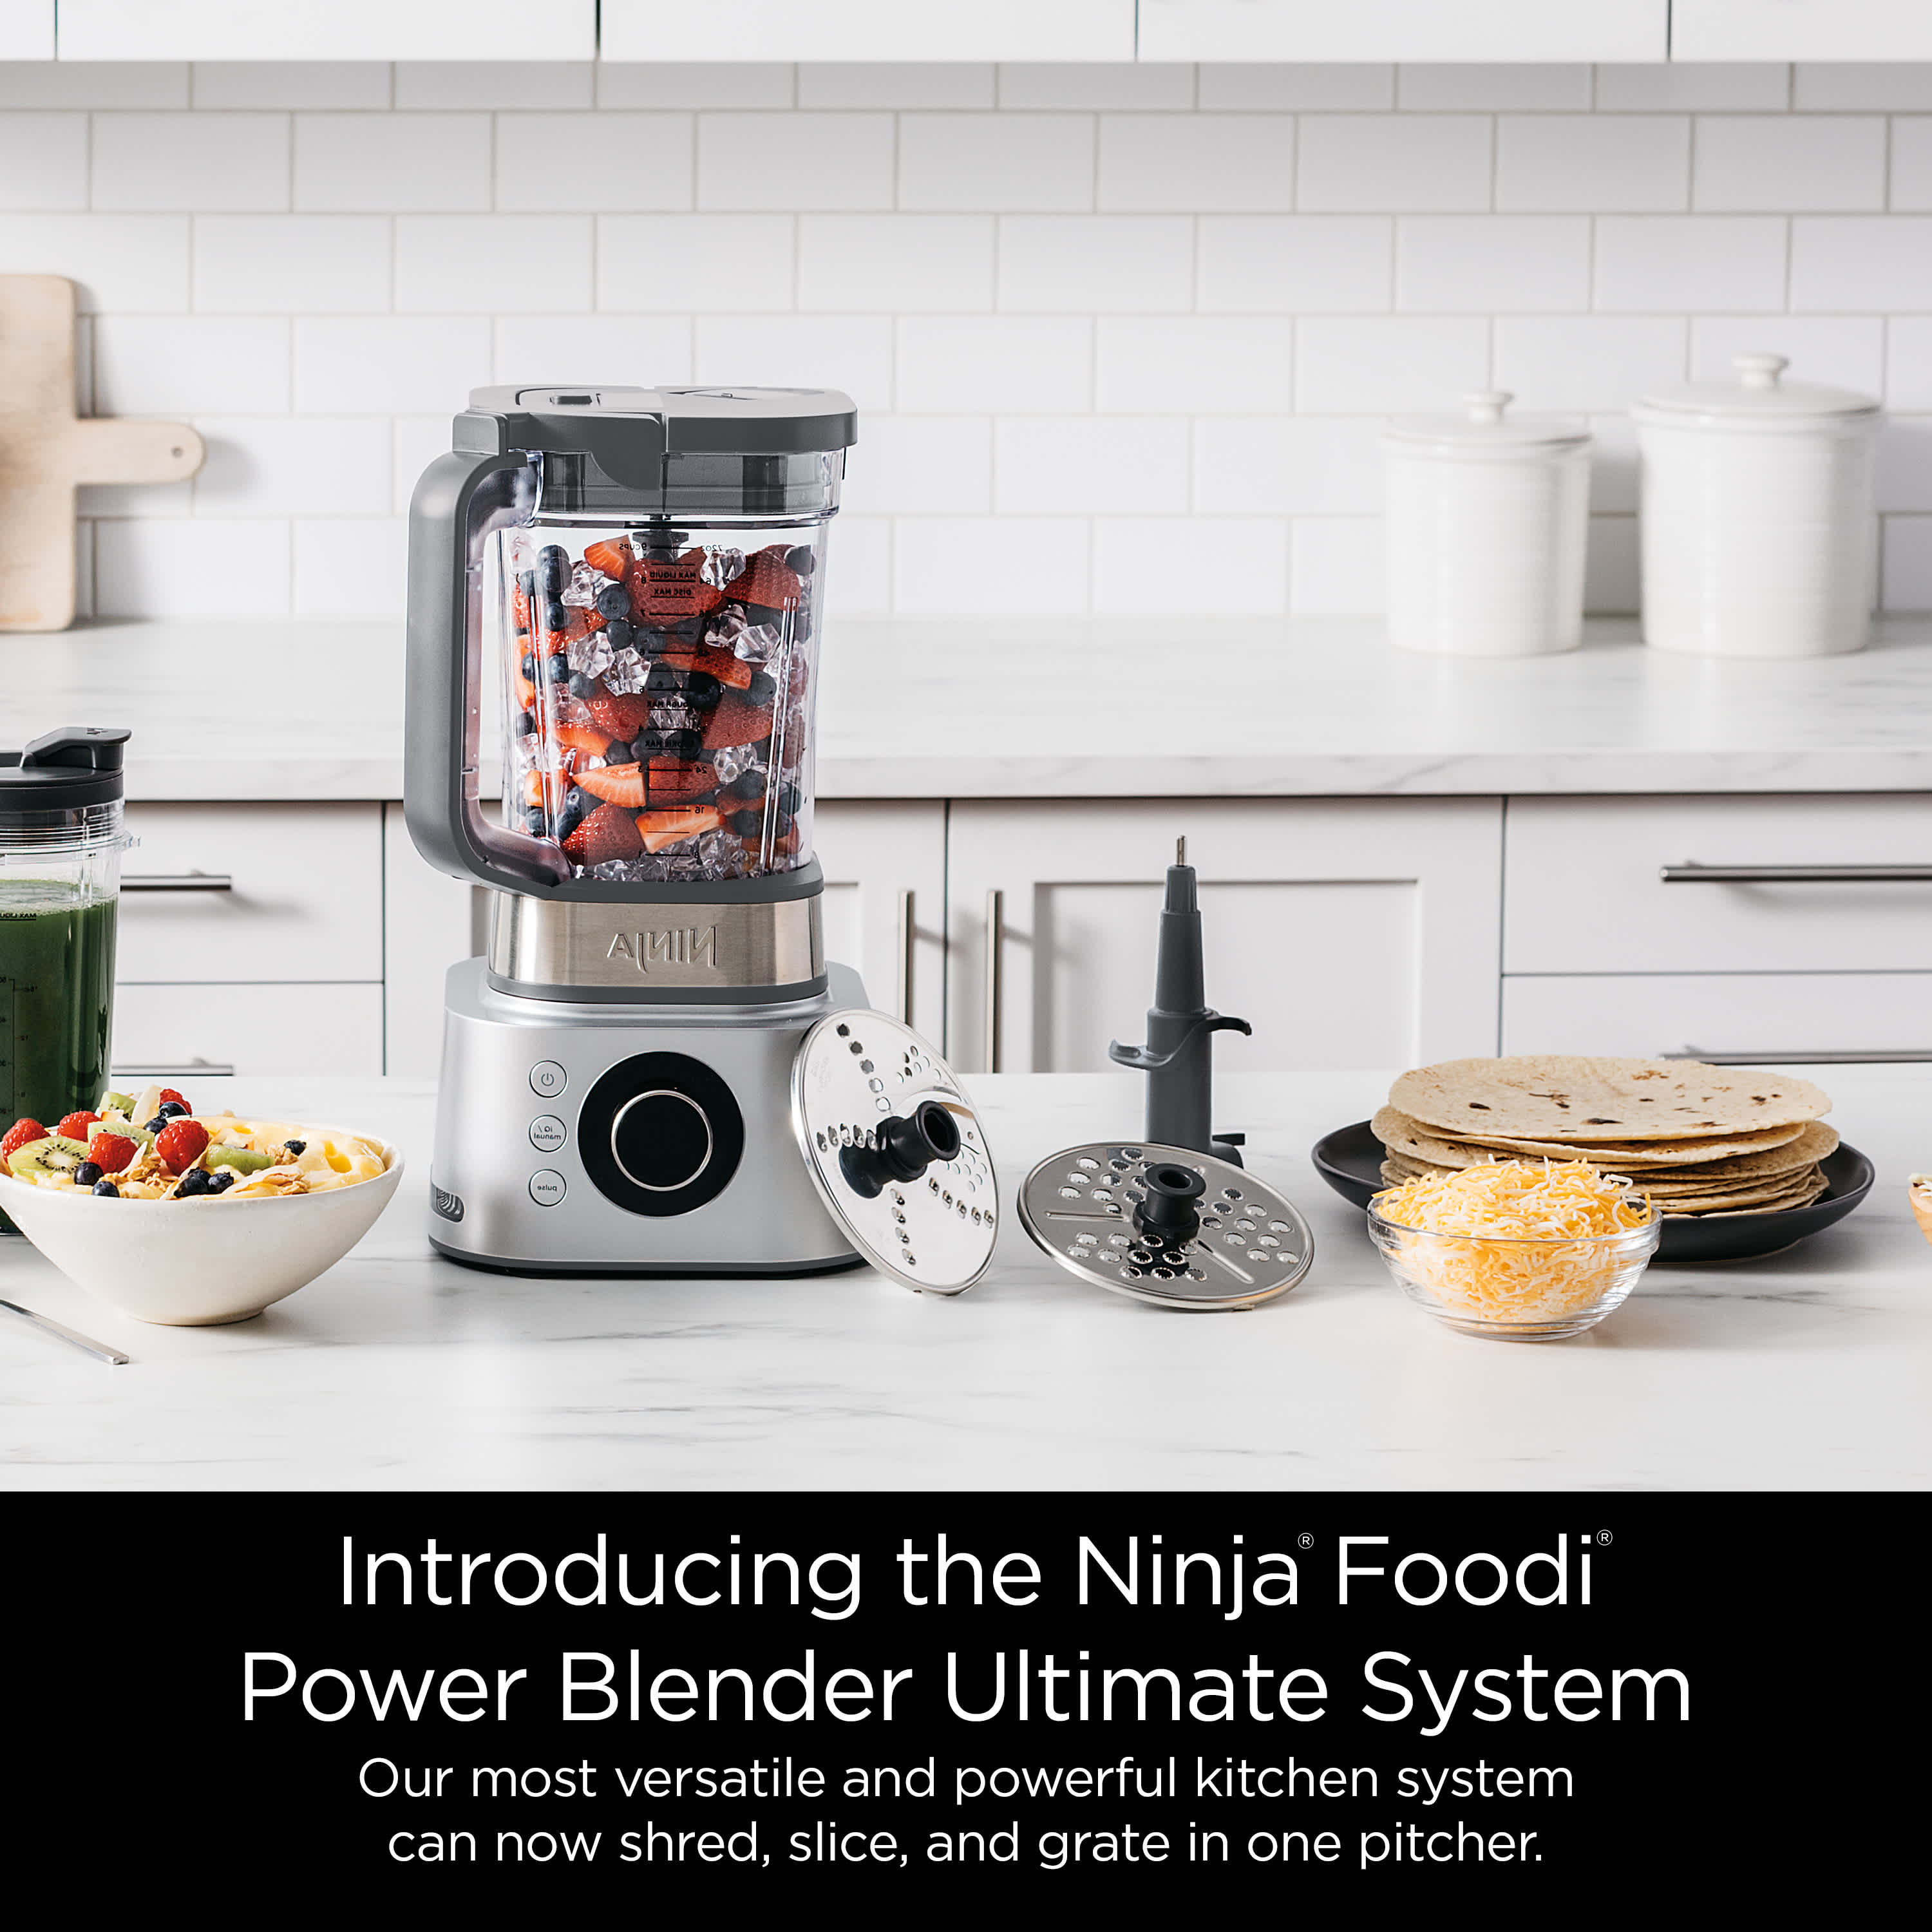
Advanced Ninja Techniques
Perfect Smoothie Formula
Start with 1 cup liquid base (milk, coconut water), filling ⅓ of the pitcher. Add ½ cup soft ingredients (avocado, yogurt), then 1 cup frozen items (mango, spinach) on top. This creates a vortex that pulls ingredients downward—no more “frozen chunks at the top.” For thicker smoothies, reduce liquid by ¼ cup and add ice last.
Nut Butter Mastery
Use the spread function exclusively for nut butters. Pulse 5 times first to break nuts, then run spread mode for 45 seconds. Drizzle 1 tsp oil through the lid opening while blending for silkier texture. Stop every 20 seconds to scrape sides with a silicone spatula—never use metal tools. Almonds require 2 minutes; cashews take 90 seconds.
Hot Soup Solutions
Ninja Foodi Cold & Hot models only: Add raw vegetables, broth, and cream directly to the pitcher. Select “hearty soup” for chunky textures or “smooth soup” for velvety results. The machine cooks and blends in 30 minutes—no pre-cooking needed. For non-thermal models, cook ingredients first, then blend in 20-second pulses to avoid steam explosions.
Dressing and Sauce Tips
Alternate 5-second pulse and blend cycles for emulsified vinaigrettes. Start with ¼ cup vinegar, add seasonings, then drizzle oil in a slow stream through the lid opening while blending. Portable models’ 30-second cycle creates restaurant-quality dressings in one go. For pesto, add nuts first to create a paste base before adding greens.
Store and Transport Safely
To-Go Cup Advantages
Twist & Go vessels detach completely from the base for spill-proof portability. The Precision Pint (18 oz) fits cup holders, while Power Cups (24 oz) handle post-workout shakes. Always lock the travel lid’s slider before transporting—Ninja’s design prevents leaks even when inverted. Never store cups with blades attached; moisture causes corrosion.
Storage Best Practices
Store pitchers upside down on a shelf to prevent dust buildup inside. Keep blades in a dedicated drawer organizer—loose storage risks cuts. Wrap cords loosely around the base’s designated groove; tight coils damage wiring. For long-term storage, place silica gel packets inside cups to absorb moisture.
Maximize Performance Daily
Ingredient Preparation Tips
Cut apples, carrots, or beets into 1-inch cubes for even blending—larger pieces strain motors. Freeze fruit in single layers on parchment paper before bagging to prevent clumping. Pre-portion smoothie packs in freezer bags (e.g., “Green Machine”: spinach, banana, mango)—dump and blend for 60-second breakfasts.
Motor Protection Strategies
Never blend more than 6 cups total per session—give the motor 2-minute cooldowns between batches. Start at Speed 1 for 10 seconds before increasing to prevent sudden jams. For ice-heavy recipes, add liquid gradually through the lid opening while blending at Speed 2. Overheating triggers automatic shutdowns that require 30-minute resets.
Warranty and Support Resources
Register your Ninja within 30 days online for full warranty coverage. The 60-day money-back guarantee applies to U.S. purchases—keep your receipt. Download model-specific manuals from Ninja’s website for troubleshooting videos. Recall checks are critical; some 2022 models required blade assembly replacements.
Mastering how to use ninja smoothie maker transforms healthy eating from chore to joy. Remember: proper layering prevents jams, Auto-IQ® programs eliminate guesswork, and immediate cleaning prevents buildup. Start with simple smoothie recipes, then experiment with nut butters and sauces as your confidence grows. Your Ninja will become the most-used appliance in your kitchen—once you know exactly how to use it.


