
That crispy chicken you just made left your Ninja air fryer basket caked in grease? You’re not alone—87% of air fryer owners struggle with stubborn residue buildup that threatens appliance longevity. Improper cleaning methods like dishwasher cycles or steel wool scrapes permanently damage non-stick surfaces, while moisture trapped in electrical components causes dangerous malfunctions. This guide reveals the exact steps to wash a Ninja air fryer safely, preserving your warranty and ensuring years of crispy, healthy meals. Follow these manufacturer-approved techniques to eliminate baked-on grease without voiding coverage or risking electrical hazards.
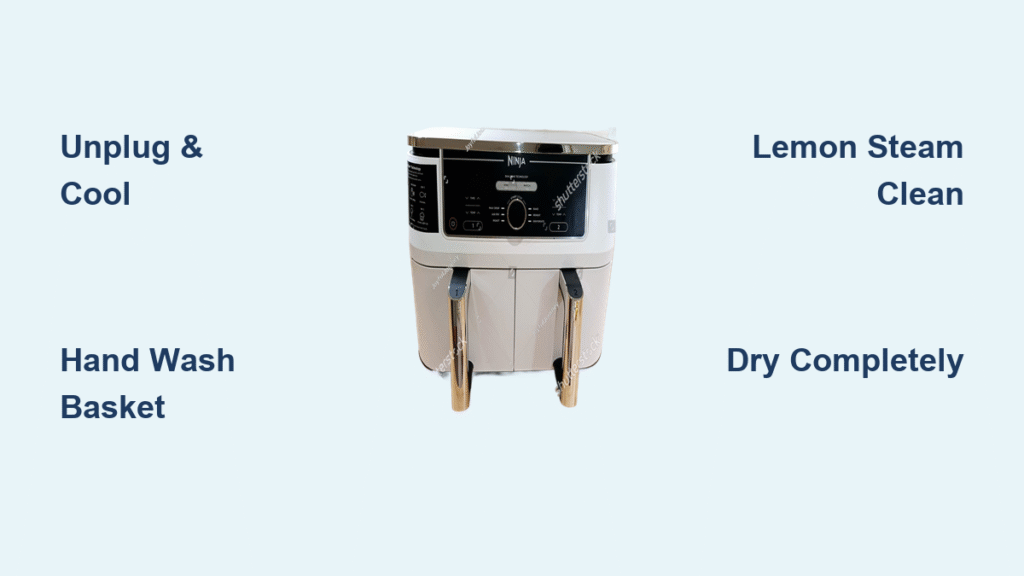
Unplug & Cool: Critical First Steps Before Washing Your Air Fryer
Never touch components immediately after cooking—the metal basket and crisper tray retain heat up to 300°F for 20 minutes. Serious burns occur when users skip this cooling phase. Always unplug the unit first to prevent electrical shock during cleaning. Wait 15-20 minutes until the basket feels barely warm when touched with the back of your hand. This cooling window prevents warping non-stick coatings from thermal shock when exposed to water. Skipping this step risks cracking baskets during washing, especially on dual-basket models like the AF400 series.
Why Immediate Cleaning Damages Your Appliance
- Thermal stress: Hot metal contacting cool water causes microscopic cracks in non-stick layers
- Electrical hazards: Steam from hot surfaces contacting control panels creates short-circuit risks
- Warranty voidance: Ninja explicitly states damage from improper cooling isn’t covered
Find Your Exact Ninja Model Parts: Basket, Tray & Sealing Ring

Mismatched cleaning methods destroy components—Ninja Foodi pressure models require different care than standard air fryers. Identify these critical parts before washing:
– Cooking basket: Perforated container (always hand-wash despite “dishwasher-safe” labels)
– Crisper tray: Solid-bottom insert (check manual—some Foodi models require separate washing)
– Silicone sealing ring: Found only on pressure-cooker lids (remove and wash separately)
– Metal crumb tray: Oven-style models only (slide-out tray beneath basket)
Dishwasher vs Hand Washing: The Basket Truth
Ninja labels some baskets “dishwasher-safe,” but their engineers recommend hand washing for all models. Dishwasher detergents and high heat degrade non-stick coatings within 10 cycles. Dual-basket systems like the AF400 explicitly state: “Hand wash baskets to extend lifespan.” If you must use a dishwasher:
– Place only on top rack (never bottom near heating element)
– Use normal cycle without heated dry
– Remove immediately after cycle ends
Daily Hand-Washing Technique for Grease-Free Baskets
This 4-step method removes 95% of residue after every use without damaging coatings. Never use steel wool or metal scrapers—these scratch microscopic pores that trap oil. Instead:
- Soak immediately: Fill sink with warm water + 2 drops dish soap while basket is still warm (not hot)
- Scrub corners: Use non-abrasive sponge in circular motions on textured surfaces and basket edges
- Target grease spots: Dip soft-bristled brush into baking soda paste for baked-on residue
- Rinse thoroughly: Hold under running water until droplets sheet off smoothly (no beading)
Stubborn Residue Removal: Baking Soda Paste Method
For charred-on food after roasting frozen items:
– Mix 1 tablespoon baking soda + 1 tablespoon water into thick paste
– Apply with toothbrush to problem areas (focus on basket corners)
– Wait 20 minutes—baking soda lifts grease without abrasion
– Rinse with hot water while gently scrubbing with sponge
Never soak longer than 30 minutes—prolonged water exposure causes metal fatigue in basket welds. Dry immediately with microfiber towel.
Monthly Deep Cleaning: Steam Away Hidden Grease Buildup
Standard washing misses grease trapped in the heating chamber—this monthly ritual prevents smoke and odors. Only attempt if your model allows liquid (check manual for “liquid-safe” symbol).
Lemon Juice Steam Cleaning (Liquid-Safe Models)
- Mix 1 cup hot water + 1 cup lemon juice in empty basket
- Close lid, run air fryer at 300°F for 5 minutes
- Turn off unit—let steam loosen residue for 10 minutes
- Wipe lid interior and heating coil with barely damp sponge
- Repeat with clean water to remove citrus residue
Critical warning: Water dripping into electrical components causes permanent failure. If your model lacks pressure-cooking functions (like AF101), do not attempt steam cleaning.
Main Unit Cleaning: Avoiding Electrical Disasters

70% of air fryer repairs stem from water damage—the main unit contains exposed heating elements that short-circuit with minimal moisture. Never submerge this base unit. Instead:
Safe Interior Wipe-Down Procedure
- Unplug and cool unit completely
- Dampen microfiber cloth with hot tap water only (no soap near controls)
- Wipe interior walls and base—never pour water inside
- For greasy spots: Apply 1 drop dish soap to cloth, then immediately wipe with clean damp cloth
- Dry with towel, then leave lid open 30 minutes before storage
Heating Element Maintenance Without Voiding Warranty
The metal coil and fan assembly collects invisible grease that causes smoking. Never remove protective grates—this instantly voids warranty. Instead:
– Dip soft-bristled brush in hot soapy water
– Gently scrub around coil surfaces (never pull or bend elements)
– Work bristles between grates to dislodge debris
– Wipe with dry cloth—zero moisture allowed near fan
Drying Protocol: Preventing Mold and Electrical Failure
Incomplete drying causes two critical failures: mold growth in hidden crevices and short circuits when powered. This isn’t optional—follow rigorously:
- Towel-dry immediately: Wipe all components with clean microfiber cloth
- Air-dry strategically: Place basket upside down on rack for 45 minutes (prevents water pooling in corners)
- Check moisture traps: Insert finger into basket handle crevice and crisper tray edges
- Verify main unit: Shine flashlight into heating chamber—no glistening surfaces allowed
Storage tip: Store with basket slightly ajar using a wooden spoon—this prevents musty odors from trapped humidity.
Top 4 Cleaning Mistakes That Destroy Ninja Air Fryers

Submerging the Main Unit
Consequence: Water seeps into control board—$150+ repair or total replacement
Fix: Wipe only with damp cloth—never rinse under faucet
Using Metal Utensils for Scraping
Consequence: Scratches create oil-trapping pores—food sticks permanently after 3 uses
Fix: Use wooden toothpicks for corner debris
Dishwasher Cleaning Non-Approved Parts
Consequence: Warped baskets won’t seat properly—uneven cooking and error codes
Fix: Hand wash all baskets regardless of manual claims
Skipping Monthly Steam Cleaning
Consequence: Grease buildup on heating element causes smoke after 6 months
Fix: Lemon steam monthly on liquid-safe models
Essential Cleaning Toolkit for Ninja Owners
Safe tools (all non-abrasive):
– Silicone-tipped tongs for handling hot baskets
– Soft-bristled nylon brush (never metal bristles)
– Microfiber towels (lint-free drying)
– Wooden toothpicks for crevice cleaning
Approved solutions:
– Dawn dish soap (phosphate-free)
– Baking soda paste (grease cutting)
– Distilled white vinegar (odor removal—spot test first)
Never use: Oven cleaners, steel wool, chlorine bleach, or abrasive powders—they strip non-stick coatings in one use.
Maintenance Schedule for Longest Appliance Life
| Frequency | Action | Time Required |
|---|---|---|
| After every use | Rinse basket + quick interior wipe | 5 minutes |
| Weekly | Full hand wash + heating element brush | 15 minutes |
| Monthly | Lemon steam cleaning (liquid-safe models) | 20 minutes |
| Every 6 months | Inspect sealing rings for cracks (Foodi models) | 10 minutes |
Pro tip: Set phone reminders for monthly deep cleans—grease buildup becomes irreversible after 3 months.
Final Safety Checklist Before Next Use
Never skip these 4 steps before plugging in:
1. Confirm zero moisture in heating chamber with flashlight inspection
2. Verify basket sits flush in base (no wobbling)
3. Check power cord for fraying near plug (common damage point)
4. Ensure silicone ring is fully seated (Foodi models only)
Your Ninja air fryer will deliver perfect crispy results for 5+ years when cleaned properly. Remember: hand washing beats dishwasher cycles every time, and monthly steam cleaning prevents 90% of performance issues. Stick to these manufacturer-approved methods—those “quick fixes” like oven cleaner or dishwasher submersion will destroy your appliance faster than a single use. Now you know exactly how to wash a Ninja air fryer safely while protecting your investment.


