
Every workshop owner knows the frustration of limited space—the constant battle between tools, projects, and movement. A strategically placed corner workbench solves this dilemma by turning dead space into your most productive workshop zone. Building a corner workbench isn’t just about creating a work surface; it’s about crafting a workshop centerpiece that maximizes your available square footage while providing sturdy, reliable support for every project. In this guide, you’ll discover exactly how to build a corner workbench that fits your specific space, supports heavy-duty tasks, and organizes your tools efficiently.
Unlike standard rectangular benches that dominate floor space, a well-designed corner workbench creates expansive work areas while tucking neatly into often-wasted corners. Whether you’re working in a cramped garage or a dedicated workshop, this space-saving powerhouse provides up to 50% more usable surface area than traditional benches without sacrificing stability. By the end of this guide, you’ll have all the knowledge to build a heavy-duty corner workbench that becomes the functional heart of your workshop for years to come.
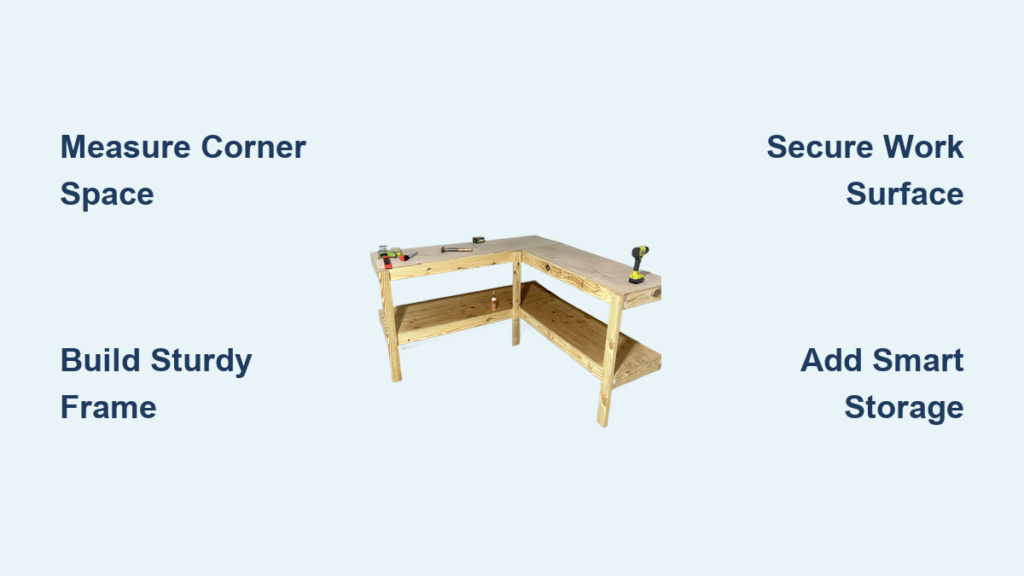
Measure Your Space for the Perfect Corner Workbench Fit

Before buying a single piece of lumber, accurately measuring your available corner space prevents costly mistakes and ensures your new workbench functions optimally in your specific workshop layout. Start by using a tape measure to determine the exact dimensions of your corner—both wall lengths from the corner point outward. Most garage corners can accommodate an L-shaped bench with each leg measuring between 5 to 8 feet, but never assume; your space might have obstacles like electrical panels or ductwork that require accommodation.
Determine Optimal Bench Dimensions Based on Your Workshop Traffic Patterns
Consider the “work triangle” between your most frequently used tools, storage areas, and your new bench. Allow at least 36 inches (92 cm) of clearance in front of the bench for comfortable movement—this space is non-negotiable for safely handling long materials or stepping back to assess your work. For the work surface itself, a standard depth of 24-30 inches provides ample space for most projects while keeping everything within easy reach. If you’ll be working with particularly large materials, consider a bench with one side at 30 inches and the other at 24 inches to maximize corner space efficiency.
Calculate Your Ideal Workbench Height for Maximum Comfort
Your workbench height directly impacts your comfort during long projects and should be customized to your body and primary tasks. The standard 36-inch height works well for general-purpose use, but if you’ll be doing detailed electronics or model building, consider raising it to 38-42 inches to reduce back strain. For heavy carpentry where you need leverage, a lower height of 34-36 inches might be better. Test your ideal height by sitting on your workshop stool at your proposed bench height—your arms should rest comfortably on the surface with elbows at 90-degree angles. Remember to factor in 1.5-2 inches for your chosen work surface material when making final height calculations.
Choose Materials That Guarantee Long-Term Durability and Stability
Selecting the right materials for your corner workbench makes the difference between a flimsy surface that wobbles during use and a rock-solid foundation that handles heavy tools and demanding projects for decades. The frame should be your first priority—this is where strength begins. For most DIY builders, 4×4 posts anchored securely to wall studs provide exceptional stability without requiring advanced woodworking skills. If you prefer a free-standing design, use 2×6 lumber for legs with diagonal bracing to prevent racking.
Select the Right Work Surface Material for Your Projects
Your work surface takes the most abuse, so choose wisely based on your primary workshop activities:
* 3/4″ Baltic Birch Plywood: Offers the best balance of durability, smoothness, and cost for most DIYers
* Laminated 2x4s: Creates an incredibly sturdy, repairable surface (sand and refinish when damaged)
* MDF with Plywood Edging: Provides a perfectly smooth surface for detailed work but requires additional sealing
Avoid particle board surfaces—they may seem economical but won’t withstand workshop use long-term. For heavy-duty applications, consider doubling up your surface material (two layers of 3/4″ plywood) for maximum rigidity and to prevent sagging over time.
Critical Anchoring Techniques That Prevent Wobble and Movement
A corner workbench that shifts during use is dangerous and frustrating. The most reliable method is wall-mounting—locate wall studs with a stud finder and secure your bench frame with 1/2″ x 4″ lag bolts. This technique transforms your bench into a structural element of your workshop rather than a freestanding piece. If wall-mounting isn’t possible, build an A-frame base with legs splayed outward at 15 degrees and connect all legs with horizontal bracing every 12 inches. Test your bench’s stability before adding the work surface by applying firm pressure to all corners—if there’s any movement, reinforce the frame before proceeding.
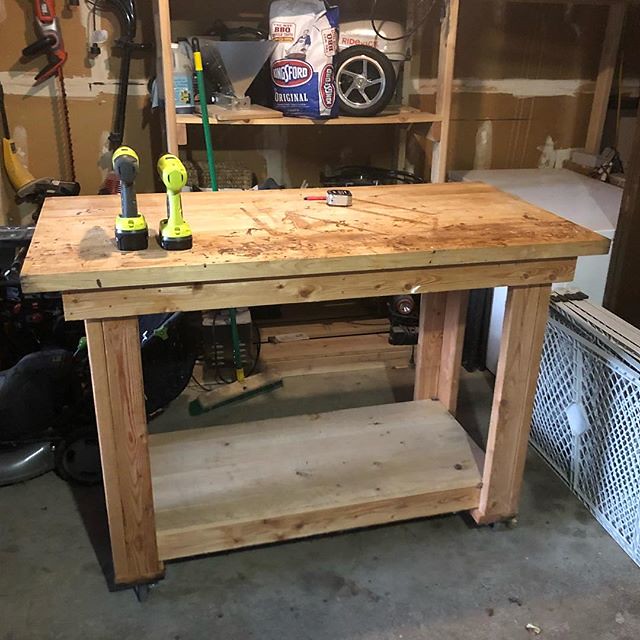
Build Your Corner Workbench: Step-by-Step Construction Guide
Follow this proven sequence to construct your corner workbench efficiently while avoiding common pitfalls that waste time and materials. The entire build should take 1-2 weekends for most DIYers with basic woodworking skills, depending on your chosen design complexity.
Construct the Frame First for Maximum Stability
- Cut your 4×4 posts to your predetermined height (subtracting 1.5″ for the work surface thickness)
- Build two identical rectangular frames from 2×6 lumber for the front edges of each bench section
- Connect these frames to your posts using 3″ structural screws, checking constantly for square
- Install horizontal bracing every 12 inches down the legs and add diagonal corner braces
- Position the assembled frame in your corner, shim as needed, and verify perfect levelness before final anchoring
Pro Tip: Assemble the frame on the floor first, then lift into position—this is much easier than trying to construct it in place. Use a framing square at every corner connection to ensure perfect 90-degree angles.
Install and Finish Your Work Surface for Professional Results
- Cut your plywood surface to size, ensuring a perfect 90-degree corner where the two sections meet
- Place the surface on the frame and trace any cutouts needed for power strips or tool mounts
- Secure the surface from underneath using 2.5″ pocket hole screws every 8 inches along supports
- Apply 3-4 coats of water-based polyurethane, sanding lightly between coats with 220-grit paper
For seamless corner integration, leave a 1/8″ gap between the two surface sections and fill with wood epoxy. This prevents cracking from wood movement while maintaining a continuous work surface.
Integrate Smart Storage Solutions During Construction
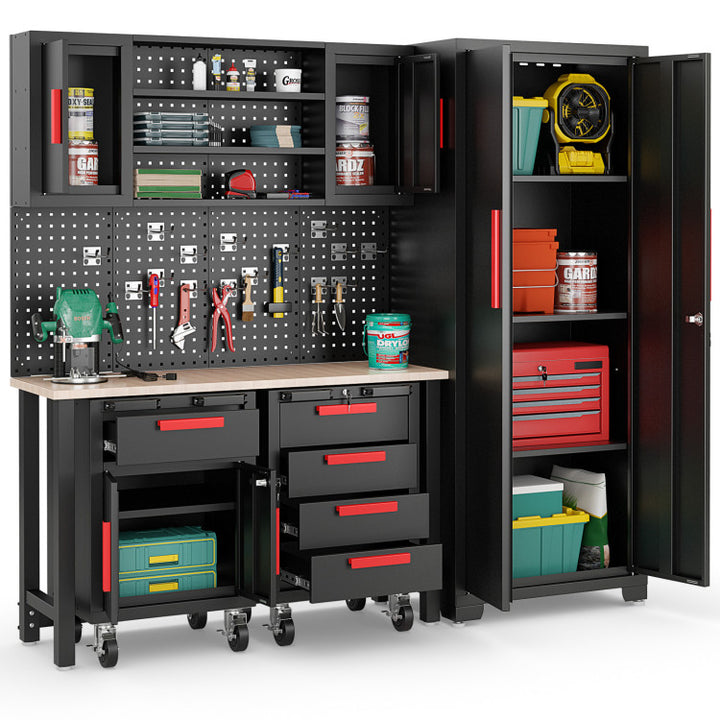
The space beneath and around your corner workbench represents valuable real estate that should be planned during construction—not as an afterthought. Build in storage solutions that match how you actually work rather than generic shelf systems that collect dust.
Design Under-Bench Storage That Fits Your Tool Collection
Create a dedicated zone for your most-used tools with these dimensions:
* Top shelf: 18″ from work surface—perfect for power tools you grab frequently
* Middle section: 14″ clearance—ideal for standard toolboxes
* Bottom shelf: 12″ clearance—accommodates larger bins and storage containers
Install a simple face frame using 1×3 pine before adding shelves—this creates a clean transition from work surface to storage and provides solid mounting points for future modifications. For heavy tools, reinforce shelf supports with 1×2 cleats underneath.
Add Workshop-Ready Features During Final Assembly
Install these essential features before declaring your bench complete:
* A 1×4 “backstop” along the rear wall edge to prevent tools from sliding behind the bench
* A power strip mounted underneath the front edge with cord management clips
* LED task lighting suspended 18-24 inches above the work surface
* A French cleat system on the back wall for hanging frequently used tools
Position all electrical components away from potential water sources if you’ll be doing finishing work. For the lighting, choose LEDs with a color rendering index (CRI) of 90+ to accurately see wood grain and finish colors.
Maintain Your Corner Workbench for Decades of Reliable Service
Your corner workbench will endure significant wear, but proper maintenance extends its life dramatically. Establish these simple routines:
* Wipe down the surface after each use with a damp cloth to prevent buildup
* Apply paste wax every 3-6 months to protect against moisture and make cleanup easier
* Check all structural connections quarterly and tighten any loose fasteners
* Sand and refinish damaged areas immediately before they worsen
If your surface becomes excessively scarred, don’t replace the entire top—simply remove the damaged section and install a new plywood panel cut to size. This modular approach keeps your bench functional for decades while allowing for periodic refreshes.
Building a corner workbench transforms wasted space into your workshop’s most valuable asset. By following these specific construction steps and design considerations, you’ll create a customized work surface that perfectly fits your space and workflow. Remember that the most successful corner workbenches prioritize stability over aesthetics—focus on rock-solid construction first, then refine the details. When you finish this project, you won’t just have a new workbench; you’ll have created the functional heart of your workshop that enables every future project. The time invested in building your corner workbench pays dividends each time you use it, turning an ordinary corner into your most productive workshop zone.


