
Your workbench isn’t furniture—it’s the silent partner in every project you’ll ever create. When hand-planing thick stock or chiseling mortises, a flimsy bench becomes your biggest obstacle. That’s why woodworkers for centuries have turned to the French Roubo design: a massive, rock-solid platform that absorbs shock and anchors your workflow. In this guide, you’ll learn exactly how to build a Roubo workbench that transforms your workshop into a professional-grade space. Forget theoretical designs—we’ll focus on practical decisions, cost-effective material hacks, and assembly techniques that prevent costly mistakes. By the end, you’ll have a heirloom-quality bench tailored to your body and workflow, built with confidence even if you’re new to complex joinery.
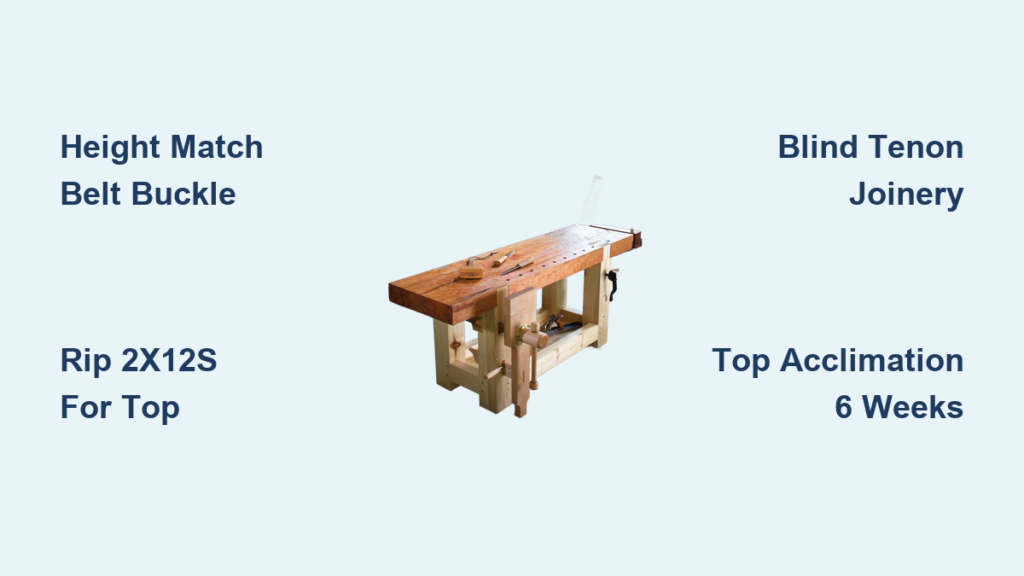
Why Your Roubo Bench Height Must Match Your Belt Buckle
Getting the height wrong guarantees back pain and ruined projects. Stand upright with arms relaxed at your sides, then measure from the floor to where your palm meets your wrist. This “belt-buckle height” (typically 33-36 inches) positions your work at the natural strike zone for hand tools. A bench too low forces hunched shoulders during planing; too high strains your wrists during chisel work. For power-tool users, add 1-2 inches to accommodate standing posture during routing. Crucially, never default to standard 36-inch heights—your 5’2″ spouse and 6’4″ friend need radically different setups. Test your measurement by planing scrap wood: if your elbows drift above shoulder level, lower the target height.
Southern Yellow Pine vs. Construction Lumber: The $200 Top Secret
Skip expensive solid slabs. Your most cost-effective path to a 3.5-inch-thick top uses ripped 2x12s from the big-box store. Here’s the pro method:
1. Buy eight 8-foot SYP 2x12s (avoid boards with pith or large knots)
2. Rip each board lengthwise through the center to remove unstable heartwood
3. Stack ripped stock with 3/4″ stickers between layers for 4 weeks in your shop
4. Joint mating edges before gluing
Critical mistake to avoid: Gluing boards with bark-side-out orientation. Always alternate “cathedral grain” patterns to counteract seasonal cupping. For a 7-foot bench, this approach costs under $150 versus $500+ for solid maple. If using Douglas fir, add 20% extra clamping pressure during lamination—its density demands 800+ PSI for gap-free joints.
Leg Vise Placement That Prevents Workpiece Slippage
Your front-left leg vise location makes or breaks workflow efficiency. Position the vise so its chop extends 2-3 inches beyond the bench front when closed. This creates a “pinch point” where workpieces lock against the bench edge. For dog holes, drill a grid of 3/4″-diameter holes spaced 4.5″ apart across the front third of the top. Start the first row 3″ from the front edge—any closer invites blowout when using holdfasts. Pro tip: Use a Forstner bit with a depth stop to ensure holes are perfectly vertical and uniform. Misaligned holes render bench dogs useless during critical operations.
Material Prep: The 6-Week Acclimation Rule You Can’t Skip
Lumber straight from the yard contains moisture that will warp your bench within months. Stack all ripped stock with 3/4″ wooden stickers every 12 inches, then weight the top layer with concrete blocks. Store in your actual workshop—not a garage or shed—for minimum 6 weeks. Check moisture content with a pinless meter: aim for 8-12% for interior shops. If using green wood, extend acclimation to 6 months. Rushing this step causes catastrophic top splitting as wood releases moisture after assembly. For immediate builds, consider structural glulam beams ($100 for 4x12x8ft)—they’re kiln-dried and dimensionally stable.
The Blind Tenon Joinery Method That Beats Through-Tenons

Forget historical through-tenons that weaken legs and complicate top flattening. Modern Roubo builds use blind tenons:
1. Cut 1.25″ deep tenons on top of 5×5 legs (1.5″ thick x 4″ wide)
2. Rout matching mortises into the bench top underside
3. Add 1/16″ clearance around tenons for wood movement
Why this wins: Through-tenons create stress points where legs fracture under heavy mallet strikes. Blind tenons distribute force evenly while allowing future top resurfacing. During glue-up, apply Titebond III only to tenon cheeks—not shoulders—to prevent hydraulic pressure cracks. Clamp with pipe clamps across the top, checking for square every 15 minutes as glue cures.
Step-by-Step: Flattening Your Top Without a $1,000 Router Sled
You need a dead-flat surface within 1/64″ across 7 feet. Here’s the budget flattening sequence:
1. Screw 2×4 rails to bench top edges as router guides
2. Mount a 1.5HP router with 2″ bit to a 8ft plywood sled
3. Make 1/8″ depth passes from back to front, overlapping 50%
4. Finish with a #7 jointer plane for silky-smooth results
Visual cue: Stop when pencil lines drawn across grain disappear uniformly. If using hand tools exclusively, start with a scrub plane to remove high spots, then switch to a jointer plane. This 4-hour process prevents frustrating tear-out during final projects.
Base Assembly That Resists Racking Under Heavy Planing
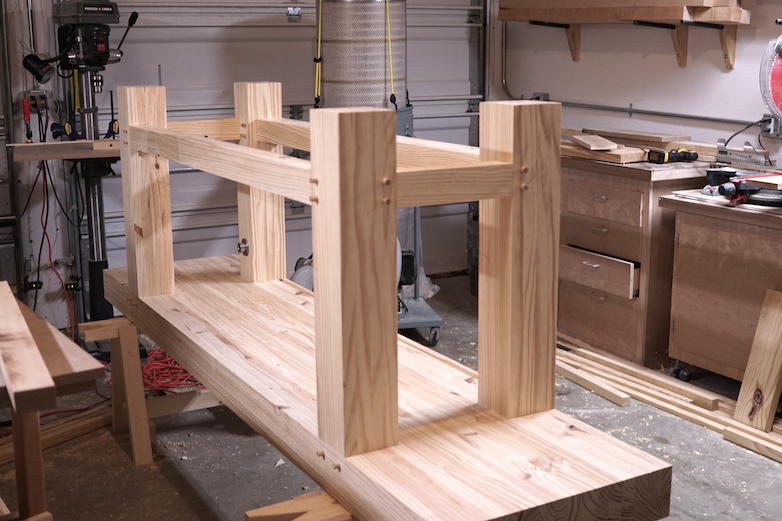
Your trestle base must withstand 50+ lbs of planing force without shifting. Build it like this:
– Stretchers: 3×5″ hardwood (hickory or oak)
– Joinery: Through-tenons with 3/8″ drawbore pegs
– Geometry: Splay legs 5° outward for self-stabilizing force
Dry-fit all joints before gluing. Tap stretchers into place with a dead-blow hammer—no mallet strikes on visible surfaces. During final glue-up, clamp stretchers while checking diagonal measurements; differences over 1/8″ indicate racking. Let base cure 48 hours before attaching the top.
Final Assembly: Gluing Top to Base Without Cracking Your Hard Work
This is where most builders fail. Never bolt the top directly to the base—wood movement will cause cracks. Instead:
1. Apply glue ONLY to leg tenons (not mortise walls)
2. Insert legs into top, then flip assembly upside down
3. Place 1/4″ thick plywood spacers between top and base
4. Clamp base to top using wedges driven between spacers
The spacers create expansion gaps allowing seasonal movement. After 24 hours, remove spacers and fill gaps with wooden buttons glued only to the base. This technique accommodates 1/8″ seasonal width changes in pine tops.
Drilling Dog Holes Before Final Assembly
Skipping this step means drilling through glued joints later. With the top upside down:
1. Position bench dogs where you stand during planing
2. Use a drill press with 3/4″ Forstner bit (hand drill = angled holes)
3. Drill to 2.5″ depth—deep enough for holdfast security
4. Chamfer hole tops with a countersink bit to prevent wood splitting
Time-saver: Make a plywood jig with hole pattern to ensure consistent spacing. Misaligned holes ruin workflow when switching between vise and holdfast setups.
Three Expert Fixes for Common Roubo Build Disasters
When Your Top Cups After Glue-Up
Don’t scrap it. Place cupped side down on sawhorses, then apply weight across the convex surface. Cover with damp towels and let sit 48 hours—the moisture reintroduction reverses minor warping. For severe cases, glue 1×3 hardwood strips to the underside using figure-8 clamps.
Leg Vise Binding During Operation
This means your chop isn’t parallel to the jaw. Disassemble and plane 1/16″ off the chop’s back face where it contacts the guide rail. Reassemble with paste wax on sliding surfaces—never use oil that attracts sawdust.
Squeaky Holdfasts in Dog Holes
Rough hole interiors cause this. Insert a 3/4″ dowel wrapped in 120-grit sandpaper, then rotate it like a drill bit. Finish with a coat of beeswax inside each hole for silent, smooth operation.
Why Your First Roubo Bench Should Be “Ugly Perfect”
A workbench’s beauty lies in its dents and tool marks—not flawless surfaces. Resist the urge to fill dog holes or sand out chisel scars. That 1/4″ gouge from your first dovetail saw? It’s proof you’re using the bench as intended. Focus energy where it matters: a dead-flat top, rock-solid base, and strategic workholding. If you follow these steps, your $300 Roubo will outperform store-bought $1,200 models. Most importantly, it will evolve with you—each ding a testament to projects completed, skills mastered, and the quiet satisfaction of building the foundation for everything that follows.
Final Tip: Apply your finish after assembly. Mix equal parts boiled linseed oil, mineral spirits, and wipe-on polyurethane. Two coats create a non-slip surface that protects against glue stains while letting you feel the wood beneath your hands—a subtle reminder that this isn’t furniture. It’s your workshop’s beating heart.


