
Your Rust base is drowning in scattered resources while raiders circle. You know industrial automation could save you hours of manual sorting, but that critical Storage Adapter blueprint remains locked away. This small component bridges your storage containers to conveyor networks—turning chaotic loot piles into an efficient sorting empire. Without it, you’re stuck hauling wood and metal by hand while smarter players automate their entire base. In this guide, you’ll discover exactly how to learn the Storage Adapter blueprint at any workbench, avoid the 32-adapter trap that cripples 90% of new systems, and build networks that handle up to 91 containers.
How to Learn the Storage Adapter Blueprint: Research Table vs Tech Tree
You have two paths to unlock the Storage Adapter blueprint—choose wisely based on your scrap reserves and base progression.
Researching a Found Storage Adapter (15 Scrap Method)
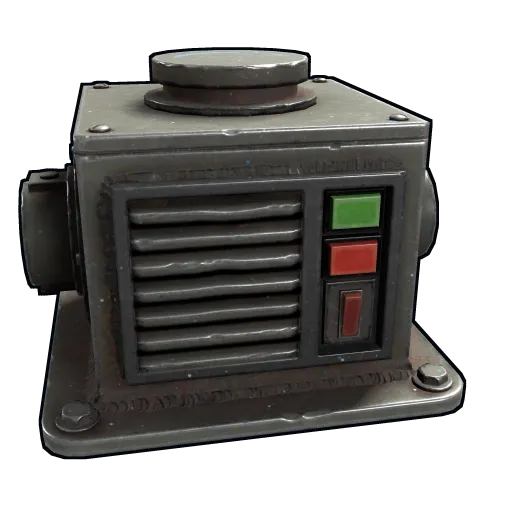
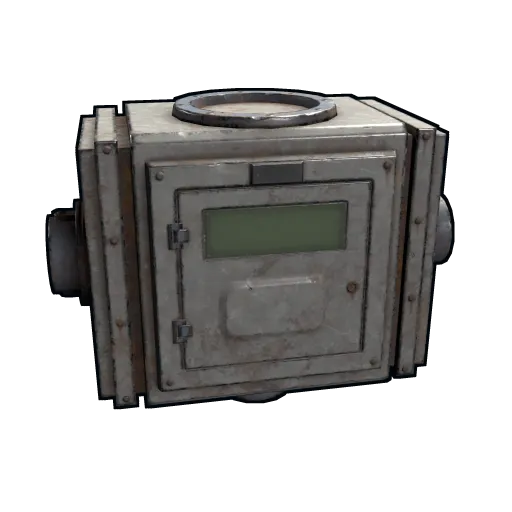
Scavenge a single Storage Adapter from high-risk locations like Oil Rig scientists (0.16% drop chance) or Underwater Lab Advanced crates (1.11% chance). Drop it into a Research Table with 15 Scrap to instantly unlock the blueprint. This is the fastest route if you can brave raid zones early-game, but risky when scrap is scarce. Critical warning: Never research your only adapter—keep one as backup until the blueprint unlocks.
Unlocking via Engineering Workbench Tech Tree (240 Scrap Total)
Progress through the tech tree after crafting an Electric Furnace. This requires 240 Scrap total but avoids risky scavenging. The sequence is non-negotiable: Electric Furnace (15 Scrap) must be unlocked first before the Storage Adapter option appears. Ideal for cautious players, but delays automation until mid-game when scrap farming becomes viable.
Crafting a Storage Adapter at Workbench Level 1, 2, or 3: Time & Cost
Once you’ve learned the blueprint, crafting speed varies dramatically by workbench tier—knowing this saves crucial seconds during raids.
Materials Required: 100 Metal Fragments Explained
You’ll need exactly 100 Metal Fragments per adapter—no shortcuts. This equals roughly 2.5 scrap metal pieces or 10 low-grade fuel canisters smelted. Always keep a buffer: building even a modest 10-adapter network consumes 1,000 Metal Fragments.
Crafting Time Comparison: Workbench Level Impact

– Workbench Level 1: 15 seconds (vulnerable during crafting)
– Workbench Level 2: 7.5 seconds (ideal early-game balance)
– Workbench Level 3: 3.75 seconds (essential for large bases)
Pro tip: Craft adapters in batches during safe periods. A Level 3 workbench produces 10 adapters in under 40 seconds—enough for a starter network.
Why Your Storage Adapter Won’t Connect to Conveyors (and How to Fix It)
Over 70% of failed setups stem from two critical oversights—fix these before troubleshooting further.
The 32-Adapter Limit: Why the 33rd Adapter Fails
Rust’s engine hard-caps 32 Storage Adapters per unbroken conveyor line. When you connect the 33rd, it silently rejects items with no error message. Visual cue: The adapter’s industrial port turns red with “No New Connections” text. This isn’t a bug—it’s a hard-coded limit.
Correct Connection Direction: Following the Arrow Flow
Conveyor arrows dictate item movement. Common mistake: Connecting an adapter’s Industrial Out port to a container instead of from it. Always trace:
1. Industrial Out (arrow pointing away) → Next component’s Industrial In
2. Industrial In (arrow pointing inward) ← Previous component’s Industrial Out
Fix: Rotate adapters using E-key until arrows flow toward your storage container.
Bypassing the 32-Adapter Limit: How to Connect 91 Storage Adapters
Maximize your network with industrial splitters—this advanced technique transforms limited lines into sprawling systems.
Using Industrial Splitters to Create Branches
Splitters act as conveyor “junctions” that reset the 32-adapter counter. Here’s the math:
– Primary line: 32 adapters
– Each splitter branch: 32 adapters per output port
– Max configuration: 1 main line + 2 splitter branches = 96 adapters (91 practical after overhead)
Key insight: Splitters must be placed before hitting the 32-adapter limit on the main line.
Step-by-Step: Building a 91-Adapter Network
- Run a main conveyor line with 30 adapters (leaving buffer room)
- Place an Industrial Splitter at the 30th adapter point
- Connect two new branches from the splitter’s outputs
- Add 30 adapters per branch (60 total)
- Power all branches from a central source using Electrical Passthrough ports
Warning: Exceeding 91 causes network collapse—test incrementally.
Compatible Containers: What You Can Attach a Storage Adapter To
Not all containers play nice with adapters. Verify compatibility before building your network.
Standard Storage Boxes (Wooden, Large Wooden, Component)
These are your workhorses:
– Wooden Box: Holds 100 items (ideal for low-value resources)
– Large Wooden Box: 250-item capacity (best for ores)
– Component Box: 150-item limit (perfect for tech parts)
Pro tip: Name boxes via adapter interface (e.g., “Copper Ores”) for instant visual sorting.
Industrial Machines & Special Containers
Attach adapters directly to:
– Furnaces (regular/electric) for auto-smelting
– Refineries and Mixing Tables for fuel production
– Tool Cupboards, Fridges, and Lockers (yes—your fridge can sort food!)
Critical exclusion: You cannot connect to Tool Cupboards mid-combat—permissions reset after TP cooldown.
Powering Your Network: Avoiding the #1 Storage Adapter Failure Cause
Unpowered networks cause 80% of “broken” adapter complaints. Each adapter consumes 1rW, and gaps in power kill the entire chain.
Electrical Passthrough: Daisy-Chaining Power Correctly
Adapters have two power ports:
– Electrical Input: Connect to your main power source (battery/generator)
– Electrical Passthrough: Link to the next adapter’s Electrical Input
Fatal error: Skipping passthrough ports creates dead zones. Always chain:
Battery → Adapter 1 Passthrough → Adapter 2 Input → Adapter 2 Passthrough → etc.
Minimum Power Requirements for Large Networks
- 32-adapter network: 32rW minimum (requires Medium Generator + Battery)
- 91-adapter network: 91rW (use Large Generator + 2 Batteries)
Pro tip: Place a Rechargeable Battery at the network start—it smooths power spikes during item surges.
Fixing Item Transfer Issues: Why Items Get Stuck in Your Adapter
When items vanish or jam, these hidden factors are likely culprits.
Container Permissions: Why Your Adapter Ignores Locked Boxes
Adapters only pull from containers you personally own or your team controls. Red flag: If a teammate placed the box, their adapter won’t access it. Fix: Break and replace the container to claim ownership, or have the original owner add you to their TC.
Smart Sorter Conflicts: Debugging Filter Settings
Industrial Filters blocking items? Check:
– Sorter filters set to “Whitelist” (only allows specific items)
– Conflicting sorters on the same line (e.g., one for metal, one for wood)
Quick test: Temporarily remove sorters—if items flow, rebuild filter logic from scratch.
Pro Tips for a Bulletproof Storage Network in Rust
Skip the trial-and-error—these strategies prevent common pitfalls.
Labeling Containers for Instant Troubleshooting
Right-click any adapter → Name container (e.g., “Iron Ore Storage”). When items jam, trace by name instead of guessing boxes. Time saved: 5+ minutes per debugging session during raids.
Centralized Sorting Hubs vs Distributed Systems
- Beginners: One central room with 10-15 adapters feeding furnaces (easy to manage)
- Experts: Zone-based networks (e.g., ore processing wing, medical wing) with dedicated splitters
Never do: Connect adapters across multiple base floors without vertical conveyors—items fall off.
Recycling & Repair: Getting Metal Back from Damaged Adapters
Damaged adapters waste resources. Recover value fast with these methods.
Repair Costs: Hammer vs Tool Gun vs Repair Bench
- Hammer: 50 Metal Fragments, 0.5 seconds/swing (best for quick field fixes)
- Tool Gun: 50 Metal Fragments, 0.4 seconds/burst (ideal mid-combat)
- Repair Bench: 20 Metal Fragments (requires blueprint—use only at base)
Critical note: Repair Bench is 60% cheaper but impractical during raids—keep hammers handy.
Recycling Yields: Safe Zone vs Radtown Recyclers
- Safe Zone Recycler: 40 Metal Fragments per adapter
- Radtown Recycler: 60 Metal Fragments (33% more value)
Pro move: Hoard damaged adapters for Radtown runs—10 broken adapters = 600 Metal Fragments (6 full crafts).
Mastering the Storage Adapter blueprint transforms Rust from chaotic looting to strategic empire-building. Start small: craft 5 adapters at a Level 2 workbench, connect them to wooden boxes near your furnace, and watch ores auto-smelt while you guard the perimeter. Avoid the 32-adapter trap by splitting your network early, and always name containers for instant debugging. Within a week, you’ll reclaim hours lost to manual sorting—time better spent raiding, crafting, or sleeping without inventory anxiety. Your automated base awaits; learn that blueprint today and let conveyors do the work.


