
Your Valheim workbench isn’t just another crafting station—it’s the literal gateway to surviving beyond the Meadows. Without a Level 5 workbench, you’ll be stuck with flint tools while trolls and draugr laugh at your feeble attempts to craft proper weapons. This guide cuts through the confusion and delivers the exact steps to upgrade your workbench from a basic table to a master forge, unlocking every critical recipe in the game. You’ll learn where to find each resource, how to avoid deadly biome mistakes, and why placing your chopping block one meter too far from the workbench ruins everything.
Most new Vikings waste hours chopping trees only to hit a wall when they can’t craft bronze tools. The secret isn’t just gathering materials—it’s understanding Valheim’s hidden proximity system. Every upgrade structure must sit precisely within your workbench’s green radius, and missing this single detail means your Tool Shelf won’t activate even with perfect materials. By the end of this guide, you’ll have a Level 5 workbench powering your base, with all boss fights conquered and endgame gear within reach.
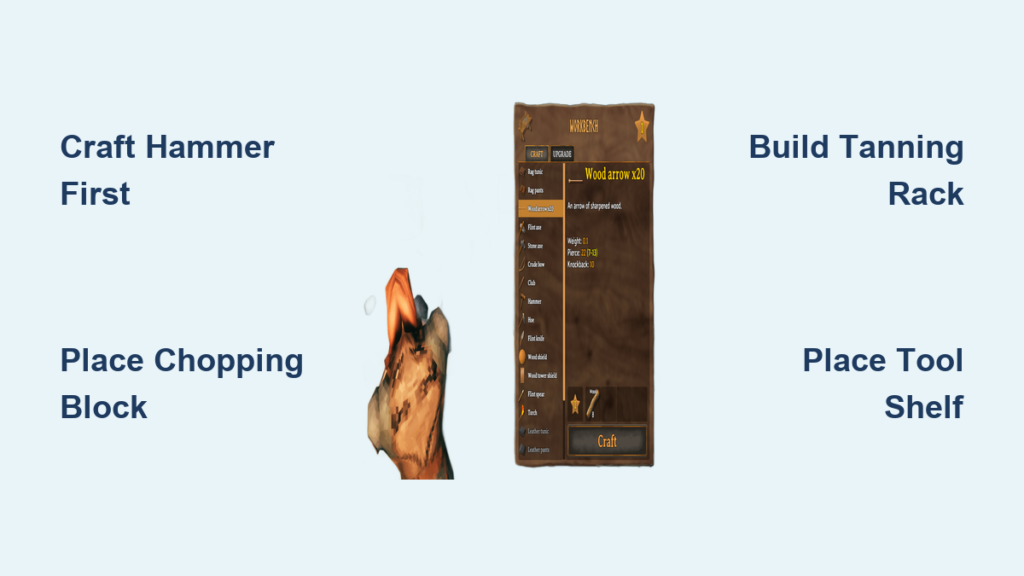
Craft Your First Hammer and Workbench Within 5 Minutes
Skipping this step traps 90% of new players in endless flint-and-stick purgatory. You absolutely need a hammer to place your first workbench—no exceptions. Don’t waste time hunting for rare resources; gather exactly 10 wood from nearby trees using your bare hands (hold F to chop efficiently).
Equip and Place Your Workbench Correctly
- Critical Mistake to Avoid: Trying to craft the workbench at a crafting table. You must have the hammer equipped in your hand slot (press 1-6 keys to select it).
- Placement Hack: Press F1 to open the build menu, navigate to “Crafting,” select “Workbench,” then place it inside a small shelter you’ve built from 20 wood. This prevents night monsters from destroying it.
- Pro Tip: Build your shelter against a rock face—it saves wood and blocks surprise attacks. Your workbench must have open space above it; placing it under a low roof blocks placement.
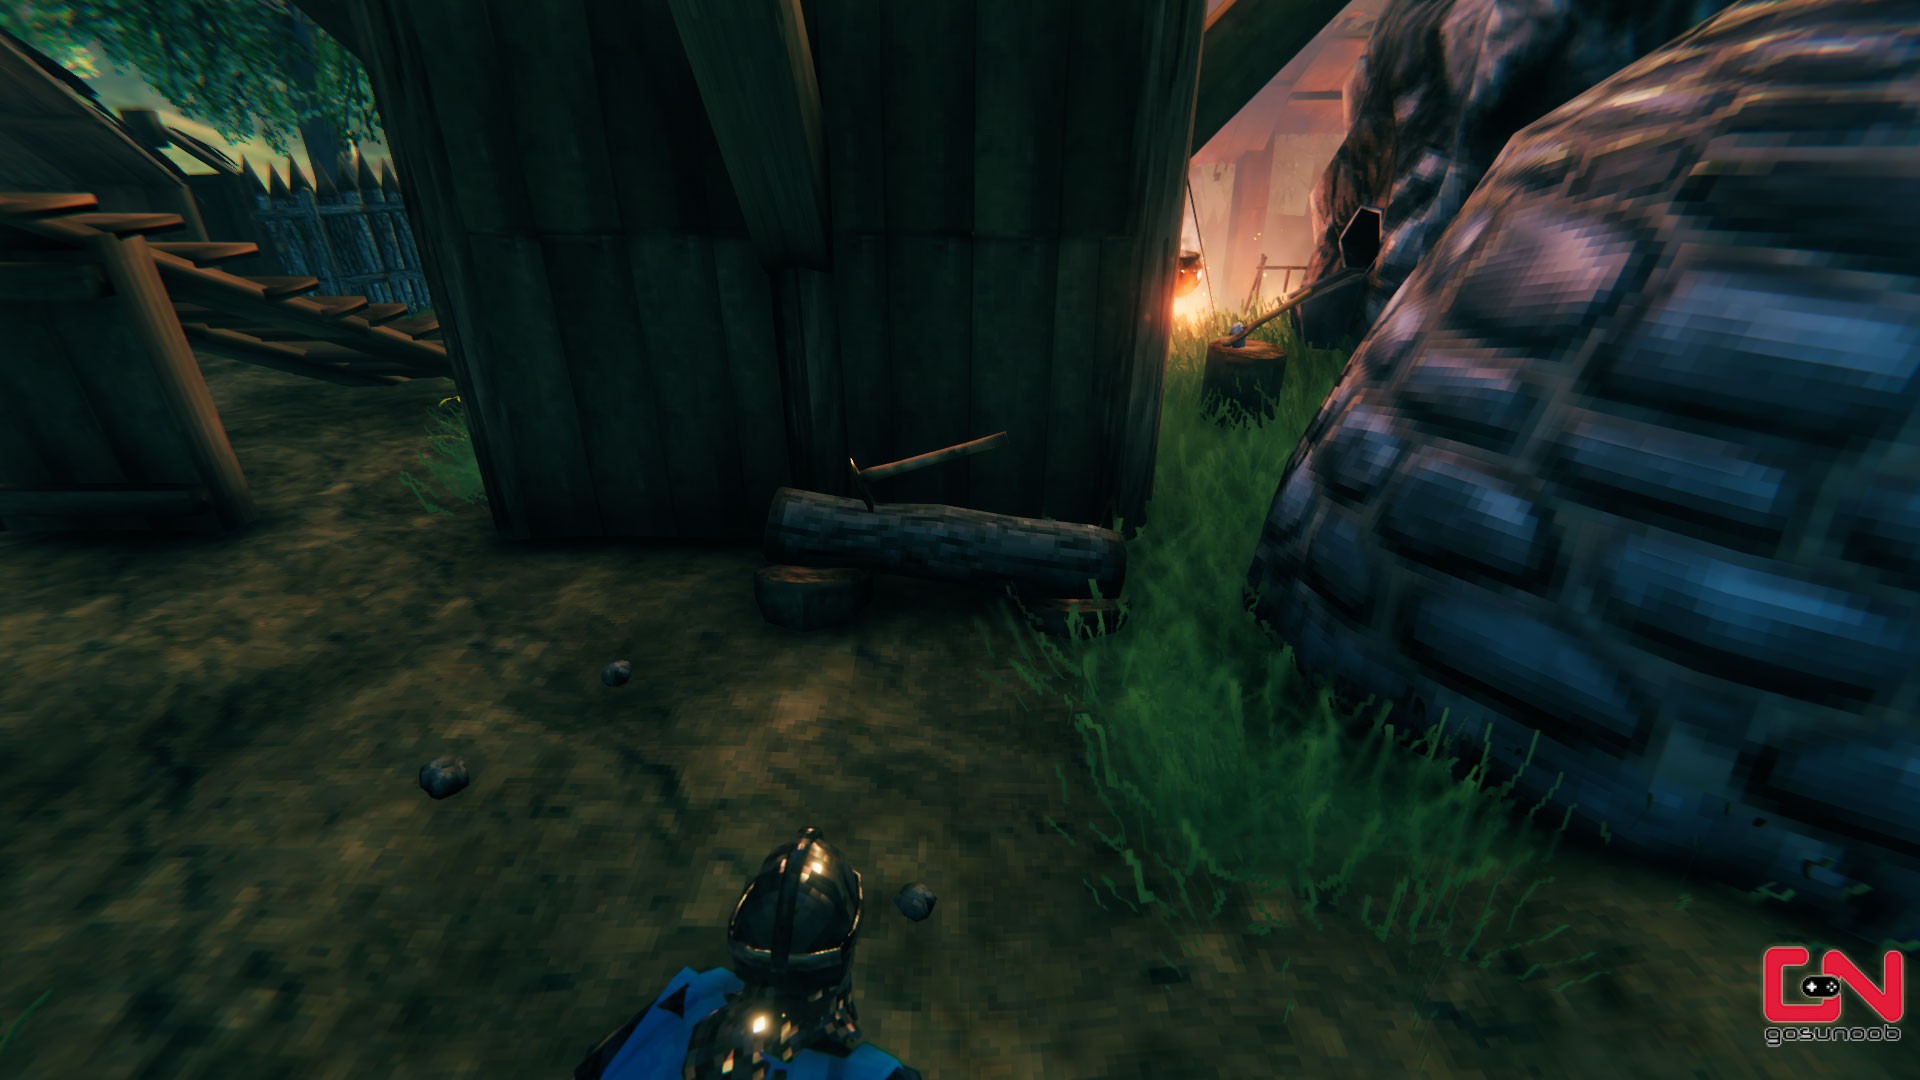
Install the Chopping Block to Unlock Level 2 Recipes
This isn’t just a woodcutter’s tool—it’s your passport to bronze-age technology. Without the Chopping Block within your workbench radius, you can’t craft the antler pickaxe needed for boss fights. Most players gather materials only to panic when the game won’t let them build it.
Why Your Chopping Block Won’t Activate
- Radius Error: The green circle shows your workbench’s 20-meter activation zone. Place the Chopping Block outside this? Your workbench stays stuck at Level 1.
- Ground Level Matters: It must sit on flat terrain—build a small platform if your base is on a slope.
- Material Shortcuts:
- Flint: Smash grey stones along riverbanks (they respawn daily)
- Leather Scraps: Hunt boars near your base (aim for headshots with thrown rocks)
- Bronze: Craft 40 copper + 20 tin bars first at your smelter
Build the Tanning Rack for Essential Leather Processing
Here’s where players get stuck for hours: the Tanning Rack looks like a leather-only tool, but it’s mandatory for Level 3. Skip it, and you’ll never craft iron tools. Deer hides aren’t optional—they’re the key to upgrading beyond stone-age gear.
Deer Hunting Strategy That Works Immediately
- Silent Approach: Crouch (hold CTRL) and approach from downwind (watch grass direction). Deer spot you instantly if you walk normally.
- One-Shot Kill Method: Use a flint spear (craftable at Level 1 workbench) and aim for the neck. Boars drop scraps too, but deer provide full hides.
- Hide Preservation: Store hides in a cart or chest immediately—leaving them on the ground attracts wolves that destroy them.
Forge the Adze to Work With Fine Wood (Level 3 → 4)
This is where most guides lie to you: you can’t craft the Adze at your workbench. It requires a Forge—meaning you must build a smelter, mine copper/tin, and smelt bronze first. Skipping this step leaves you unable to harvest Fine Wood from birch/oak trees.
Bronze Production Shortcut
- Mine Copper: Find mossy green rocks in Greydwarf camps (Black Forest) with your antler pickaxe (unlocked after Eikthyr boss)
- Mine Tin: Shiny silver deposits along Black Forest riverbanks
- Smelt Fast: Build your smelter near resources. Use 2 copper + 1 tin = 1 bronze bar. You need 40 bronze bars total for all upgrades.
- Critical Tip: Craft a bronze axe before the Adze—stone axes can’t chop Fine Wood trees.
Place the Tool Shelf to Complete Level 5 Upgrades

Your final hurdle requires iron and obsidian—materials from dangerous biomes. The Tool Shelf must be forged at your Forge (not workbench!) and placed within the green radius. Many players craft it but forget to place it correctly, wondering why their workbench isn’t Level 5.
Obsidian Mining Without Dying in Mountains
- Frostproof Your Trip: Craft Frost Resistance Mead before entering mountains (recipe: honey + thistle + bloodbag + greydwarf eye). No mead = instant freezing.
- Obsidian Locations: Look for black glass-like veins in mountain caves—not on surface cliffs. Requires iron pickaxe (minimum).
- Iron Farming Hack: In Sunken Crypts (Swamp biome), mine Muddy Scrap Piles with a bronze pickaxe. Each yields 3-8 scrap iron. Bring poison resistance mead—blobs deal massive poison damage.
Mine Copper and Tin in the Black Forest for Bronze

This isn’t random exploration—it’s a targeted resource run. Copper spawns near Greydwarf camps (identified by glowing mushrooms), while tin appears along water edges. Wasting time in open meadows guarantees failure.
Black Forest Resource Map
| Resource | Best Location | Tool Required | Danger Level |
|---|---|---|---|
| Copper | Greydwarf camp centers | Antler Pickaxe | High (Greydwarfs) |
| Tin | Riverbanks/shorelines | Any Pickaxe | Medium (Wolves) |
| Flint | Stone clusters near water | Bare Hands | Low |
Pro Tip: Mark every resource node on your map (press M then CTRL+click). Copper/tin respawn every 3 in-game days—your marked spots become future mining outposts.
Farm Iron From Sunken Crypts in the Swamp Biome
You can’t skip The Elder boss—his key unlocks Sunken Crypts. Many players drown trying to swim to crypts; instead, build a simple raft from 10 wood. Once inside, muddy scrap piles glow faintly—ignore bones and focus on these piles.
Crypt Survival Checklist
- Gear Minimum: Bronze armor + mace (blunt damage kills draugr faster)
- Potions: 3x Poison Resistance Mead (craft with honey + thistle + dragon tears)
- Light Source: Bring 5 torches—crypts are pitch black
- Exit Strategy: Place a portal stone outside the crypt before entering
Prevent Workbench Upgrade Failures With Perfect Placement
This single mistake wastes hours: upgrade structures must be inside the green radius circle. But radius isn’t the only trap—placing structures inside walls or on uneven ground breaks activation. Your workbench upgrade fails silently with no error message.
Placement Checklist That Always Works
- Radius Test: Stand at your workbench, walk 20 meters out (about 4 boat lengths), and place structures inside that boundary
- Ground Level Fix: If terrain slopes, build a 1×1 wood platform for each structure
- Indoor Trap: Chopping Blocks/Tanning Racks must be outdoors—build a roof over them but leave sides open
- Verification Trick: After placing, open workbench crafting menu—if new recipes appear, it’s working
Speedrun Your Level 5 Workbench in Under 20 Hours
Forget grinding endlessly—this optimized path gets you to Level 5 faster than 95% of players. The key is parallel progression: gather flint/leather while waiting for smelter batches.
4-Phase Upgrade Timeline
- Hour 0-1: Build shelter, craft workbench, gather 30 flint + 10 leather scraps
- Hour 1-4: Defeat Eikthyr, mine copper/tin, smelt 40 bronze bars
- Hour 4-10: Craft bronze tools, build chopping block/tanning rack, hunt deer
- Hour 10-20: Defeat Elder, farm iron, collect obsidian, place Tool Shelf
Critical Time-Saver: Build your smelter next to copper/tin deposits—no more carrying ore across biomes. Use a cart (crafted at Level 2) to haul resources.
Upgrading your Valheim workbench to Level 5 transforms you from a struggling survivor into a Viking powerhouse. You now know exactly where to find each resource, how to avoid biome-specific deaths, and why placement precision matters more than material quantity. The Tool Shelf isn’t just the final upgrade—it’s your ticket to crafting obsidian arrows for Bonemass and dragon table armor for Yagluth. Start by marking copper nodes on your map today; within 20 hours, you’ll stand atop the Mountain biome with a Level 5 workbench powering your endgame base. Remember: every great Valheim base began with a single chopping block placed just inside that green circle. Now go claim your place in Valhalla.


