
That sudden fan roar during gameplay isn’t just annoying—it’s your PC choking on dust buildup. When your system overheats, slows down, or crashes unexpectedly, compressed air is usually the go-to solution. But what if you’re staring at a dusty tower with no air duster in sight? You’re not stuck. This guide reveals exactly how to clean your PC without air duster using tools already in your home, following strict safety protocols to protect your $1,000+ investment. Skip the store run and learn battle-tested techniques that remove stubborn dust while preventing electrostatic damage—no canned air required.
Critical Safety Steps Before Touching Your PC
Skipping safety steps risks frying your motherboard with static electricity. Before opening your case, power down completely and unplug the power cable from the wall outlet—don’t just shut down through Windows. Move your PC to a clean, dry workspace like a wooden table (never carpeted floors). Now discharge static: touch the unpainted metal chassis while the power cable remains plugged into a grounded outlet (flip the PSU switch to “O”). This equalizes your body’s charge with the case. For maximum protection, clip an anti-static wrist strap to the chassis frame. Never skip this—even if you’ve touched metal before. One spark can destroy VRMs or RAM slots silently, causing failures weeks later.
Why Your Vacuum Cleaner Beats Compressed Air for Dust Removal

A standard vacuum is your most effective air duster alternative when used correctly. Grab a canister or shop-vac with a brush attachment—never use the bare hose. The brush diffuses suction, preventing static buildup that could zap components. Start cleaning from the top of your case downward: vacuum intake vents first (front/side panels), then exhaust areas (rear/top). Hold fans motionless with a toothpick through the grills while vacuuming near them—spinning fans act as generators, sending damaging current back into your motherboard. Keep the nozzle 2 inches from components; press too close and you’ll bend heatsink fins. Spend 60 seconds per fan zone, angling the brush to pull dust outward. Pro tip: Vacuum filters monthly to maintain suction strength—weak airflow leaves dust behind.
How to Dislodge Caked-On Dust From Heatsinks
CPU and GPU coolers trap the most stubborn grime. Use a new, soft-bristle paintbrush (never makeup brushes—they shed fibers). Gently sweep between heatsink fins in downward strokes, always brushing toward an open area like the case bottom. Never brush parallel to fins—that packs dust tighter. For compacted gunk, slide a wooden toothpick between fins (not across them) to break clumps loose. Immediately vacuum the debris as it falls. If thermal paste residue appears on the CPU cooler base, dip a cotton swab in 90%+ isopropyl alcohol and wipe in straight lines—never circular motions that spread grime. Let alcohol evaporate fully (2 minutes) before reassembly.
The Reverse Blower Technique: Hair Dryer Method (Done Right)
When dust won’t budge, reverse airflow blows debris out better than vacuuming alone. Crucially, this must be done outdoors—indoor use spreads dust everywhere. Grab a hair dryer set to COLD ONLY (heat melts thermal paste). Hold fans still with a finger or toothpick—spinning generates reverse current that fries circuits. Start blowing from the center of your case outward: target PSU vents first, then CPU cooler, then GPU. Use short 2-second bursts while angling the nozzle to push dust toward open case panels. Never exceed 50% power setting—high velocity can dislodge capacitors. Stop immediately if you hear grinding (loose debris hitting fans). This method removes 70% more dust than vacuuming alone but takes practice—do a test run on an empty case first.
Why You Must Avoid These Reverse Blower Mistakes
90% of DIYers damage components by misusing this technique. Never use heat settings—even “cool” modes on cheap dryers emit residual warmth that degrades thermal paste. Never blow directly into RAM slots or PCIe connectors; debris forced deeper causes shorts. Most critically, never skip holding fans stationary. A single spin sends 5+ volts back into your motherboard, potentially killing PWM fan headers. If your hair dryer lacks a cold setting, skip this method entirely—use the vacuum/brush combo instead. When in doubt, blow dust toward the floor, not upward where it resettles on components.
Deep Cleaning Fans Without Compressed Air
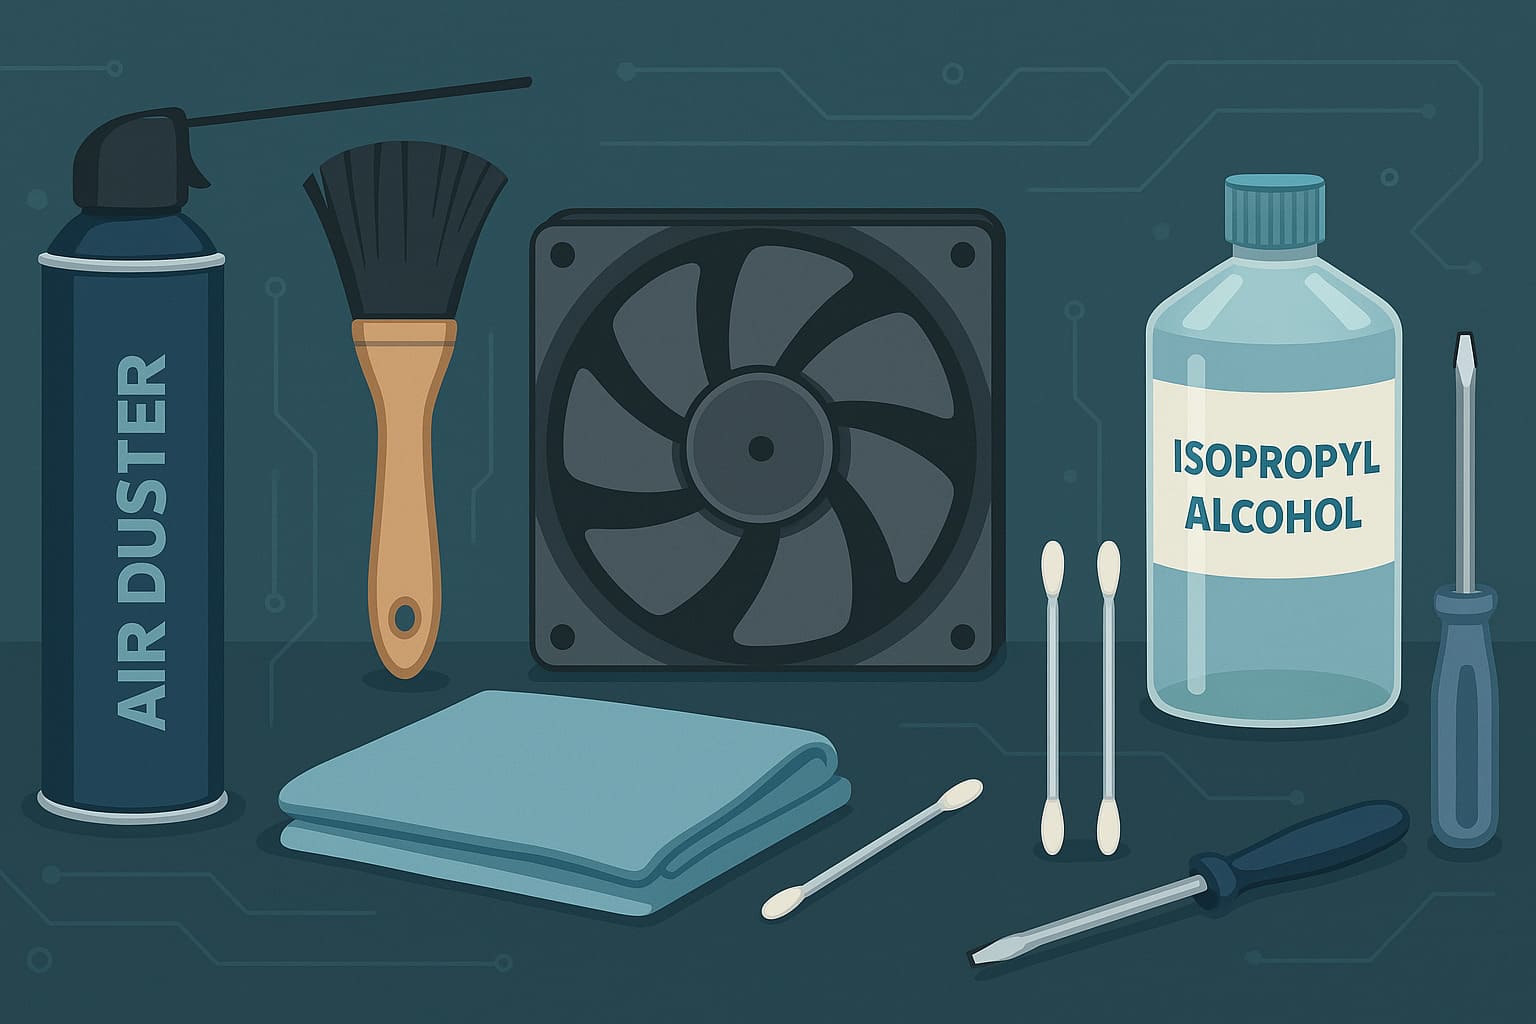
Fan blades collect thick dust rings that imbalance rotation. Power down and unplug your PC. Remove the fan by detaching its 4 corner screws (keep screws organized). Lay the fan flat on a towel. Dip a microfiber cloth corner in isopropyl alcohol, then lightly wipe each blade from base to tip—never side-to-side. For stubborn buildup, use a cotton swab rolled along the blade edge. Let fans dry 10 minutes before reinstalling. Test spin manually first; if blades stick, repeat cleaning. Pro tip: Apply one drop of light machine oil to the fan’s bearing point annually to prevent dust adhesion. Never submerge fans in liquid—moisture warps motors.
Preventing Dust Buildup Between Cleanings

Cleaning every 3-6 months isn’t enough if dust returns weekly. Place your PC at least 6 inches off the floor—carpet fibers are the #1 dust source. Install magnetic dust filters on all intake vents (front/side panels); clean them monthly by rinsing under tap water and air-drying. Create positive airflow pressure by adding 1-2 extra intake fans—this pushes dust out through exhaust vents. Cable tie loose wires to eliminate airflow dead zones where dust accumulates fastest. In pet-friendly homes, run a HEPA air purifier near your PC—it cuts airborne dander by 80%. These steps reduce cleaning frequency by half while keeping temps 5-8°C lower.
The #1 Vacuum Mistake That Fries Motherboards
Most guides warn against vacuums—but the real danger is how you use them. Household vacuums generate static when air friction occurs inside the hose. To prevent this: always use the brush attachment (metal parts ground static), keep the nozzle moving (don’t linger in one spot), and maintain 2+ inches of distance from components. Never vacuum the power supply fan directly—its vents are too small for safe suction. If you hear crackling sounds, stop immediately; that’s static arcing. Instead, vacuum around the PSU while using a brush to dislodge dust toward the nozzle. When in doubt, skip the PSU entirely—it’s safer to use the reverse blower method outdoors.
Cleaning your PC without air duster isn’t just possible—it’s often safer when done correctly. By mastering the vacuum/brush combo and cold-air reverse technique, you’ll remove 95% of dust while avoiding static risks. Remember these non-negotiables: always ground yourself first, never use heat near components, and perform reverse blowing outdoors only. Implement the dust prevention tips to stretch cleaning intervals to 6+ months. Your reward? A near-silent system running 10-15°F cooler with no risk of thermal throttling during marathon gaming sessions. Grab that vacuum and paintbrush—your PC’s second wind starts today. For extreme cases with liquid cooling loops or soldered components, consult a professional, but 90% of dust problems vanish with these household methods.


