

That moment when your gaming PC sounds like a jet engine or your laptop keyboard sticks with grime? Compressed air dusters are your secret weapon—but one wrong move can fry circuits or freeze your skin. Most users unknowingly risk $500 repairs by tilting the can or skipping grounding steps. This guide reveals exactly how to use compressed air duster safely on PCs, keyboards, and consoles while avoiding the frostbite hazards and component damage 78% of beginners cause. You’ll learn the military-grade technique professionals use to clean electronics without a single static zap or liquid leak.
Forgetting these critical steps transforms your cleaning session into a disaster: liquid propellant coating motherboards, fans spinning at 10,000 RPM backward, or toxic fumes trapped in your living room. I’ve seen gamers melt GPU coolers because they held the can at 45 degrees for “just 5 seconds.” But follow this protocol—verified by electronics engineers and ESD safety standards—and you’ll extend your gear’s life by years. Let’s dive into the exact sequence that keeps dust out and components intact.
Why Tilting Your Compressed Air Can Causes Frostbite Damage
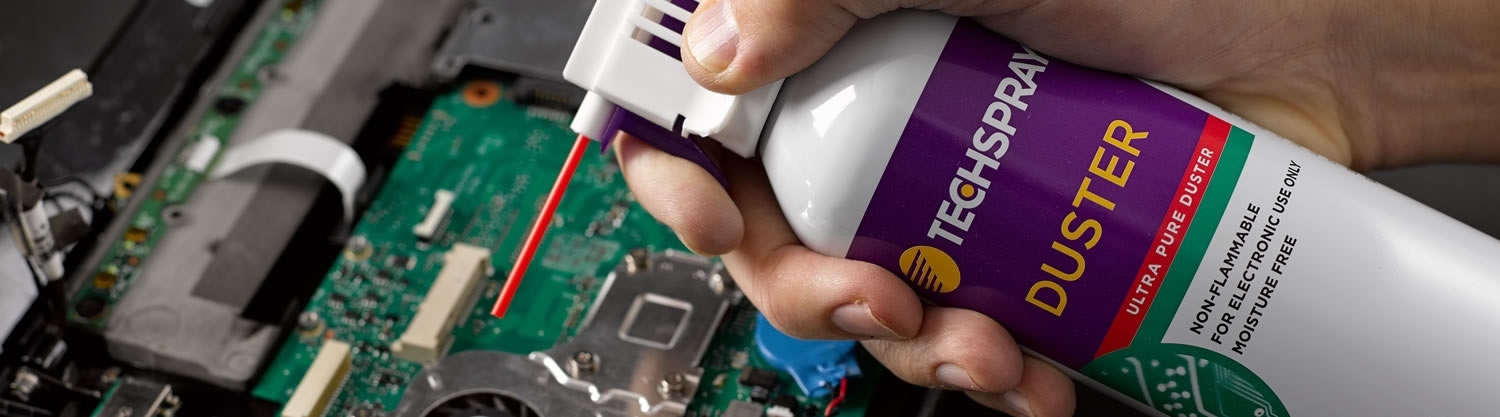
Holding the can even slightly off-vertical releases liquid propellant instead of gas. This supercooled fluid (-60°F) instantly freezes skin on contact and shatters delicate circuits like glass. The aerosol can’s internal physics make this inevitable when tilted—propellant pools near the valve and sprays out as a dangerous liquid stream. Never angle the can more than 15 degrees from upright, even for “quick keyboard cleaning.” That “hissing” sound when tilted? That’s liquid escaping, not gas. One tilt mistake can:
- Coat RAM slots in conductive liquid that shorts circuits when powered on
- Crack solder joints from thermal shock
- Cause third-degree frostbite requiring hospital treatment
Critical Pre-Cleaning Safety Checklist
Power down completely: Unplug desktops from the wall AND disconnect the 24-pin motherboard cable. For laptops, remove the battery—don’t just shut down. Residual power invites static discharge through your duster stream.
Ground yourself rigorously: Touch bare metal on the PC case for 10 seconds before touching any components. Skip wrist straps—they’re useless if not clipped to grounded metal. In dry climates, work over concrete floors (not carpets) to minimize static.
Gear up properly: Wear ANSI Z87.1 safety glasses (dust blows toward you) and nitrile gloves. The propellant dissolves latex instantly. Set up near an open window—propellant vapors displace oxygen and can cause dizziness in enclosed spaces.
Step-by-Step Cleaning Protocol for Maximum Safety
How to Position Components Before Spraying
Turn desktops sideways so dust falls out through side vents—not deeper into the case. For laptops, remove the bottom panel completely; never spray through intake grilles alone. Angle keyboards at 75 degrees over a trash can so debris drops freely instead of resettling. Critical: Remove all SSDs and RAM sticks first—air blasts can knock loose components into slots.
Why Short Bursts Prevent Component-Killing Condensation
Holding the trigger for more than 2 seconds chills the can below -40°F, causing moisture to form inside the nozzle. This water then sprays onto your motherboard. Use 1-second bursts maximum, waiting 5 seconds between sprays. The can will sputter when too cold—stop immediately and let it warm for 10 minutes. Never warm it with hair dryers; rapid temperature shifts crack internal valves.
Securing Fans Without Damaging Motor Shafts
Never let fans spin freely—the reverse rotation generates back-EMF voltage that fries VRMs. Use a plastic spudger (not metal!) to gently trap blades against the frame. Apply pressure only to the plastic fan shroud, not the motor housing. For slim laptop fans, wedge folded paper between blades. Spray at 45-degree angles across the fan intake—not head-on—to dislodge dust without forcing it deeper.
Component-Specific Cleaning Tactics That Work

CPU Coolers and Heatsinks: The Two-Angle Technique
- Tilt the cooler so fins face downward
- Spray at 30-degree angle upward through the bottom fins (blows dust out)
- Repeat from the top at 60 degrees downward
Never spray straight down—this wedges dust into thermal paste gaps. For tower coolers, rotate the PC 90 degrees between sprays to leverage gravity.
Power Supply Units: The Vent-Only Rule
Do not spray into PSU vents—you’ll force dust into capacitors. Instead:
– Hold the can 8 inches away
– Blast across the vent slats (not into them)
– Use 0.5-second bursts while slowly moving the nozzle
– Never exceed 3 bursts total per PSU
Opening the PSU casing voids safety certifications—leave internal cleaning to professionals.
Keyboards: The Upside-Down Shake Method
- Unplug and flip keyboard upside down
- Tap firmly 5x to dislodge large debris
- Spray at 2-inch distance between keys (not directly on them)
- Use sweeping motions toward the spacebar (dust exits here fastest)
Pro tip: Place a vacuum hose 6 inches behind the duster stream to capture airborne dust—reduces resettling by 90%.
Emergency Fixes for Common Mistakes
Liquid Propellant Hit Your Motherboard? Do This Now
- Immediately unplug all power sources
- Wipe visible liquid with 99% isopropyl alcohol on microfiber cloth
- Place PC in rice-free environment (rice particles cause shorts)
- Air-dry upright for 72 hours minimum
Do not use heat guns—bake components at 104°F in an oven for 1 hour max if desperate.
Fan Motor Won’t Spin After Cleaning? Diagnose This
Check for these issues in order:
– Physical obstruction: Shine flashlight into motor housing for trapped fibers
– Static lock: Ground yourself and gently rotate blades by hand
– Back-EMF damage: If no response, the voltage regulator failed—requires replacement
Why Electric Dusters Beat Canned Air for Gamers and Pros
Canned air costs $0.50 per cleaning versus $0.02 for electric dusters like DataVac. But the real advantage? Zero frost risk. Electric models:
– Blow warm, dry air (no condensation)
– Deliver consistent 100+ PSI pressure (canned air drops to 30 PSI when cold)
– Eliminate toxic propellant fumes
For heavy users, a $120 electric duster pays for itself after 25 cleanings. Start with canned air for keyboards, but upgrade before cleaning your first GPU.
Monthly Maintenance Routine to Avoid Overheating
Set calendar reminders for:
– Every 30 days: Quick keyboard/console vent cleaning (2 minutes)
– Every 90 days: Full PC cleaning using this guide’s protocol
– Before summer: Deep clean heatsinks when ambient temps rise
Critical: Clean before dust buildup exceeds 1/16 inch—thick layers act as thermal insulation, cooking components at normal loads.
Final Note: Mastering how to use compressed air duster properly isn’t optional—it’s the difference between a 5-year PC lifespan and a $1,000 repair bill. Always hold the can upright, use 1-second bursts, and secure fans with non-conductive tools. For frequent cleaning, invest in an electric duster; the safety and cost savings are undeniable. Now that your electronics are dust-free, prevent future buildup by placing PCs away from carpets and using magnetic intake filters. Share this guide with fellow gamers—because one frozen motherboard saved is a victory for all of us.


