

Waking up soaked inside your tent during a downpour transforms adventure into misery—fast. Factory waterproofing degrades within 1-2 years from UV exposure, dirt, and wear, leaving micro-leaks through needle holes and worn coatings. But here’s the fix: a systematic waterproofing overhaul targeting three critical failure points—ground tarp errors, degraded coatings, and unsealed seams—can boost your tent’s hydrostatic head rating by 1,500mm. This guide delivers battle-tested techniques used by expedition leaders to keep shelters dry in 4-inch-per-hour downpours. You’ll learn exact tarp sizing rules, how to apply seam sealant without drips, and why a 4-inch rainfly gap prevents condensation floods.
Ground Tarp Sizing That Actually Prevents Leaks
Oversized tarps are the #1 cause of “bathtub flooding” under tents. Water pools on the tarp, then seeps upward through the tent floor’s micro-perforations.
Why Your Tarp Must Be Smaller Than Your Tent Floor
Cut or fold your ground tarp 4-6 inches smaller than your tent’s floor perimeter. An oversized tarp acts like a gutter, funneling rainwater directly under your tent. Polyethylene tarps develop micro-tears easily—opt for Tyvek or polyurethane-coated nylon for durable water runoff. If you’ve already cut your tarp too large, fold excess material inward to create a raised lip barrier that redirects water away from the tent edges.
Site Selection: Your First Line of Defense
Never pitch on flat ground. Perform the step test: jump where you plan to set up. If water pools around your boots, move immediately. Ideal sites have a 2-3° slope for natural drainage and sit 6+ inches higher than surrounding terrain. Avoid dips, creek beds, or the base of hills—even shallow depressions collect water during heavy rain.
Seal Tent Floor Seams Before Your Next Downpour

Factory seam tape fails after 2-3 years, exposing needle holes that wick water. Unsealed floor seams cause 70% of interior leaks during sustained rain.
Step-by-Step Seam Sealing Protocol
- Clean seams with 90% isopropyl alcohol to remove oils—dirt prevents sealant adhesion.
- Apply Gear Aid Seam Grip in 6-inch sections along all floor seams (especially corners and wall-floor junctions). Use a foam brush for even coverage—avoid drips by applying a thin bead no wider than 1/8 inch.
- Cure for 48 hours at room temperature before use. Never rush this—partial curing causes peeling.
Pro Tip: For silnylon tents, use silicone-based sealant; polyester tents require polyurethane formulas. Check your tent tag for fabric type.
Critical Areas You’re Missing
Focus on vestibule zippers and pole sleeves—these high-stress points leak first. Apply sealant to the inside of the rainfly’s ridgeline seams where water channels during wind-driven rain.
Rainfly Gap Technique for Zero Condensation
A rainfly pitched too tight traps humidity inside your tent, causing “wet-out” where condensation mimics leaks. But a loose fly channels rain down its surface.
The 4-Inch Air Gap Rule
Position your rainfly 4-6 inches above the tent body at all points. This gap:
– Creates ventilation to evaporate condensation
– Prevents rain from bridging between fly and tent walls
– Allows water to sheet off the fly instead of pooling
Pitch Correction: Guy out rainfly corners at 45° angles. A properly tensioned fly should ripple slightly in wind—not drum-tight. After pitching, check for consistent gaps using your hand as a spacer.
Restore Waterproof Coatings in 3 Steps
Detergent residues or UV damage cause fabric to “wet out,” where water soaks into fibers instead of beading. Restoring DWR (Durable Water Repellent) adds 500mm to your hydrostatic head rating.
Deep Cleaning Without Damage
- Wash with Nikwax Tech Wash (never dish soap!) in a tub or shower. Soap leaves hydrophilic residues that attract water.
- Rinse until water runs clear—residual detergent repels waterproofing sprays.
- Dry completely in shade; UV degrades coatings during drying.
Precision DWR Application
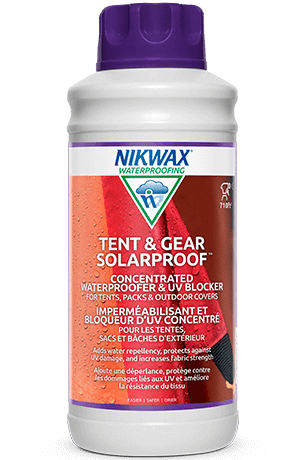
Spray Nikwax Tent & Gear SolarProof 6-8 inches from the rainfly in sweeping motions. Focus on:
– Upper 2/3 of the rainfly (highest rainfall impact zone)
– Lower 12-18 inches of tent walls (for “bathtub” protection)
– All factory-taped seams
Apply until fabric looks damp—not soaked. Let dry 24 hours before folding.
Emergency Field Repairs When Rain Starts
When leaks appear mid-storm, these fixes buy critical hours:
Zipper Leaks: Wax Immediately
Rub unscented candle wax or beeswax along zipper teeth. The hydrophobic barrier repels water where zippers naturally channel rain.
Pinhole Leaks: Clear Nail Polish Fix
Clean the area with an alcohol wipe, then apply 2 thin coats of clear nail polish. It dries flexible and transparent—unlike duct tape, which peels coatings when removed.
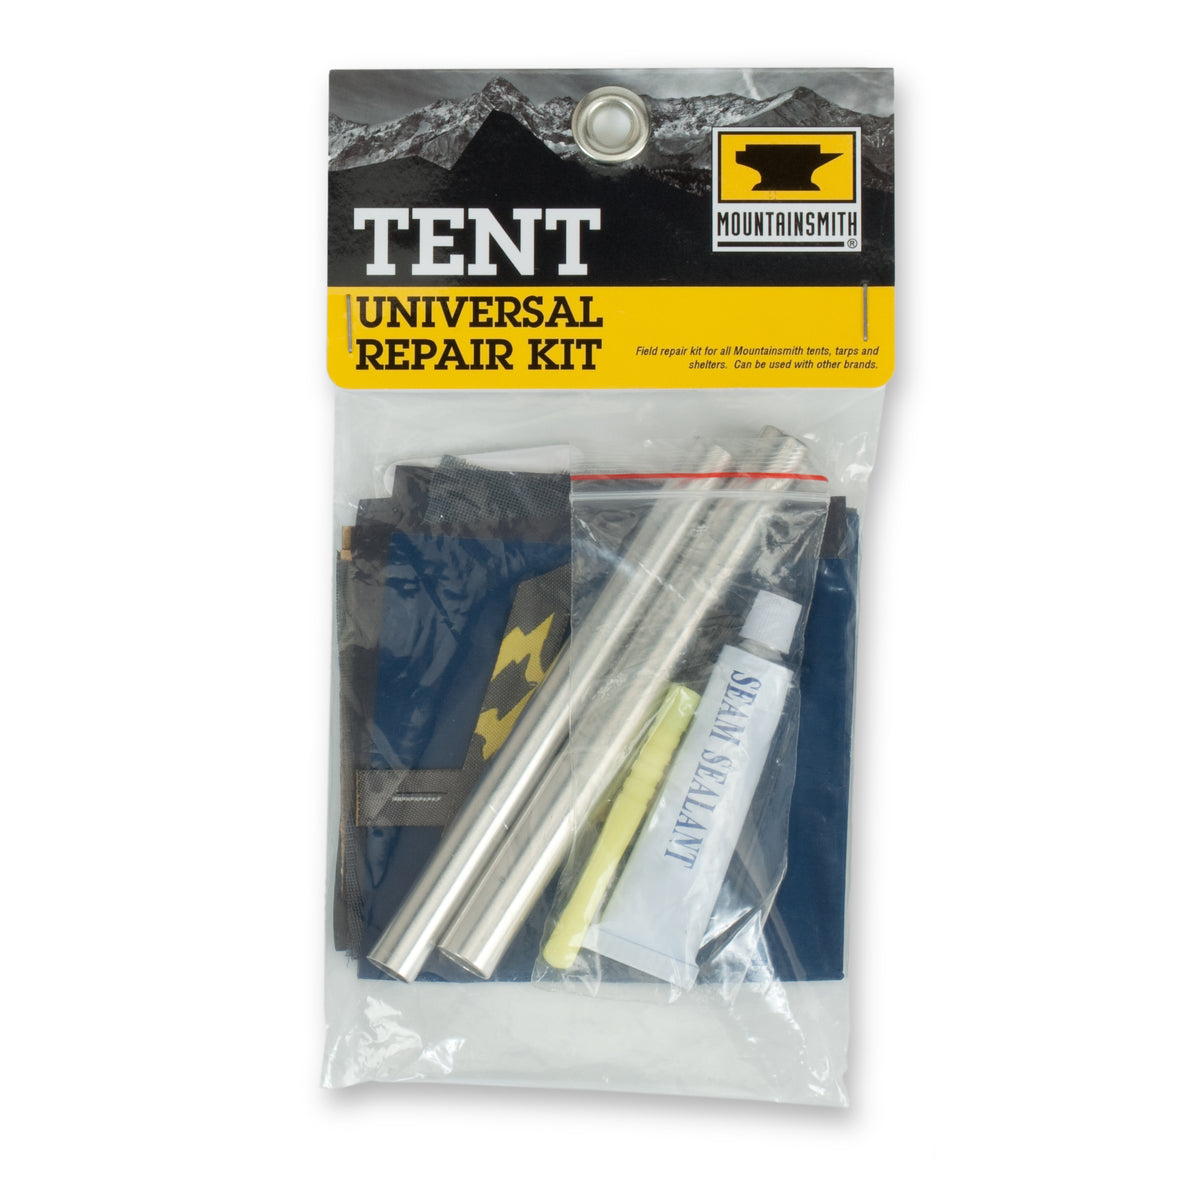
Seam Failure: Tenacious Tape + Seam Grip
For splitting seams:
1. Place a Tenacious Tape patch over the leak (exterior side)
2. Apply Seam Grip under the patch edges (interior side)
3. Weight it down for 30 minutes to bond
Never use duct tape long-term—its adhesive degrades waterproof coatings.
Annual Maintenance That Doubles Tent Lifespan
Skipping yearly upkeep cuts tent life by 60%. Follow this pre-season ritual:
The 15-Minute Garden Hose Test
- Pitch tent in your yard
- Spray rainfly with a garden hose for 15 minutes
- Shine a flashlight inside to spot micro-leaks (mark with chalk)
- Retest after resealing
Storage Protocol to Prevent Mold
- Never store damp: Air-dry for 48+ hours post-trip
- Use a cotton storage sack—stuff sacks compress fabric, cracking coatings
- Hang vertically in a cool, dark closet (not garages or attics)
Why Your Tent Leaks After Years of Use (And How to Fix It)
Hydrostatic head ratings plummet as coatings degrade:
– Year 1: 3,000mm (factory rating)
– Year 3: 1,800mm (unsealed seams + worn DWR)
– After treatment: 4,500mm (sealant + DWR restoration)
Factory seam tape loses adhesion from UV exposure—visible as peeling edges along seams. Retreat annually with liquid seam sealer. For tents over 5 years old, reapply DWR every 30 nights of use.
Cost-Saving DIY Waterproofing Mix
Commercial products work, but this budget formula matches Nikwax’s performance:
– 1 part silicone sealant (like GE Silicone II)
– 2 parts mineral spirits
– Mix in glass jar, apply with foam roller
– Cure 24 hours before use
Warning: Use only in well-ventilated areas—mineral spirits are flammable. Never use on silnylon tents.
Final Waterproofing Checklist Before Your Trip
- Tarp is 4-6 inches smaller than tent floor
- All floor seams sealed (no visible needle holes)
- Rainfly has 4-inch gap from tent body
- DWR treatment reapplied to rainfly upper 2/3
- No detergent residues (verified by beading water test)
A properly waterproofed tent handles sustained downpours with 95%+ effectiveness. But remember: no tent is 100% waterproof without correct setup. That 4-inch rainfly gap and undersized tarp aren’t optional—they’re the difference between dry comfort and sleeping in a puddle. Commit to annual seam sealing and DWR refreshes, and your tent will outlast three camping seasons. Now pitch it on high ground, and let the rain come.


