
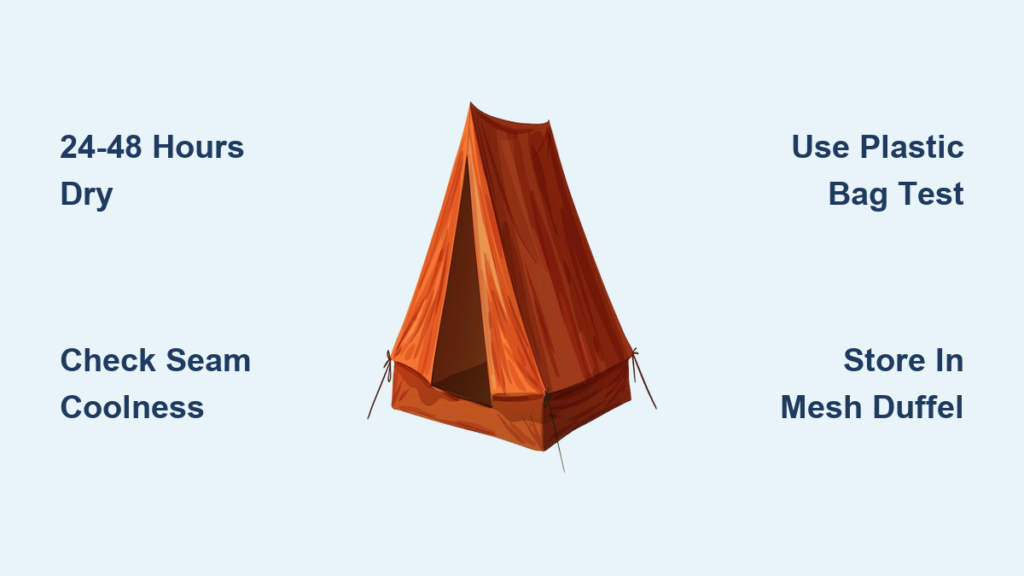
Your tent just survived rain, condensation, and muddy terrain—but the real threat begins when you pack it away. That damp nylon shell packed in a stuff sack becomes a mold factory within 48 hours, silently destroying waterproof coatings and fabric integrity. How long to air out tent after camping isn’t just a casual question—it’s the difference between a $300 investment lasting 10 seasons or disintegrating after one summer. Most campers make the fatal error of judging dryness by surface feel alone, only to discover mildew stains weeks later. The hard truth? You need a minimum of 24-48 hours of active drying time before storage, but the exact duration depends on hidden moisture in seams, fabric type, and environmental conditions. This guide reveals the exact process to prevent irreversible damage while answering every camper’s critical question: When is my tent truly dry enough to store?
Why Skipping Proper Tent Drying Guarantees Costly Damage
Storing even slightly damp tents triggers irreversible chemical reactions you can’t see. Moisture trapped in polyurethane coatings begins hydrolysis within hours—breaking down waterproof barriers at a molecular level. That faint musty smell? It’s mold spores colonizing microscopic fabric flaws, weakening fibers by 30% per exposure. How long to air out tent after camping directly determines whether your gear survives or becomes landfill. Ignoring this step causes:
- Permanent seam failure as mold eats through urethane tape bonds
- Yellow “tide line” stains from mineral deposits in evaporating moisture
- Loss of hydrostatic head rating as DWR coatings delaminate
- Structural weakening where condensation pools on the floor
A single improperly dried storage cycle reduces tent lifespan by 40%. That “just slightly damp” floor you packed away? It creates a 98% humidity microclimate inside your stuff sack—ideal for Aspergillus niger mold that digests nylon. Don’t gamble with gear that protects you in storms; the 24-48 hour drying window is non-negotiable for performance and longevity.
The 4-Step Tent Drying Protocol Campers Actually Need

Forget hanging it in your garage for an afternoon. Real tent preservation requires systematic moisture evacuation from every hidden zone. This method works for all tent types—from ultralight silnylon to heavy canvas.
Shake Out Debris Before Moisture Sets In
Begin while breaking camp: aggressively shake the tent body and rainfly over your car roof to dislodge dirt that traps moisture against fabric. At home, set up the tent inside your garage before unpacking other gear. Use a microfiber towel dampened with vinegar solution (1:4 ratio) to wipe interior walls—never dry wiping, which grinds grit into fibers. Pay special attention to zipper tracks and vestibule corners where mud accumulates. Finish with a final upside-down shake to clear seam tunnels. Skipping this step leaves contaminants that wick moisture into fabric cores during drying.
Optimize Your Drying Environment for Maximum Evaporation
Sunlight alone won’t save you—improper exposure causes UV damage that degrades fabric 3x faster than mold. Hang your tent in dappled shade with cross-ventilation, like a covered porch with opposing windows open. Position a box fan 6 feet away on oscillate mode to move air through the tent structure without direct force. For rainy climates, use a dehumidifier in your garage set to 45% humidity. Critical mistake: Never hang wet tents on metal fences—mineral deposits from the metal accelerate fabric degradation. The ideal drying zone feels warm to the touch but never hot (under 85°F/29°C).
Unlock Hidden Moisture Trapped in Critical Zones
Unzip all vents, doors, and storage pockets to expose moisture reservoirs. For double-wall tents, remove the rainfly immediately and hang it separately on a non-metal line. Prop the tent body upright using tent poles through the vestibule to lift the floor off the ground—this is where 70% of hidden moisture pools. If condensation coated the interior, turn the rainfly inside out to expose the damp PU-coated side. Pay special attention to seam-taped zones on the floor; these thick areas retain moisture longest. Use a dry paintbrush to gently separate stuck fabric layers along seams where moisture gets trapped.
Verify Dryness with Military-Grade Moisture Testing
Surface dryness means nothing—your tent fails the critical moisture test if any of these apply:
* Seam coolness test: Press the inside of floor seams against your cheek. Any cool sensation indicates residual moisture
* Fabric flex audit: Crumple the rainfly in your fist. If it makes a soft thud instead of a crisp crackle, moisture remains
* Zipper track check: Run a paper towel through zipper channels. Dampness will leave visible discoloration
For absolute certainty, perform the plastic bag stress test: Seal a section of tent in a ziplock bag for 2 hours in a warm room. Condensation inside the bag means dangerous moisture levels remain. Only when all tests pass is your tent safe for storage.
5 Factors That Dictate Your Exact Drying Timeline
That “24-48 hour” rule is meaningless without context. These variables determine how long to air out tent after camping for your specific gear:
- Fabric weight matters most: A 0.9oz silnylon tent dries in 8-12 hours, while 2.1oz polyester takes 36+ hours. Canvas requires 72+ hours with dehumidification
- Moisture source changes everything: Morning dew dries 3x faster than rain-soaked fabric. Interior condensation from cooking takes longest to evaporate
- Humidity is the silent killer: At 30% RH, drying takes half the time versus 80% RH. Use a $10 hygrometer to track progress
- Seam construction adds time: Taped seams trap moisture 200% longer than folded-fell seams. Double-stitched floors need extra attention
- Geographic location impacts speed: Desert climates dry tents 60% faster than coastal regions. Mountain air with UV exposure risks fabric damage if overdone
Track drying time from the moment you set up indoors—not when you get home. A tent left in a damp car trunk for 2 hours before drying already has active mold growth.
Off-Season Storage: The Final Step Campers Forget
Drying is useless if storage reactivates moisture. Follow these rules for 5+ year tent life:
- Never compress damp fabric: Even 5% residual moisture causes coating failure in compressed storage. Verify dryness after the bag test
- Ditch the stuff sack permanently: Store in a cotton pillowcase or mesh duffel—never nylon compression sacks. Compression cracks PU coatings
- Control the microclimate: Add silica gel packs (100g per 5 sq ft) inside storage containers. Replace monthly
- Elevate off concrete: Place storage container on wooden pallets—concrete floors emit moisture vapor
Tents stored compressed in stuff sacks lose 50% waterproofing in 6 months, even if initially dry. Your storage method determines whether that 24-48 hour drying effort pays off.
4 Proven Shortcuts That Actually Work (Without Damage)
When time is critical, these science-backed methods accelerate drying safely:
- The towel roll technique: Lay a dry microfiber towel flat, place damp tent section on top, roll tightly, and twist to wick moisture. Replaces 3 hours of air drying
- Strategic fan placement: Position two fans blowing toward each other with the tent between them—creates a low-pressure zone that pulls moisture out 40% faster
- Overnight dehumidifier boost: Run a 20-pint dehumidifier in a closed garage with tent for 8 hours. Lowers drying time by 65% in humid climates
- Seam pre-treatment: Rub seam tape areas with isopropyl alcohol (70%) on a cloth—the alcohol displaces water molecules for faster evaporation
Never use hair dryers, radiators, or clothes dryers—temperatures above 100°F melt PU coatings instantly. UV lamps also degrade fabric without meaningful drying benefits.
Conclusion: Your 48-Hour Investment Prevents $300 Mistakes
How long to air out tent after camping isn’t about convenience—it’s a chemical imperative for gear preservation. That “just overnight” approach guarantees mold colonization in seams, while the full 24-48 hour protocol with proper verification saves hundreds in replacement costs. Remember: if your tent passes the plastic bag test and makes that crisp crinkle sound when handled, you’ve beaten the moisture clock. Store it loosely in breathable fabric, and you’ll have reliable shelter for decades. The next time you’re tempted to rush packing, recall the $289 replacement cost staring you down—that extra day drying in the garage is the smartest gear maintenance you’ll ever do. Your future self, standing dry in a storm, will thank you.


