
You’re packing for a weekend in the mountains when you realize your old tent leaks during the slightest drizzle. That sinking feeling—knowing your shelter might fail when you need it most—is why how to choose a camping tent matters more than any other gear decision. The right tent transforms rough terrain into a cozy sanctuary, while the wrong one turns adventure into misery. With overwhelming options at every price point, this guide cuts through the noise. You’ll learn exactly which features prevent rain leaks, how to decode misleading capacity labels, and why most “3-person” tents cramp two adults. By the end, you’ll confidently select a tent that handles sudden storms and fits your actual needs—not just the marketing hype.
Most campers overspend on unnecessary features or under-buy for their conditions. We’ve seen hikers struggle with 8-pound family tents on trails and families crammed into “spacious” 4-person shelters. This isn’t about memorizing technical specs; it’s about matching real-world performance to your trips. Whether you’re a solo backpacker chasing summits or a family setting up basecamp, we’ll focus on actionable criteria that impact your comfort and safety. Let’s dive into the exact features that separate reliable shelters from expensive trash bags.
Critical Tent Features That Prevent Rain Leaks and Condensation

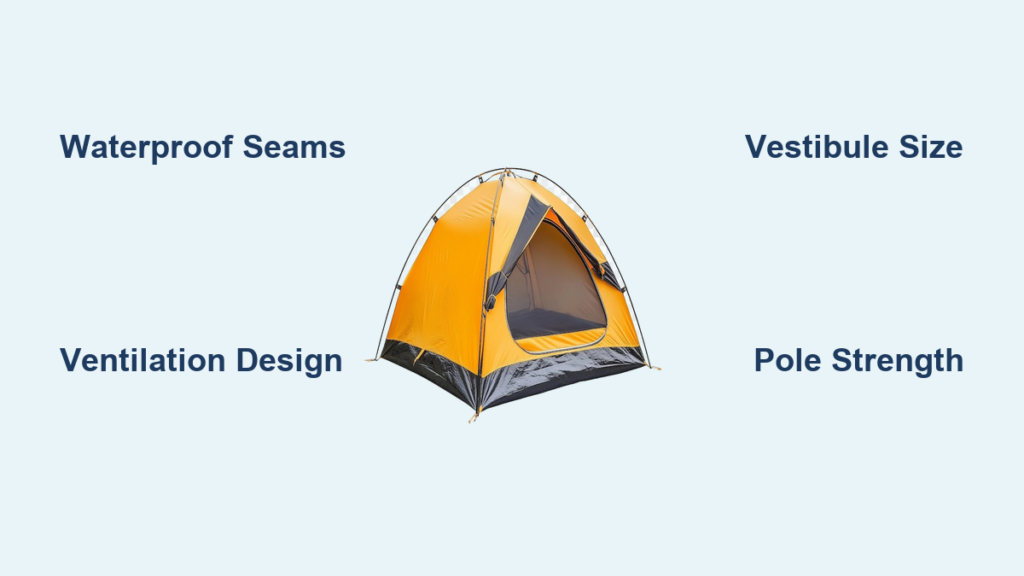
Don’t trust a tent’s waterproof claims until you inspect these non-negotiable elements. Factory-sealed seams are your first defense against leaks—untreated stitching wicks water inward during downpours, turning your sleeping area into a puddle zone. Test this by holding the fabric up to light; if you see pinpricks along seams, skip it. For pole resilience, aluminum alloys like DAC Featherlite withstand wind gusts better than fiberglass, which snaps under stress and adds weight. You’ll feel that extra pound per mile on trails.
Why Zipper Quality Determines Tent Longevity
Sticky, broken zippers ruin camping trips faster than rain. Prioritize self-repairing YKK zippers—they glide smoothly even when gritty and won’t jam mid-storm. Cheap alternatives snag on the first use, forcing you to wrestle with doors while soaked. Check zipper sliders by running them empty; if they catch or resist, imagine doing this with cold, wet hands at 2 a.m. during a thunderstorm. This small detail separates tents that last years from those abandoned after one trip.
Ventilation Tactics for Fog-Free Mornings
Condensation drips from tent ceilings when ventilation fails—especially critical in humid forests or cold-weather camping. Look for dual roof vents and large mesh panels that create cross-breeze channels. In 3-season tents, ceiling vents paired with lower door mesh prevent that clammy, damp feeling by sunrise. Avoid “fully enclosed” designs marketed as “bug-proof”; they trap moisture unless you leave doors open (inviting insects). Pro tip: Pitch your tent with vents facing prevailing winds to naturally pull moist air out.
Backpacking Tents: Ultralight Shelters That Won’t Fail on Trail
Weight savings mean nothing if your tent collapses in wind or leaks during a drizzle. True backpacking tents max out at 3 pounds for solo models and use silnylon or Dyneema fabrics that resist abrasion against rocks. These materials breathe better than polyester but require careful handling—set up on smooth ground to avoid punctures. The trade-off? Less interior space and tighter vestibules for gear storage. If you hike 15+ miles daily, prioritize packed size (aim for under 12 inches long) over roominess.
Why Pole Design Affects Setup Speed in the Dark
Backpacker-friendly tents use hubbed pole systems that snap together in seconds—a lifesaver when rain hits unexpectedly. Freestanding designs let you position the tent perfectly before staking, crucial on uneven terrain. Trekking pole tents save ounces but waste minutes adjusting tension lines during setup. For solo trips, single-wall tents shave weight but sacrifice ventilation; double-wall models add 10-15 ounces but eliminate interior condensation. Always test-pitch new tents at home; if it takes over 3 minutes, you’ll struggle exhausted at trail’s end.
Car Camping Tents: Spacious Family Shelters That Pitch in Minutes

When your car is steps away, prioritize headroom and ease of setup over weight. Cabin-style tents with near-vertical walls let adults stand fully inside—critical for changing clothes or escaping rain. Look for color-coded poles and clip attachments that cut setup time to under 5 minutes. Family tents often include room dividers for privacy, but verify divider stability; flimsy fabrics collapse in breezes. Avoid “10-person” monstrosities—true comfort maxes at 6 campers with gear storage.
Vestibule Size: The Hidden Factor for Gear Organization
A tent’s vestibule (the covered porch outside doors) determines whether muddy boots stay outside or track dirt inside. For car camping, prioritize models with dual vestibules holding 10+ square feet total—enough for packs, chairs, and a camp stove. Measure vestibule depth; shallow ones (under 3 feet) won’t fit standard camp chairs. During storms, this dry zone becomes essential for cooking or gear repairs. If the vestibule floor isn’t bathtub-sealed, water pools inside during heavy rain. Always check real-user photos showing actual gear storage.
3-Season vs. 4-Season Tents: Weatherproofing for Real Conditions
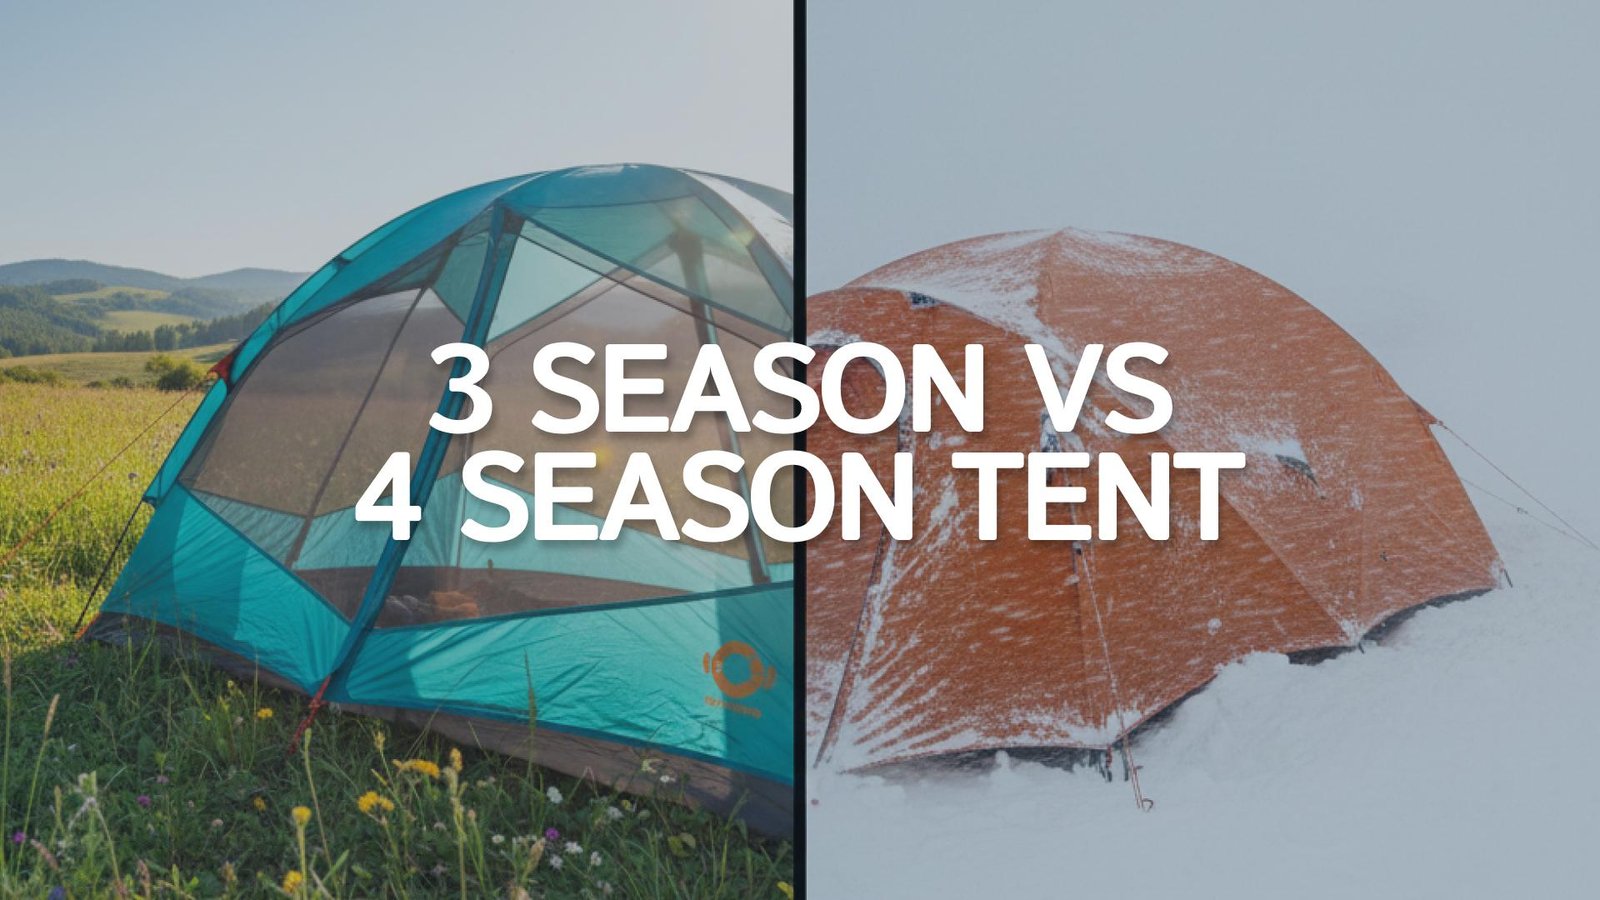
Most “4-season” tents are overkill unless you camp above treeline in winter. True expedition models handle blizzards with steeply angled flysheets that shed snow, but they suffocate in summer heat due to minimal mesh. For 95% of campers, a robust 3-season tent with a full-coverage rainfly suffices—even in shoulder seasons. Key differentiator: The fly shouldn’t touch inner walls when pitched tight. If it does, condensation transfers through the fabric during temperature swings. Look for “3+ season” labels indicating reinforced poles for wind resistance without sacrificing airflow.
Rainfly Coverage That Actually Works
A quality rainfly extends to ground level without gaps—a common flaw in budget tents where wind-driven rain sneaks under corners. Test coverage by stretching the fly taut; if you see sky between fly and ground, add footprint stakes. Steep fly angles (over 45 degrees) shed rain faster than shallow pitches. In storms, guy out all fly tension points—even if it adds setup time. This prevents pooling that eventually leaks through fabric. Never skip the footprint groundsheet; it blocks abrasion from rocks and adds a critical moisture barrier.
Decoding Tent Capacity Labels: Why “3-Person” Means 2 Adults
Manufacturers rate capacity based on sleeping bags alone—not gear or movement. A “3-person” tent typically fits two adults comfortably with room for packs. For family trips, subtract one person from the labeled capacity: A “6-person” tent sleeps four adults plus kids. Measure floor area; 20+ square feet per person ensures comfort. Narrow bases (under 7 feet wide) force campers to sleep head-to-toe, causing constant elbow bumps. Always check peak height; 42 inches lets most adults sit upright, while 36 inches feels claustrophobic.
Floor Dimensions That Prevent Morning Aches
Tent floors slope inward toward the center—a design flaw causing sleepers to roll together by dawn. Look for trapezoidal or rectangular bases that maximize usable width. In 2-person tents, minimum floor width should be 5 feet; 3-person models need 7+ feet. Test this by lying down in store models; if your shoulders touch walls, upgrade size. For side-sleepers, prioritize models with 40+ inch shoulder width. Remember: Gear stored inside eats usable space—vestibules are non-negotiable for keeping packs out of sleeping areas.
Step 1: Define Your Non-Negotiable Needs Before Shopping
Skip this step and you’ll buy based on price alone. Answer these brutally honestly: How many people actually sleep inside? (Include kids who crawl into your tent.) What weather have you actually faced? (If you’ve never camped above 50°F, skip 4-season.) Backpacking distance? (Over 5 miles/day demands sub-4-pound tents.) Budget ceiling? (Quality starts at $250 for backpacking, $150 for car camping.) For family trips, “easy setup” matters more than weight; solo hikers prioritize packed size. Write these down—salespeople will push unnecessary features.
Step 2: Prioritize Your Top 3 Must-Have Features
Most campers fixate on capacity while ignoring critical flaws. Rank these by importance:
– Waterproofing (seam sealing, fly coverage)
– Ventilation (mesh panels, vent placement)
– Setup speed (color-coded poles, freestanding design)
– Packed size (critical for backpackers)
– Vestibule space (for gear storage)
If you camp in Pacific Northwest rain, waterproofing trumps all. Desert campers prioritize ventilation. Families need vestibules; thru-hikers need low weight. Sacrifice lower-priority features to afford your top 3—never compromise on weather protection.
Step 3: Set a Realistic Budget Based on Usage
Don’t splurge on ultralight tech for occasional car camping. For 1-2 trips yearly, invest $150-$250 in a reliable car tent. Frequent backpackers should spend $350-$500 for durable silnylon. Avoid “too good to be true” deals; tents under $100 often skip seam sealing. Allocate 20% of your total gear budget to shelter—it’s your lifeline. If money’s tight, prioritize:
1. Waterproofing (seams, fly)
2. Pole strength (aluminum > fiberglass)
3. Ventilation (mesh panels)
Skip room dividers or awnings until you upgrade later.
Step 4: Compare Top Brands Using Verified Field Reviews
REI Co-op and Big Agnes dominate for reliability, but MSR excels in storm resistance. Ignore star ratings—read 3-star reviews for balanced insights. Search “[tent model] + leak” or “[tent model] + condensation” to find hidden flaws. Watch YouTube setup videos to judge ease. Key red flags:
– “Zippers failed after 3 trips”
– “Vestibule too small for packs”
– “Poles bent in 20mph wind”
If multiple users report the same issue, it’s not bad luck—it’s a design flaw.
Step 5: Read Between the Lines of User Feedback
Five-star reviews often ignore flaws; three-star reviews reveal real-world performance. Note phrases like “fine for summer” (hint: poor ventilation) or “heavy but sturdy” (good for car camping, bad for trails). Check if complaints mention specific conditions: “leaked in sideways rain” indicates poor fly coverage. Positive notes about “easy setup in wind” signal quality pole engineering. If reviews mention “fits 3 with gear,” it’s unusually spacious—grab that model.
Final Decision Checklist for Storm-Proof Shelter
Before clicking “buy,” visualize your tent failing: Will it hold in 30mph winds? Does the rainfly cover every seam? Can you set it up blindfolded after a long hike? Prioritize tents with proven seam sealing, aluminum poles, and dual vestibules—even if they cost more. Remember: Your tent isn’t just gear; it’s your emergency room, bedroom, and storm bunker. Invest in one that matches your actual trips, not hypothetical adventures. Test it in your backyard first—pitch it in rain to catch leaks early. Then, when darkness falls and the clouds roll in, you’ll sleep soundly knowing your shelter won’t quit.
Pro Tip: Always carry a footprint groundsheet—it doubles floor life by blocking abrasion. Pair your new tent with a $20 seam sealer kit for instant peace of mind. Now get out there; your perfect campsite awaits.


