
You’ve just unboxed your new fitness tracker or dug your old one out of a drawer, ready to restart your health journey—but the screen stays stubbornly black. Knowing exactly how to turn your fitness tracker on is the critical first step before you can monitor steps, track sleep, or analyze workouts. Most users waste precious minutes pressing random buttons or wondering if their device is broken, when the solution is often as simple as a 3-second button hold after proper charging.
Whether you own a budget-friendly Xiaomi band or a premium Apple Watch, every fitness tracker follows similar power principles despite brand differences. A dead battery is the most common culprit behind a non-responsive device, but incorrect button presses or software glitches can also prevent startup. This guide cuts through the confusion with brand-specific instructions, troubleshooting tips, and the exact steps to power up your device—no matter how long it’s been sitting unused.
Finding Your Fitness Tracker’s Power Button in Seconds
Your fitness tracker’s power button location varies significantly by brand and model, but it’s rarely hidden. On most Fitbit Charge and Versa models, you’ll find a single physical button on the left side that serves as both power and navigation control. Garmin devices typically feature a dedicated power button on the top right edge, often marked with a universal power symbol. Apple Watch users interact with the side button below the Digital Crown, while Xiaomi Mi Bands tuck their tiny button beneath the display module.
Physical buttons versus touch controls presents the first challenge. Many newer trackers like the Fitbit Luxe or Samsung Galaxy Fit2 have eliminated physical buttons entirely, relying instead on touch gestures or automatic activation when placed on the charger. If your device has no visible button, check whether it powers up automatically when connected to its charging dock—a common feature in ring-style trackers like Oura or circular smartwatches.
Brand-specific button locations you need to know:
– Fitbit: Left side (Charge series) or below screen (Versa)
– Garmin: Top right edge with power symbol
– Apple Watch: Button below Digital Crown
– Xiaomi/Huawei: Small button under display
– Oura Ring: No physical button—powers via charging dock
Why Your Fitness Tracker Won’t Power On (And How to Fix It)
A completely drained battery is the #1 reason your fitness tracker won’t turn on, even when you press the button repeatedly. Unlike smartphones that show low-battery warnings, many fitness trackers shut down abruptly at 0% and require 10-15 minutes of charging before displaying any sign of life. Never attempt to power on a device that’s been completely dead for weeks without charging first—this common mistake leads users to believe their tracker is broken when it simply needs juice.
Charging setup mistakes sabotage your startup attempts:
– Using non-original charging cables that don’t provide enough power
– Plugging into computer USB ports instead of wall adapters
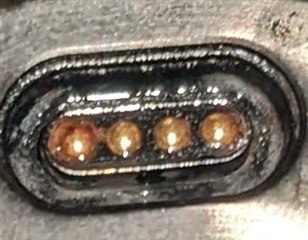
– Dirty charging contacts preventing proper electrical connection
– Faulty wall adapters delivering inconsistent power
The 30-minute charging rule solves most “dead device” scenarios. Connect your tracker to its original charger and a wall outlet (not a computer), then wait at least 30 minutes before attempting to power it on. During this time, look for subtle indicators like a charging icon, LED light, or vibration—many trackers show these signs even when the main screen remains dark. If you see no indication of charging after 30 minutes, clean the charging contacts with a dry cotton swab before trying again.
Step-by-Step Guide to Powering On Any Fitness Tracker
The universal power-on procedure works for 90% of devices:
1. Ensure your tracker has been charging for at least 15 minutes
2. Locate the power button (refer to brand-specific locations above)
3. Press and hold the button firmly for 3-5 seconds
4. Release when you see the brand logo or feel a vibration
5. If nothing happens, charge for another 15 minutes and retry
Special cases require different approaches:
– Buttonless trackers (Fitbit Luxe, Samsung Galaxy Fit): Place directly on charger—the device powers on automatically during pairing
– Ring-style trackers (Oura): Only power up when seated correctly in the charging dock
– Clip-style trackers (Fitbit Zip): Slide the cover to reveal the screen—the action simultaneously powers on the device
Pro tip: Newer trackers often enter shipping mode to preserve battery during transit. If your brand-new device won’t power on, check the manual for a specific shipping mode exit procedure—usually involving an extended 10-15 second button press.
Force Restart Techniques for Unresponsive Fitness Trackers
When standard power-on attempts fail, a force restart often revives frozen devices. Apple Watch owners should simultaneously press and hold both the side button and Digital Crown for 10-15 seconds until the Apple logo appears. This clears temporary software glitches without erasing your data. Don’t release the buttons when you see the power-off slider—that’s just a regular shutdown.
Fitbit’s dual-stage reset procedure solves most stubborn cases:
1. Connect your tracker to its charging cable
2. Press and hold the button for 8-10 seconds
3. Briefly release (1 second), then press and hold again for 2-3 seconds
4. Watch for the Fitbit logo to confirm successful reboot
Garmin devices require patience during forced restarts. Hold the power button continuously for 30-60 seconds—yes, that’s longer than feels necessary. Many users give up after 15 seconds, but Garmin’s deeper sleep modes require extended presses. If the screen flashes during this process, keep holding until it fully reboots.
Troubleshooting a Completely Black Screen
Verify your charging setup before assuming hardware failure:
– Test with a different USB cable and wall adapter
– Clean charging pins with a dry toothbrush (moisture causes corrosion)
– Try multiple power sources—a faulty outlet could be the real issue
– Check for physical damage to the charging port
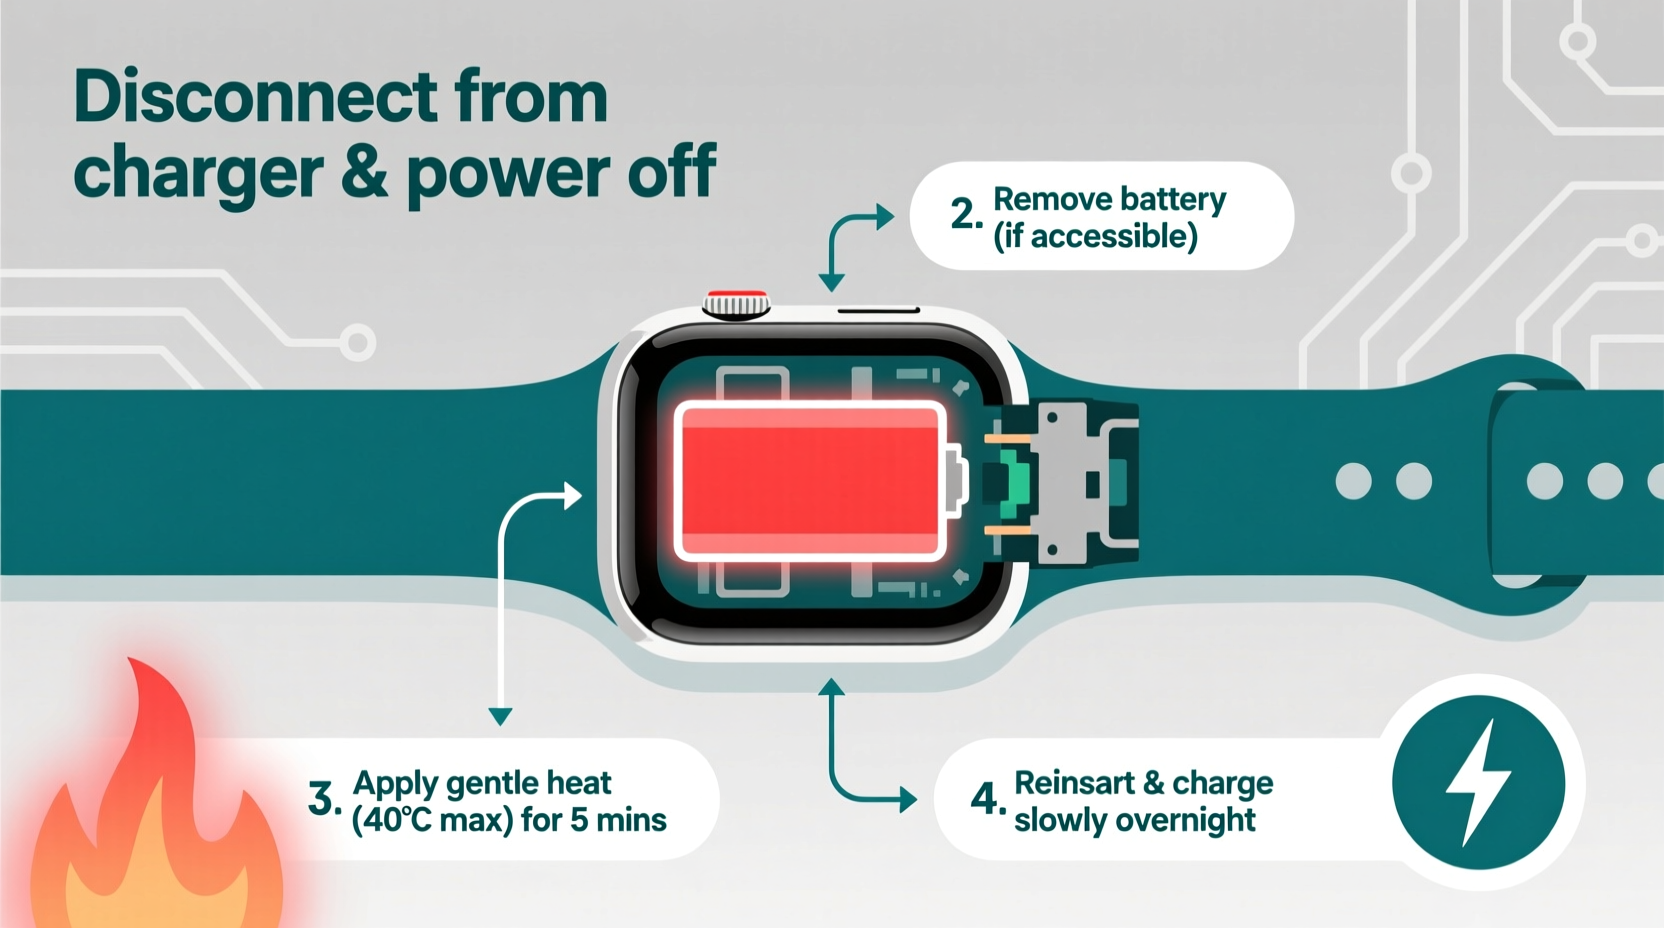
The water damage telltale sign appears as red or pink indicators inside the charging port. Most fitness trackers have these small stickers that change color when exposed to moisture. If you spot this discoloration, stop charging attempts immediately—further power application could cause short circuits. Instead, dry the device thoroughly for 24-48 hours before retrying.
When to consider professional repair: If your tracker shows absolutely no signs of life after 60 minutes of charging with verified working equipment, the battery may be completely failed. This is common in devices older than 2 years, as lithium batteries degrade over time. Check your warranty status before attempting DIY battery replacement, which often requires specialized tools.
Brand-Specific Power-Up Instructions That Actually Work
Fitbit models have distinct power behaviors:
– Charge series: Single side button press for 3 seconds
– Versa/Ionic: Press and hold side button until logo appears
– Inspire/Luxe: Powers automatically when placed on charger
– Ace kids’ trackers: Requires 5-second button press after charging
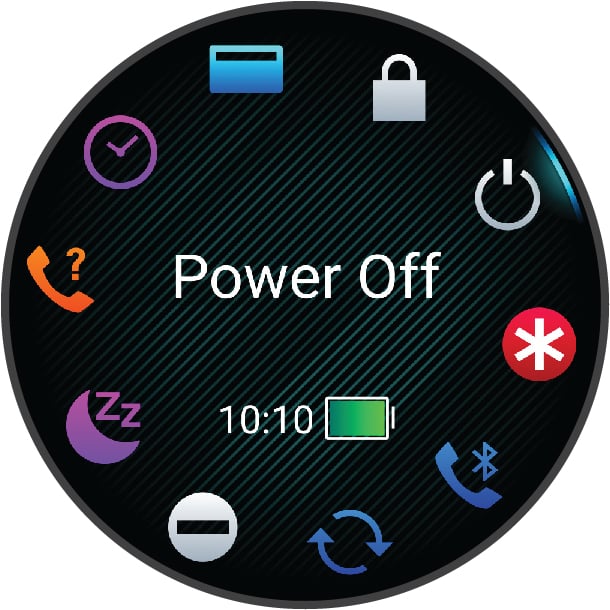
Garmin’s power menu adds complexity. While a single press wakes the display, a 2-second press opens the power menu where you must select “Power Off” followed by another button press to restart. For forced restarts, hold the button until the screen goes completely black (30+ seconds), then release and press normally to power on.
Oura Ring’s charging-dependent startup means the device only powers on when properly seated in its magnetic dock. Ensure the ring clicks into place with the sensor facing downward—incorrect positioning prevents both charging and activation. The LED light should pulse white during charging and turn solid when ready to pair.
When to Seek Professional Help for Power Issues
Hardware failure signs that require service:
– Burning smell or excessive heat during charging
– Visible swelling of the device casing
– Persistent charging errors after multiple attempts
– Complete lack of response after 90+ minutes of charging
Warranty considerations before DIY repairs: Most manufacturers void warranties if you attempt battery replacement yourself. Check your device’s age—many trackers have 1-year limited warranties covering battery issues. For out-of-warranty devices, compare repair costs against new model prices; sometimes upgrading makes more financial sense than fixing aging hardware.
Your fitness tracker’s power status affects every health metric it records. By mastering these startup techniques, you’ll spend less time troubleshooting and more time achieving your wellness goals. Remember that proper charging habits prevent most power issues—make it a routine to charge your tracker when battery drops below 20%. Now that you know exactly how to turn your fitness tracker on, you’re ready to start monitoring those steps, heart rate, and sleep patterns that lead to meaningful health improvements.


