

That familiar wobble when you adjust your favorite reading lamp strikes again. You nudge it back upright, only for it to lean dangerously toward your armchair minutes later. A compromised floor lamp pole isn’t just annoying—it’s a safety hazard waiting to happen. Instead of trashing a lamp you love (or wasting money on a replacement), you can often restore rock-solid stability with basic tools and the right repair strategy. This guide cuts through the confusion with battle-tested methods to fix a floor lamp pole that’s split, leaning, or wobbling at the base. You’ll learn exactly where to focus your efforts based on your lamp’s specific failure points, avoiding common repair pitfalls that lead to temporary fixes.
Identify Exactly Why Your Floor Lamp Pole Fails
Grab your lamp firmly at the base and gently try to move it side-to-side. The location of movement reveals your repair path—don’t guess. Base failures cause the entire lamp to shift on the floor, while splits or joint failures create movement higher up the pole. Strip lighting to inspect for hairline cracks near seams or welds, especially where sections join. Test threaded connections by attempting to tighten the base nut—if it spins freely without resistance, you’ve got stripped threads. For leaning lamps, check if the bend occurs at a joint (indicating internal rod failure) or along a single pole section (suggesting material fatigue). This precise diagnosis prevents wasted effort; a sleeve repair won’t help stripped base threads, and rethreading won’t fix a structural crack. Note whether your pole is hollow (for wiring) or solid—this dictates rod replacement options later.
Stop Pole Splits Dead with a Reinforced Sleeve Repair
When you spot a visible crack running vertically along your metal or plastic pole, especially at a seam or joint, a sleeve repair delivers permanent stability. Forget weak tape fixes that peel within weeks. Start by measuring the pole diameter where the split occurs—visit a hardware store with this measurement to find a rigid metal or PVC tube with an inner diameter matching your pole’s outer dimension. For a black metal lamp, bring a paint chip for matching later. Clean the cracked area thoroughly with isopropyl alcohol and 120-grit sandpaper until the surface is bright and rough—this is non-negotiable for epoxy adhesion. Mix a high-strength steel-reinforced epoxy like J-B Weld SteelStik according to package directions, then work it deep into the crack using a toothpick. Slide your sleeve over the repair zone, centering it perfectly over the split. Clamp it tightly with three 1-inch hose clamps spaced evenly around the sleeve, applying firm, even pressure. Let cure undisturbed for 24 hours minimum. Once hardened, lightly sand the sleeve edges and apply matte black spray paint to blend it seamlessly with your lamp’s finish. This creates an internal “splint” that distributes stress away from the original weak point.
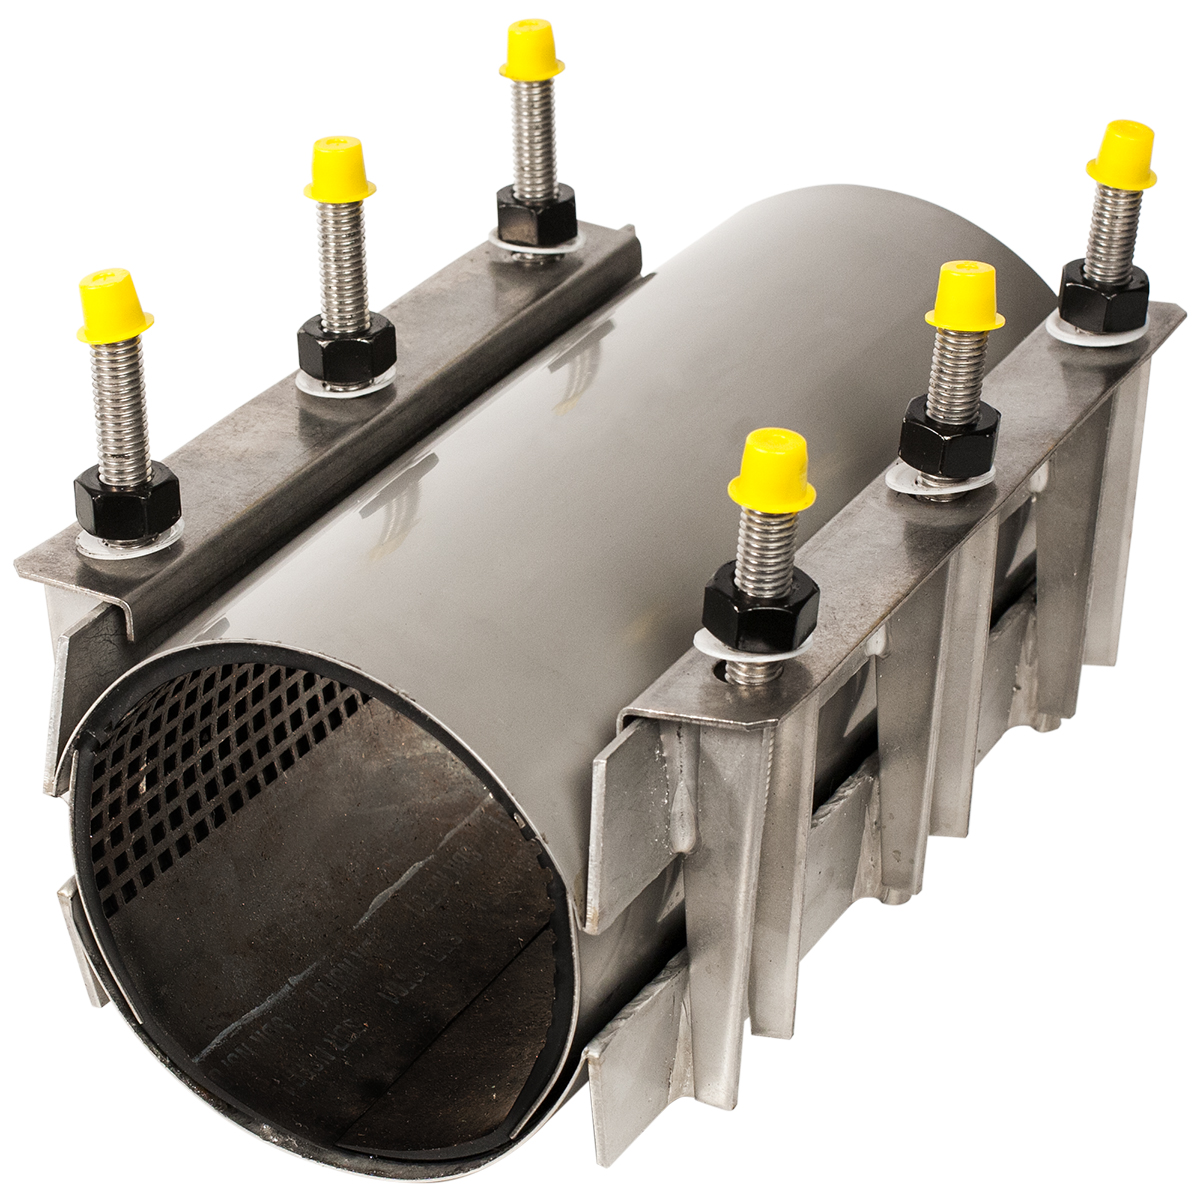
Eliminate Base Wobble by Replacing Stripped Threads
That frustrating base wobble where the pole meets the floor plate almost always means stripped threads on the central rod or inside the base casting. Fix a floor lamp pole base failure permanently by replacing the threaded rod—here’s how. First, remove the lamp shade, harp, and socket assembly by unscrewing the finial. Carefully disconnect wiring at the socket (note wire positions for reassembly). Unscrew the base plate to expose the threaded rod running through the pole. If the rod spins freely when tightening the base nut, it’s stripped. Take the old rod to a hardware store to match diameter (typically 1/4″-20 or 3/8″) and length. For hollow poles with internal wiring, ensure your new rod has sufficient inner diameter—measure your cord first. Thread the new rod up through the base plate, then through the entire pole assembly. At the top, secure it with a washer and nut under the socket assembly. At the base, add another washer and nut, tightening firmly while holding the top nut stationary with needle-nose pliers to prevent rod spin. For stripped base threads, skip rod replacement: clean the hole with alcohol, apply epoxy to a new rod section, and screw it into place as a permanent anchor. Let cure 24 hours before reassembly.
Correct Leaning Joints with an Internal Support Rod
When your multi-section lamp sags at a joint—like the top section tilting toward your sofa—the culprit is usually a broken internal support rod. External braces just hide the symptom; this internal fix tackles the root cause. Measure the inner diameter of both pole sections at the failing joint. Purchase a solid steel rod or tube at a hardware store that’s 1/16″ smaller than this measurement (e.g., 5/16″ rod for 3/8″ inner diameter). Cut a 6-8 inch length using a hacksaw, then sand the entire surface to a bright finish for epoxy grip. Mix a metal-bonding epoxy and coat the rod thoroughly. Insert it into the top pole section, pushing it down until it bridges the joint by 2-3 inches above and below. Work quickly—you have 5-10 minutes before epoxy sets. Hold the sections perfectly aligned while clamping the joint externally with padded vise grips. Let cure 48 hours for full strength. This creates an invisible internal spine that locks the joint rigidly in place, eliminating that dangerous lean without visible hardware.
Strengthen Minor Cracks with the Washer Sandwich Technique

For hairline cracks or slight wobble at joints that don’t require full disassembly, the washer-and-epoxy method delivers surprising strength in under 30 minutes. Position two large fender washers (at least 1.5x the pole diameter) on either side of the weak spot, sandwiching the pole between them. Clean the pole surface and washer interiors with isopropyl alcohol. Apply a thick bead of metal epoxy between the washers and pole. Insert a long bolt through both washers and the pole (or reuse the existing threaded rod if accessible). Tighten a nut firmly on the bolt end—this compression forces epoxy into micro-cracks while clamping the repair. Wipe excess epoxy immediately with a paper towel dampened with acetone. Let cure 12 hours before handling. This technique works wonders for thin metal poles where sleeve repairs would be overkill, distributing stress across a wider area to prevent crack propagation.
Critical Pro Tips for Repairs That Last Years
Surface prep makes or breaks epoxy repairs—skip the sanding step and your fix will fail within months. Always roughen metal to bare, shiny metal with 80-120 grit sandpaper after alcohol cleaning. For stripped base threads in metal castings, the pro move is drilling and tapping to the next larger size (e.g., 5/16″-18 instead of 1/4″-20) using a tap-and-die set—this restores factory-level strength. When dealing with wiring in hollow poles, thread a thin nylon cord through the new rod before inserting the electrical cord—this “pull string” saves 20 minutes of frustrating blind threading. Never use wood glue or superglue on metal poles; they lack the shear strength needed for lamp stress. For plastic poles, switch to a flexible epoxy like Loctite Plastics Bonding System that won’t crack under vibration. Finally, after any repair, test stability by applying gentle sideways pressure—your lamp should feel rigid, not springy.
Stop living with a leaning lamp that threatens your furniture and safety. By matching these targeted repairs to your specific pole failure—whether it’s a split, stripped threads, or sagging joint—you can restore full stability in under an hour with less than $20 in materials. The key is precise diagnosis followed by the right reinforcement method: sleeves for cracks, rod replacement for base wobble, and internal braces for leaning joints. Most importantly, never skip surface preparation—this single step determines whether your repair lasts weeks or decades. Grab your tools tonight and reclaim that perfect reading light without buying a new lamp. For stubborn electrical issues during reassembly, consult our companion guide on safely rewiring floor lamps to complete your restoration.


