
Your Ninja blender powers on, the motor hums, but the blades refuse to spin when you add food or ice. This frustrating problem affects thousands of users daily, turning your morning smoothie prep into a mechanical puzzle. Whether you own a Ninja Professional NJ600, Pro 1100W, or BL500 series, this “ninja blender not blending” issue typically stems from specific mechanical failures rather than random malfunctions.
This guide walks you through proven solutions based on real user experiences, from simple troubleshooting steps to professional repair techniques. You’ll discover why your Ninja blender works with water but fails with ice, identify the exact component causing your blending failure, and implement fixes that restore performance without expensive replacements. Most importantly, you’ll learn how to prevent this common problem from recurring.
Pinpoint Your Ninja Blender’s Exact Failure Point
Immediate Tests to Diagnose the Problem
Before disassembling your blender, run these quick checks to identify your specific issue:
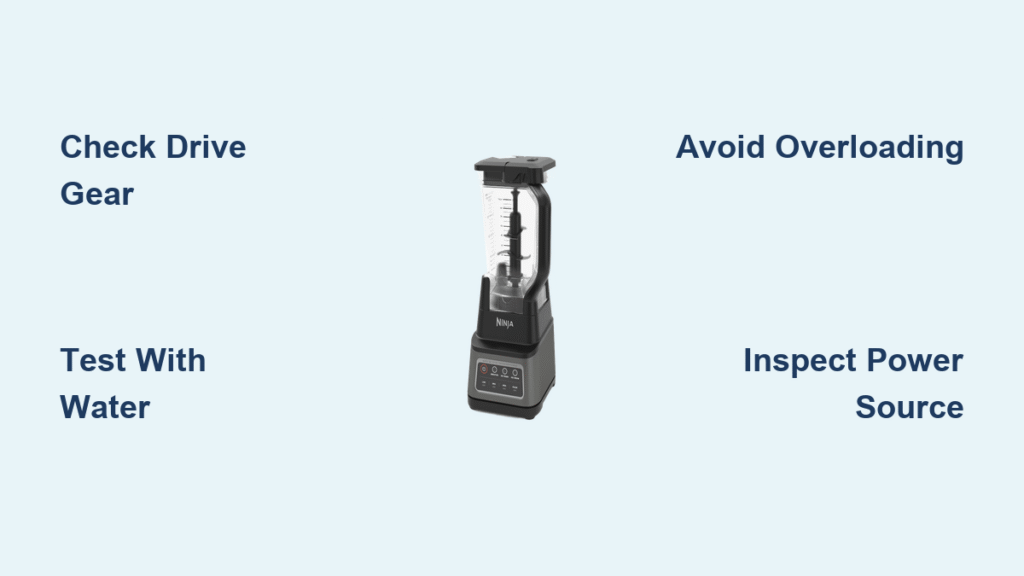
Water-Only Test: Fill your pitcher with water and activate the blender. If blades spin normally but stop when adding food or ice, you’re likely dealing with either overloading or mechanical drive failure under pressure.
Manual Gear Rotation Check: Unplug the unit and remove the pitcher. Try turning the gray rubber drive gear on top of the motor base by hand. If it spins freely without engaging the motor, your drive gear has stripped threads—a common failure point in Ninja Professional and Pro series models.
Load Reduction Test: If your blender stops when processing thick mixtures, remove half your ingredients and retry. Successful operation with fewer contents confirms an overloading issue rather than mechanical failure.
Recognize Critical Failure Patterns
Motor Running, Blades Motionless: This classic symptom indicates drive gear failure, especially prevalent in Ninja Professional NJ600, Pro 1100W, and BL500 series models. The motor shaft spins, but the stripped rubber gear can’t transfer power to the blade assembly.
Inconsistent Blending Performance: Intermittent operation suggests electrical connection issues rather than mechanical damage. Check your power source before assuming internal component failure.
Complete Blade Immobility: When blades won’t turn even when manually rotated, you’re likely facing either blade assembly seizure or melted internal gears—more serious issues requiring thorough inspection.
Repair Stripped Drive Gear Problems
JB Weld Epoxy Fix for Permanent Solution
The gray rubber drive gear stripping its threads causes most “ninja blender not blending” complaints. This $6 repair using JB Weld Original Steel Epoxy has restored countless blenders to full functionality.
What You’ll Need:
– JB Weld Original Steel Epoxy ($6)
– Small mixing surface
– Toothpick or small applicator
– 24-hour curing time
Step-by-Step Repair:
1. Unplug your Ninja blender and flip it upside down
2. Remove the bottom cover using a Phillips head screwdriver
3. Locate the gray rubber drive gear on the motor shaft
4. Clean the stripped threads thoroughly with rubbing alcohol
5. Mix equal parts epoxy resin and hardener on your surface
6. Apply epoxy generously to the stripped threads
7. Firmly reseat the gear onto the motor shaft
8. Allow 24 hours for complete curing before testing
Pro Tip: Apply slight downward pressure while curing to ensure maximum thread engagement. Users consistently report this fix “should last forever” when executed properly.
Quick Gear Reseating Technique
For less severe thread damage, this immediate fix requires only a large flat-head screwdriver:
- Remove the blender’s bottom cover
- Wedge the screwdriver under the gray drive gear
- Plug in the blender and turn it on low speed
- Hold the gear stationary while the motor forces it upward
- The gear will rise slightly and retighten its connection
- Test with water first, then gradually add ingredients
Critical Warning: Keep fingers clear during this process—accidental contact with spinning components could cause injury.
Official Warranty Replacement Path
Since Ninja refuses to sell individual drive gear parts, warranty replacement offers a hassle-free solution:
Warranty Details:
– FREE base replacement for units under 1 year old
– No proof of purchase required
– $19.95 shipping fee (vs. $100+ for new unit)
– Potential upgrade: They often send newer models
Contact Process: Call Ninja customer service, clearly describe the drive gear failure, and request warranty replacement. Most users report successful replacements after 1-2 calls.
Resolve Electrical Power Issues

Power Source Verification Process
Before assuming mechanical failure, eliminate electrical problems:
Outlet Testing: Plug in a high-powered appliance like a hair dryer. If it runs weakly, your outlet lacks sufficient power for the blender’s demands.
Circuit Load Assessment: Unplug other kitchen appliances on the same circuit. Overloaded circuits cause voltage drops that prevent proper blender operation.
Direct Connection Rule: Always plug your Ninja blender directly into the wall outlet—never use extension cords that reduce power delivery.
Power Cord and Connection Inspection
Examine these critical electrical components:
– Frayed or damaged insulation on the power cord
– Loose connections where the cord enters the base
– Bent or corroded plug prongs
– Burnt smell emanating from the motor base
Safety Alert: If you detect burning smells or see sparks, immediately unplug and discontinue use—attempting repairs could create fire hazards.
Address Overloading and Capacity Mistakes
Optimal Loading Techniques for Smooth Blending
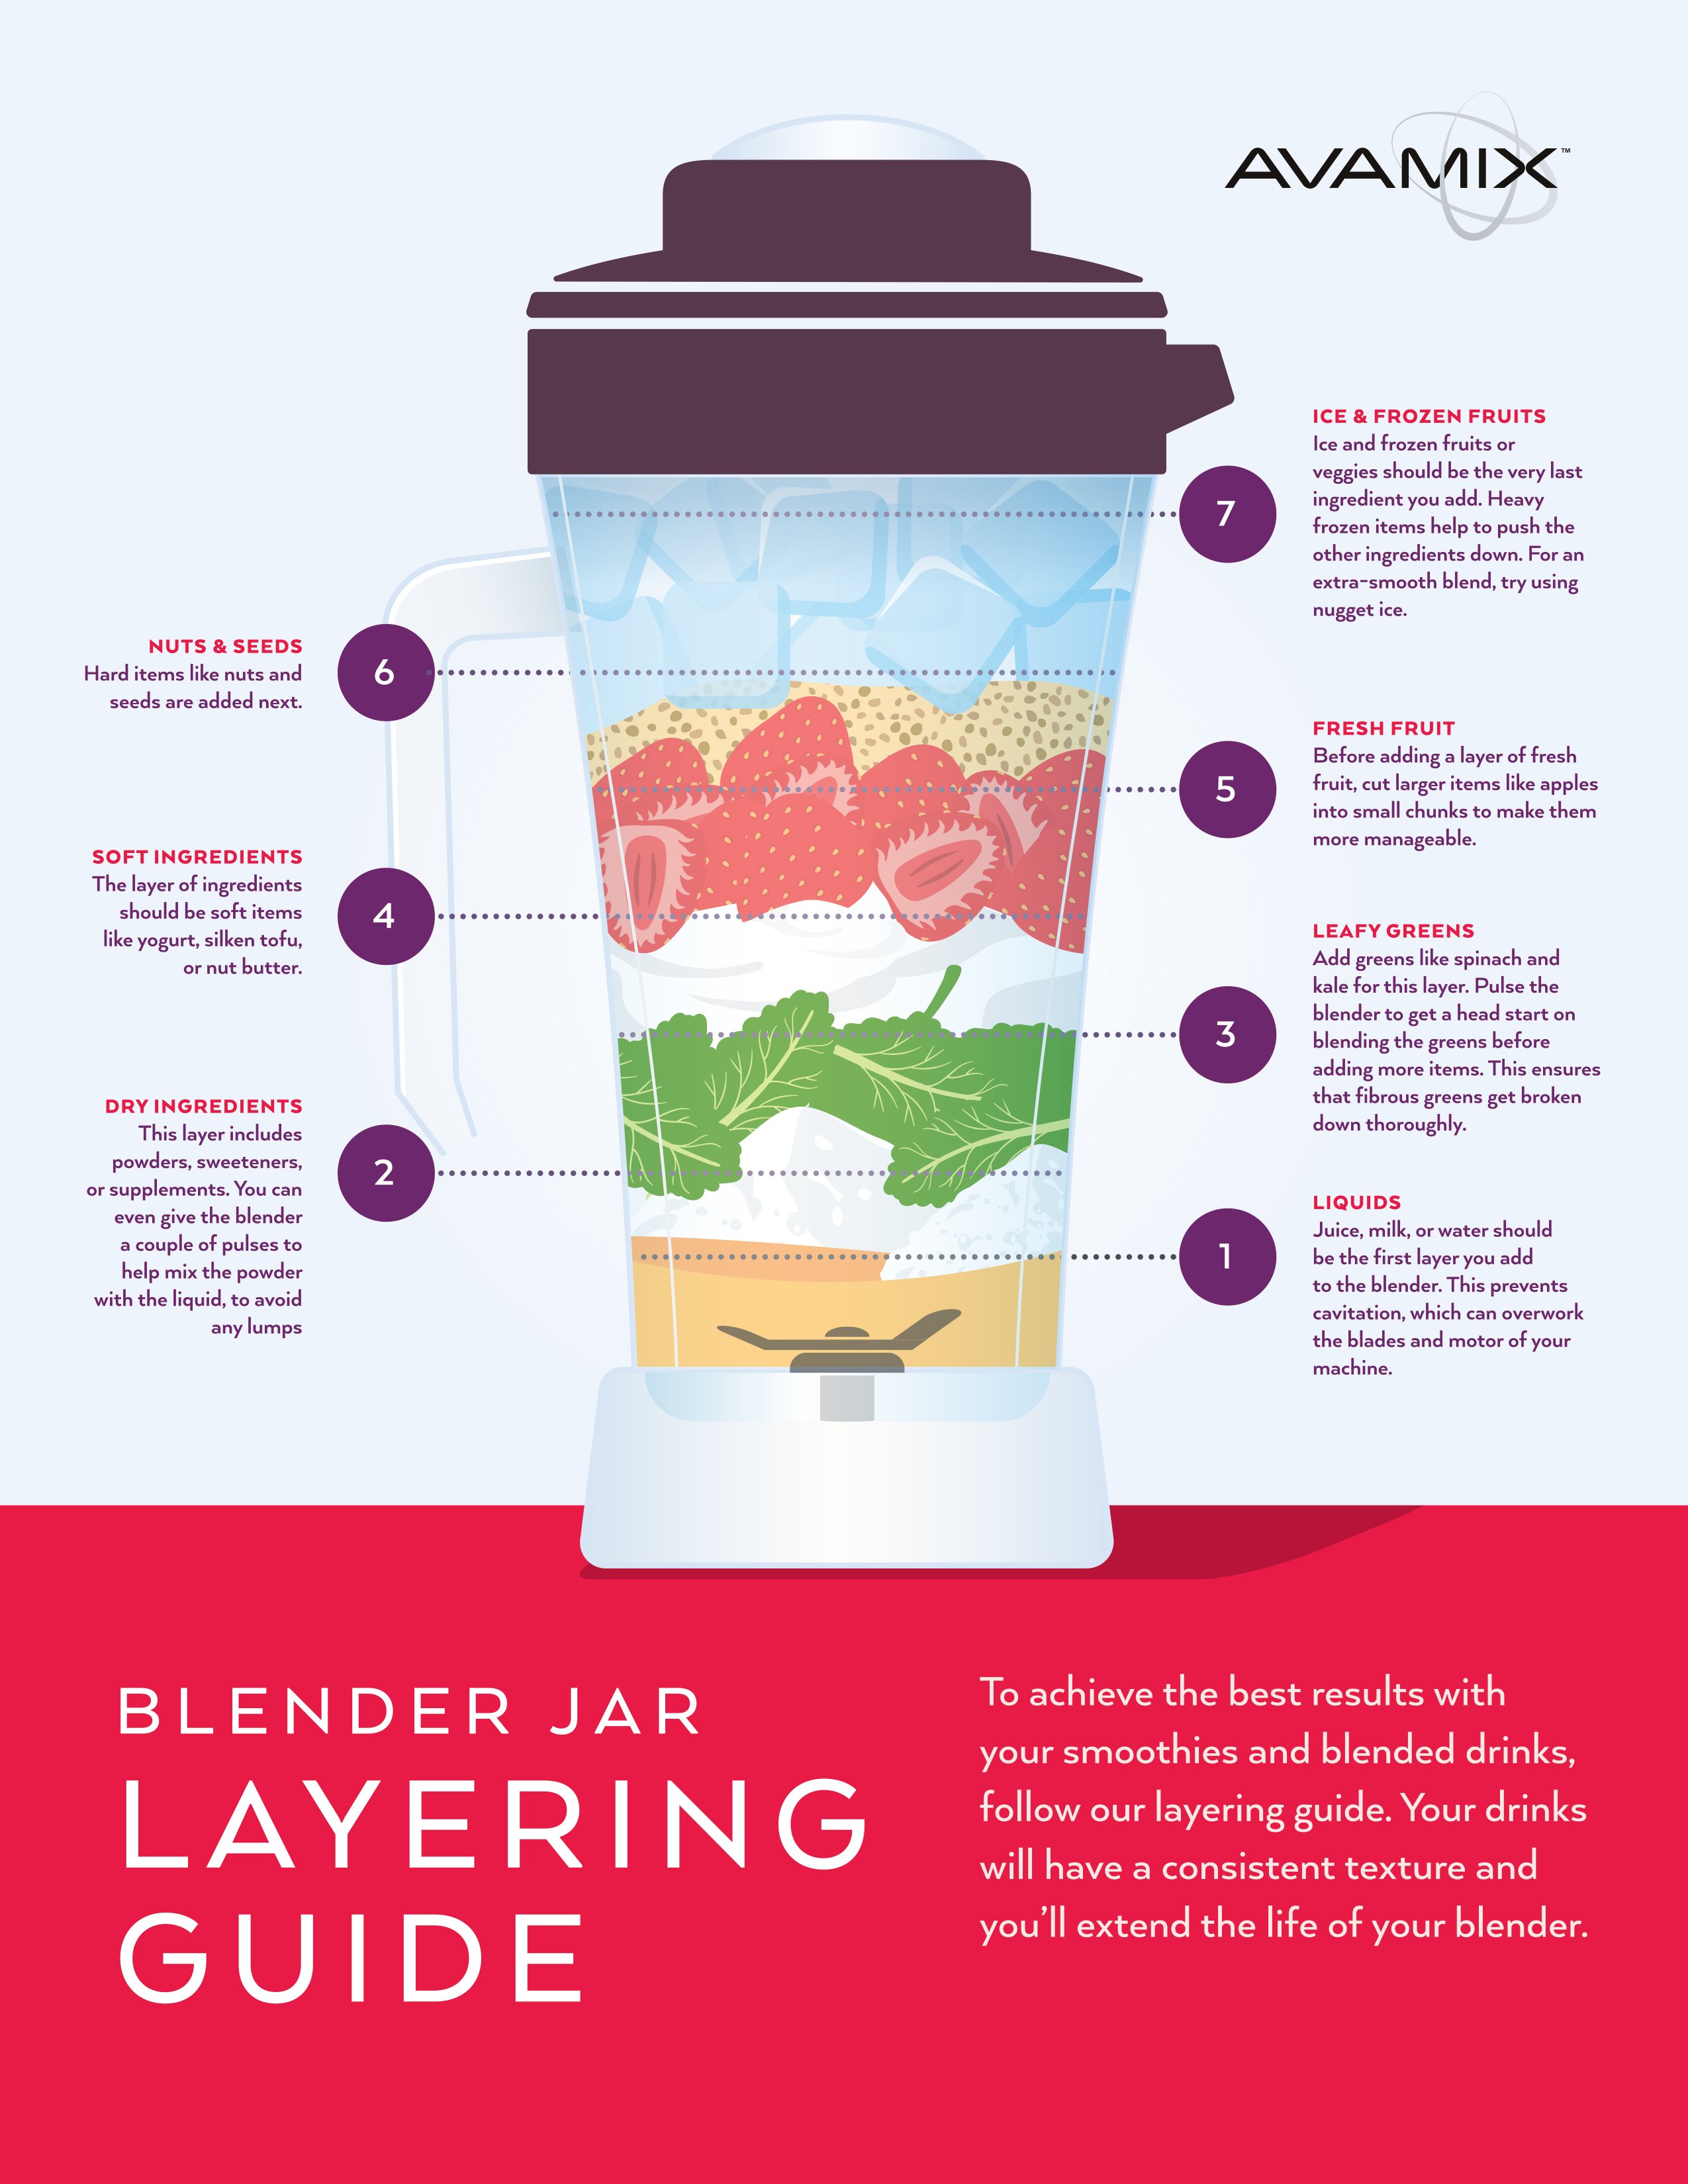
Liquid-First Protocol: Always add liquids before solids. This creates a vortex that pulls ingredients toward the blades, preventing air pockets that stall rotation.
Capacity Limits: Never exceed the “Max” line on your pitcher. Overfilled containers prevent proper blade rotation due to insufficient headspace for vortex formation.
Batch Processing Strategy: For ice crushing or thick mixtures, process in smaller batches (4-6 ice cubes at a time) to avoid overloading the motor.
Ingredient Layering: Place soft ingredients at the bottom, hard items on top, with adequate liquid coverage to ensure gradual blade engagement.
Blade Assembly Maintenance Routine
Weekly Cleaning Protocol:
– Fill pitcher with warm water and dish soap
– Run blender for 30 seconds
– Rinse thoroughly
– Air-dry completely before storage
Deep Cleaning Steps:
– Remove blade assembly when possible
– Use a bottle brush to clean around blade bases
– Check for food debris in drive gear teeth
– Apply food-grade lubricant to moving parts
Model-Specific Ninja Blender Fixes
Nutri Ninja Single Cup Repair
Problem: Single-serve cup won’t blend while large pitcher works (common in Ninja Professional 1500W)
Root Cause: Worn electrical contacts on the bottom cup holder
DIY Fix (Advanced):
1. Disassemble the single-serve cup holder
2. Identify worn contact points
3. Bypass contacts with careful soldering
4. Critical Safety: Unit will always be ready to run after bypass—unplug when not in use
Alternative: Contact Ninja for cup holder replacement under warranty.
Master Prep Blade Assembly Solution
Symptom: Two-blade assemblies become loose and won’t stay together
Quick Fix: Insert a piece of food-grade twine between the blade sections to hold them together during operation. This temporary solution works until replacement parts arrive.
Prevent Future Ninja Blender Failures
Daily Operational Best Practices
Pre-Use Checklist:
– Confirm blending cup locks securely into base
– Verify lid is properly sealed and aligned
– Check safety mechanism engagement
– Clear any debris from blade assembly
Power Management:
– Use dedicated outlets for high-power blending
– Avoid running multiple kitchen appliances simultaneously
– Unplug when not in use to prevent electrical issues
Smart Load Management Strategies
Ingredient Ratios: Maintain 1:1 liquid-to-solids ratio for optimal blending. Add more liquid for thicker mixtures.
Processing Sequence: Start with liquids, add soft ingredients, then hard items last. Pulse before continuous blending to prevent sudden motor strain.
Temperature Considerations: Let hot ingredients cool slightly before blending to prevent steam pressure buildup that can dislodge lids.
When to Repair vs. Replace Your Ninja Blender
Cost-Benefit Decision Framework
Repair If:
– Unit under warranty (FREE replacement available)
– Drive gear fix under $20
– Simple electrical issue under $50 repair cost
Replace If:
– Multiple component failures present
– Unit over 3 years old
– Repair costs exceed 50% of new unit price
Upgrade Considerations
New Model Advantages:
– Improved drive gear materials resisting stripping
– Better overload protection circuitry
– Enhanced safety mechanisms
– Quieter operation
Warranty Comparison: New units include 1-year warranty, making replacement attractive for older, failed blenders approaching end-of-life.
Ninja Blender Troubleshooting Quick Reference
Problem: Blades spin with water but stop with food
Solution: Check for overloading, then inspect drive gear condition
Problem: Complete failure to operate
Solution: Test different outlets with high-powered appliances
Problem: Intermittent operation
Solution: Clean electrical contacts, check circuit load
Problem: Manual blade rotation difficult
Solution: Deep clean blade assembly, check for seized gears
Your Ninja blender’s blending issues typically stem from these specific problems. Start with the simplest solutions—checking load capacity and power supply—before moving to mechanical repairs. The gray drive gear fix resolves most cases, while warranty replacement offers a no-cost solution for qualifying units. By implementing these proven techniques, you’ll restore smooth blending performance and significantly extend your Ninja’s service life.


