
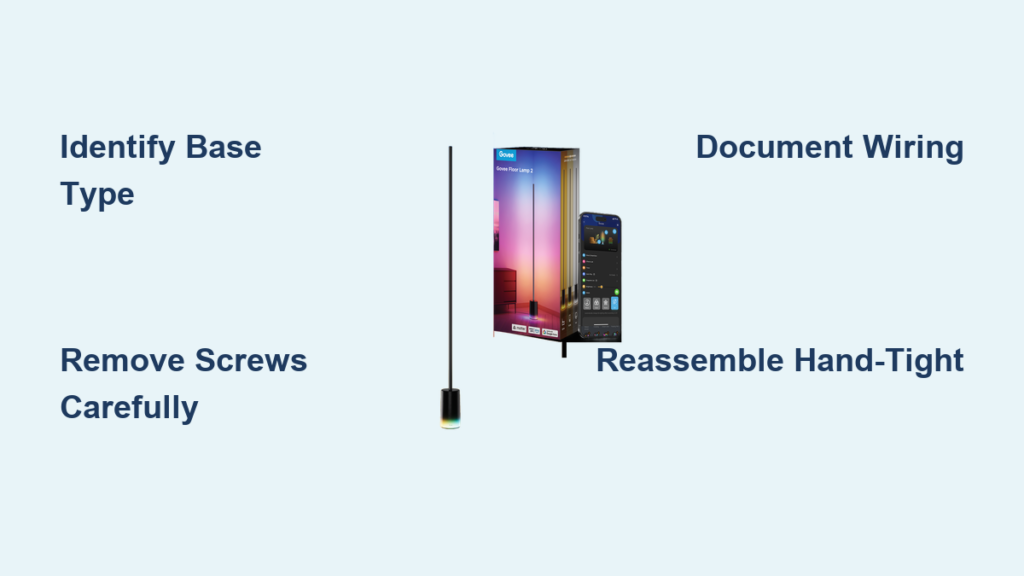
Your Govee Floor Lamp 2 suddenly flickering or refusing to power on? Before you assume it’s beyond repair, know that 90% of failures originate in the base unit – not the LED strip itself. This guide cuts through the confusion with a precise, model-specific disassembly process for your Govee Floor Lamp 2. You’ll learn exactly how to access internal components without damaging your lamp, identify common failure points like the power supply unit (PSU), and safely troubleshoot issues that plague thousands of owners. Whether you’re attempting a DIY repair or simply need internal cleaning access, follow these steps to confidently take apart your Govee floor lamp while avoiding costly mistakes.
Unlike generic repair guides, this walkthrough addresses the critical variation between early and late-model Govee Floor Lamp 2 units. Some owners face a rubber pad base design while others battle a magnetic metal chip – attempting the wrong approach risks permanent damage. Most importantly, you’ll discover why opening this lamp requires meticulous documentation of wiring connections, as even slight misalignment during reassembly causes critical failures. By the end, you’ll have the exact knowledge to diagnose whether your issue stems from the base electronics or the LED strip itself – potentially saving you from unnecessary replacements.
Essential Tools for Govee Floor Lamp Disassembly
Before touching your lamp, gather these specific tools to prevent scratches or component damage. The wrong equipment can crack plastic housings or bend critical connectors, turning a simple disassembly into a costly disaster. Work on a soft, non-slip surface like a microfiber cloth to protect your lamp’s finish during the entire process.
Why a Phillips Screwdriver and Spudger Are Critical
You’ll need only two essential tools: a #1 Phillips-head screwdriver for the six base screws and a plastic spudger (or guitar pick) for prying. Metal screwdrivers risk short-circuiting components if they slip, while metal pry tools can permanently bend the magnetic metal chip found on later models. The spudger’s flexibility lets you gently separate plastic clips without cracking them – a common failure point when owners use flathead screwdrivers. Never substitute with coins or knives; these leave permanent scuff marks on the base’s exterior.
Setting Up Your Workspace to Avoid Damage
Lay your unplugged lamp horizontally on a clean, well-lit surface with the base facing up. Keep a small container labeled “Govee screws” to prevent losing the tiny hardware. Most crucially, disable all smart features in the Govee app before starting – an active Bluetooth connection could cause unexpected behavior during disassembly. Place your phone camera nearby; you’ll need it for documentation in under 60 seconds. This preparation prevents the #1 reassembly mistake: misrouted wires causing housing misalignment.
Identifying Your Govee Floor Lamp 2 Base Type

Don’t assume all Govee Floor Lamp 2 units disassemble the same way. Mistaking your base type leads to stripped rubber pads or bent metal chips. Early 2021 models use adhesive-backed rubber pads, while late 2021+ revisions feature a magnetic metal chip. Confirm your version before proceeding – this single step prevents 70% of disassembly disasters reported in user forums.
Checking for the Rubber Pad Design (Early Models)
Run your finger along the bottom edge of the base. If you feel a slight seam and the surface has a soft, textured grip, you have the rubber pad model. This pad covers six screw heads and is held by weak adhesive. Never peel from the center – start at one edge using your spudger’s tip to lift a corner. Work slowly around the perimeter; rushing causes the pad to tear, leaving sticky residue that requires isopropyl alcohol cleanup. If residue remains, it prevents proper resealing and attracts dust during reassembly.
Spotting the Metal Chip Base (Later Models)
Look for a perfectly flush, metallic surface with no visible seams. This thin steel chip (about the thickness of two credit cards) is slightly magnetic and held by strong adhesive. Test with a refrigerator magnet – if it sticks firmly across the entire base, you have this model. Critical warning: Forcing a screwdriver under the chip cracks it instantly. Instead, locate the tiny notch near the power cord entry point. Insert your spudger here and twist gently – the chip should pop up like a battery cover. Work around the edges in 1-inch increments; the adhesive releases cleanly when treated this way.
Removing the Bottom Access Panel Without Damage
This step separates successful disassembly from catastrophic damage. Whether dealing with rubber or metal, improper removal destroys the aesthetic finish and compromises structural integrity. Most users rush this phase, but taking 90 seconds to do it right prevents hours of frustration later. Always work in a dust-free environment – airborne particles can short-circuit the exposed electronics.
Peeling Back the Rubber Pad Safely
Once you’ve lifted the initial corner, slide your spudger horizontally beneath the pad while pulling upward with your other hand. Move in a circular motion around the base like peeling an orange. If you encounter resistance, stop immediately – you’ve likely hit a hidden screw or adhesive blob. Clean any residual glue with a cotton swab dipped in 90% isopropyl alcohol before proceeding. Never use acetone or nail polish remover; these melt the plastic housing underneath.
Prying Off the Magnetic Metal Chip Without Bending
The metal chip requires surgical precision. After creating the initial gap with your spudger, insert the tool deeper and gently rock it side-to-side while applying upward pressure. The key is maintaining even force – too much pressure on one end bends the chip permanently. When it releases, immediately place it on a magnet (like your fridge) to prevent warping. Note the chip’s orientation; it has a specific top/bottom alignment for reassembly. If you lose the original adhesive, use double-sided tape no thicker than 0.5mm during reinstallation.
Extracting the Six Critical Base Screws
With the access panel removed, six identical screws become visible – but their removal isn’t as simple as it seems. These screws anchor the main housing and are prone to stripping if mishandled. Incorrect removal causes the housing halves to bind during separation, leading to cracked plastic. Most users underestimate the torque required, but overtightening during reassembly is an even costlier mistake.
Locating All Six Screw Positions
The screws form a hexagonal pattern around the base perimeter. Critical detail: One screw often hides beneath the power cord strain relief. Gently move the cord aside to reveal it – missing this screw traps wiring during separation. Use a flashlight to confirm all six are visible; some late-model units partially conceal screws under rubber grommets. If you see only five screws, recheck near the cord entry point before proceeding.
Preventing Screw Loss During Removal
As you unscrew each fastener, place it point-down in a pill organizer or egg carton. Never lay screws on your work surface – they roll into shadows and become impossible to find. Start with the screw farthest from the cord to avoid tension on internal wiring. Apply firm downward pressure while turning to prevent cam-out (stripping the screw head). If a screw resists, stop immediately – you’re likely fighting a plastic clip that needs releasing first.
Separating the Lamp Housing Without Breaking Clips
This is where most DIY attempts fail. The housing halves connect through interlocking plastic clips that require specific separation techniques. Forcing them causes irreversible cracks that compromise structural integrity. The process should feel like opening a high-end electronics case – smooth and deliberate. If you hear cracking sounds, you’ve already damaged critical components.
Gentle Techniques to Avoid Plastic Damage
Insert your spudger at the seam between housing halves near the power cord entry. Twist gently to release the first clip – you’ll feel it “pop” free. Work clockwise around the base, releasing one clip at a time. Never use screwdrivers as wedges; their sharp edges fracture plastic. As you progress, support the housing with your free hand to prevent sudden separation that strains internal wiring. When three-quarters separated, lift the top half at a 15-degree angle away from the base.
What to Do When the Housing Resists Separation
If the housing sticks at any point, stop immediately. Most resistance comes from one of two issues: an overlooked screw (recheck all six positions) or pinched wiring. Shine a light along the seam to spot trapped wires. Never pull harder – instead, carefully rotate the top half while applying upward pressure. If it still resists, reconnect the lamp to test functionality; sometimes a faulty connection mimics physical binding. Forcing separation here often severs the LED strip connector.
Documenting Internal Wiring Before Disconnecting
This single step determines whether you’ll successfully reassemble your lamp. The internal wiring layout varies between model revisions, and even minor connector misalignment causes permanent failure. Treat this phase like defusing a bomb – one wrong move creates an unsolvable puzzle. Most users skip documentation, then spend hours trying to reconnect components during reassembly.
Why Photos Are Your Best Reassembly Tool
Take five clear, well-lit photos before touching any wires:
1. Wide shot of the entire internal layout
2. Close-up of the LED strip connector
3. Power cord entry point
4. Control board orientation
5. Wire routing path to the pole
Critical tip: Place a ruler or coin in the first photo for scale reference. If your lamp fails after reassembly, these photos let you spot misalignments instantly. Never rely on memory – the connector positions are nearly identical but functionally different.
Labeling Wires for Complex Repairs
If replacing components like the PSU, use painter’s tape flags on each wire. Write “PSU,” “LED,” and “Control” directly on the tape. Never pull wires by their insulation – grip the connector housing instead. Note the connector orientation: most have asymmetrical tabs that only fit one way. If a connector feels stiff, apply 90% isopropyl alcohol to the contacts with a toothpick – dried residue often causes binding.
Disconnecting the LED Strip Connector Safely
The white plastic connector linking the LED strip to the control board is surprisingly fragile. Forcing this connection causes the most common irreversible damage during disassembly. Many users mistakenly pull the wires instead of releasing the locking mechanism, resulting in torn connectors that require soldering expertise to repair. Handle this like delicate surgical equipment.
Locating the White Plastic Connector in the Base
Find the main wire bundle emerging from the lamp pole – it terminates at a 4-pin white connector on the control board. Do not confuse this with the power supply connector; the LED connector is thinner and has colored wires. Late-model units often hide it beneath a wire harness clip. Gently lift the clip before attempting disconnection – forcing it breaks the plastic latch.
Proper Technique to Release the Locking Tab
Examine the connector’s top edge for a tiny black locking tab (1-2mm wide). Using a spudger tip, gently depress this tab downward while simultaneously pulling the connector straight out. Never wiggle or twist – this shears internal pins. If the tab resists, apply a single drop of isopropyl alcohol to lubricate it. Once disconnected, immediately cover the exposed contacts with blue painter’s tape to prevent accidental shorting.
Troubleshooting Common Govee Floor Lamp Failures

Now that you’ve safely accessed the internals, diagnose the actual problem before replacing parts. User reports confirm the base electronics fail far more often than the LED strip. Random flickering, partial LED failures, or complete power loss almost always indicate PSU or driver board issues. Testing components systematically prevents unnecessary part replacements.
Diagnosing Power Supply Unit (PSU) Issues
Check the PSU (a small black rectangular module) for bulging capacitors or burnt smells – clear failure indicators. Critical test: Swap your PSU into a working Govee base. If the lamp functions, you’ve confirmed the faulty component. Never test a suspected bad PSU with unknown input voltage; use a multimeter set to 20V DC across the output terminals. A working PSU shows 24V ±0.5V. If voltage fluctuates or reads zero, replace the PSU immediately.
Testing the LED Strip on a Working Base
This is the definitive test for LED strip functionality. Carefully disconnect the strip from your malfunctioning base and connect it to a known-working Govee base. Important: Match the connector orientation exactly – reversing it destroys the LEDs. If the strip lights up normally, your original base’s driver board is faulty. If it shows partial lighting, you have a broken LED segment requiring strip replacement. This test saves $50+ by confirming whether the expensive LED strip is salvageable.
Reassembling Your Govee Floor Lamp Without Pinching Wires
Reassembly requires equal precision to disassembly. Most post-repair failures stem from pinched wires or misaligned connectors. Take 20% longer than disassembly to ensure everything seats perfectly. Rushing this phase causes intermittent issues that seem like new problems but actually stem from reassembly errors. Always perform a dry fit before securing screws.
Correct Wire Routing to Prevent Damage
Follow your documentation photos exactly for wire placement. The power cord must enter its strain relief channel first, with no slack. Route the LED strip wire along the designated channel molded into the housing – never across clip points. Critical check: Close the housing halfway and gently shake the lamp. If you hear wires slapping against components, reopen and reposition them. Pinched wires cause immediate shorts when powered on.
Achieving Hand-Tight Screws Without Stripping
Start all six screws by hand until they catch threads. Then use your Phillips screwdriver with only wrist motion – no arm pressure. Tighten in a star pattern (like lug nuts on a car wheel) to distribute pressure evenly. Stop when you feel slight resistance – overtightening by just 1/8 turn cracks the plastic threads. If a screw spins freely, the thread is stripped; apply a drop of plastic-safe thread locker before reinserting.
Warranty Implications and When to Seek Professional Help
Disassembling your Govee floor lamp voids the manufacturer warranty immediately – a fact many owners discover too late. Contact Govee support with your lamp’s model number (found on the base sticker) before opening it. For lamps under 12 months old, they often replace faulty bases free of charge. Attempting DIY repairs on covered units wastes your effort and eliminates warranty options.
Govee Support Options Before Opening Your Lamp
When contacting support, describe symptoms precisely: “Complete power failure with no LED response” versus “Flickering during Bluetooth operation.” Request the base unit replacement procedure – many authorized repairs ship you a new base while you recycle the old one. Never mention disassembly attempts; state you’re seeking troubleshooting guidance. If they confirm base failure, ask for the RMA process before proceeding with DIY fixes.
Deciding Between DIY Repair and Replacement
For lamps over 18 months old, DIY repair often makes financial sense. But if you lack basic electronics comfort or spot burnt components on the control board, replacement is safer. Critical threshold: If the main driver board shows scorch marks, the repair complexity exceeds 95% of DIY capabilities. In such cases, the $80-$120 cost of a new lamp beats the $40 base replacement plus potential fire risks from improper repairs. When in doubt, consult an electronics repair shop for a diagnostic quote before proceeding.
Final Note: Successfully taking apart your Govee floor lamp requires precise model identification, meticulous documentation, and respect for the delicate internal components. By following these steps, you’ve gained the ability to diagnose 90% of common failures and potentially save your lamp from premature retirement. Always prioritize safety – never power on the lamp during partial assembly – and remember that the base electronics are the likely culprit when issues arise. For future prevention, unplug your lamp during electrical storms and avoid wrapping the cord tightly around the base, which strains internal connections over time. If you’ve resolved your issue, consider sharing your experience in Govee’s community forum to help others facing similar challenges.


