
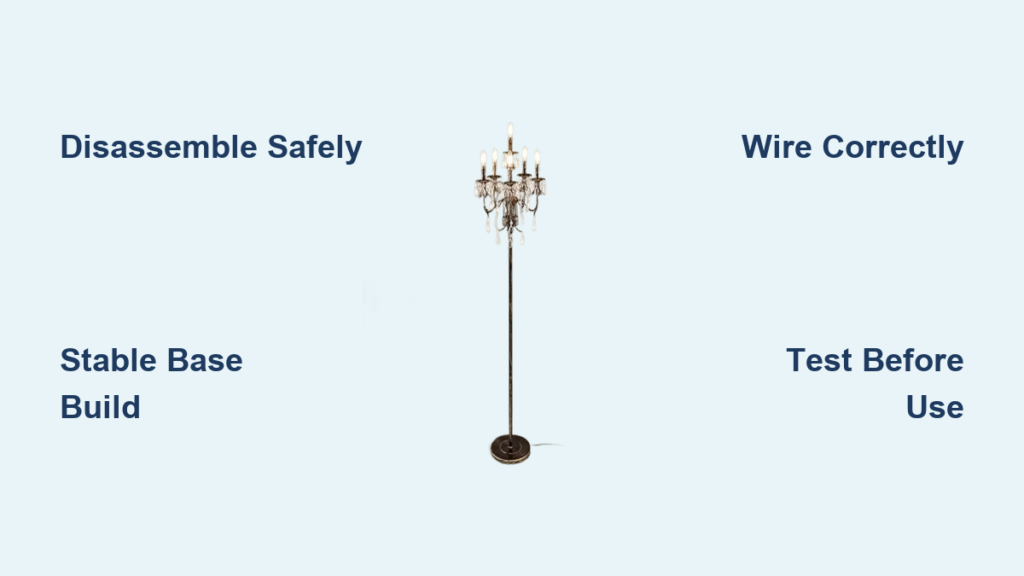
That gorgeous vintage chandelier gathering dust in your attic or basement doesn’t belong in storage—it belongs lighting up your living room as a showstopping floor lamp. Converting a ceiling fixture into a plug-in floor lamp solves the problem of beautiful but unusable lighting when you lack ceiling wiring access. This how to turn a chandelier into a floor lamp project merges antique elegance with modern functionality, transforming a forgotten relic into a conversation-starting centerpiece. You’ll avoid costly professional rewiring while creating a unique piece that blends seamlessly with contemporary decor. In this guide, you’ll learn exactly how to restructure the base, handle electrical conversions safely, and achieve rock-solid stability—no prior electrical expertise required.
Why Your Vintage Chandelier Belongs on the Floor (Not the Ceiling)
Most homeowners abandon chandeliers after moving to spaces without ceiling wiring or inherit them without installation options. Hardwiring limitations make these fixtures unusable in rentals, apartments, or open-concept spaces where ceiling mounts are impractical. Converting to a floor lamp solves this by creating a plug-in solution that works anywhere near an outlet. Unlike ceiling installations, floor lamps offer flexible placement for task lighting—perfect for illuminating reading nooks or dark corners. The conversion also preserves the chandelier’s intricate craftsmanship while adapting it to modern lifestyles. You’ll gain a functional art piece that retains 100% of its vintage charm without compromising safety.
Stop Wasting Your Investment on Inaccessible Lighting
Chandeliers often represent significant financial and sentimental value—whether inherited heirlooms or thrift-store treasures. Letting them languish in storage wastes both resources and potential. A converted floor lamp maintains the fixture’s structural integrity while giving it new purpose. Unlike complete disassembly for parts, this method keeps the chandelier’s original arms, crystals, and frame intact. You’ll avoid the frustration of hunting for matching replacement crystals or dealing with corroded sockets typical in stored fixtures.
Benefits Beyond Basic Functionality
A successfully converted chandelier floor lamp delivers unexpected advantages. Its height (typically 58-66 inches) positions light at optimal eye level for reading, eliminating harsh overhead glare. The weighted base creates inherent stability that ceiling mounts can’t match—reducing vibration-related crystal breakage. Most importantly, you control the ambiance: use warm LED bulbs for cozy evenings or bright whites for task lighting. This flexibility makes converted chandeliers ideal for studios, hallways, or bedrooms where overhead lighting feels intrusive.
Must-Have Tools and Materials Checklist for Safe Conversion

Skipping proper tools guarantees frustration and safety risks. This conversion demands specific hardware to handle weight, electrical loads, and structural integrity. Never substitute critical components—your lamp must support 15-30 lbs of metal, glass, and crystals while resisting tipping forces.
Critical Electrical Components You Can’t Skip
- 18-gauge SPT-1 or SPT-2 lamp cord: Minimum 8 feet length (prevents strain at connections)
- 3-prong grounded plug: Non-negotiable for modern safety standards
- Wire nuts and electrical tape: For insulated, vibration-proof connections
- Replacement socket kit: If original sockets are damaged or non-standard
- Circuit tester: Verifies correct polarity before first use
Choosing the Right Floor Lamp Base for Stability
Your base must outweigh the chandelier by 3:1. For a 10-lb chandelier, use a 30-lb base minimum. Opt for:
– Heavy cast-iron bases from thrifted floor lamps
– Concrete-filled metal bases (drill holes to pour concrete)
– Commercial weighted bases with 1/2″ IPS threading
Avoid lightweight resin or hollow metal bases—they’ll tip when bumped. Always test stability by gently pushing the chandelier arms at full height before wiring.
Disassembling Your Chandelier Without Breaking Crystals
Begin with the chandelier completely disconnected from any power source. Wear safety glasses and cotton gloves to protect against sharp metal edges and glass shards.
Step-by-Step Removal of Glass Shades and Bulbs
Start from the bottom:
1. Remove all bulbs and set aside in padded containers
2. Unscrew glass shades by turning counter-clockwise (never pull straight down)
3. Detach crystals or pendants using needle-nose pliers on metal hooks
4. Label each component’s position with photos or a sketch—reassembly depends on matching original symmetry
Documenting Wiring for Multi-Arm Chandeliers
For chandeliers with 3+ arms:
– Photograph wire connections at the central junction box before disconnecting
– Tag each arm’s hot/neutral wires with colored tape (e.g., red = hot, white = neutral)
– Note if sockets are wired in series (rare) or parallel (standard)—your conversion requires parallel wiring
Building a Rock-Solid Floor Lamp Base That Won’t Tip

Stability failures cause 70% of DIY lamp accidents. This phase determines whether your creation survives daily use.
Calculating Base Weight vs. Chandelier Size
Measure your chandelier’s widest point (e.g., 18 inches across). The base diameter must exceed this by 4+ inches. For a 20-lb chandelier:
– Minimum base weight: 60 lbs
– Minimum base diameter: 24 inches
Use a bathroom scale to verify weight. Add sandbags inside hollow bases if needed—never compromise here.
Threading the Lamp Pipe for Perfect Height
Cut 1/2″ threaded pipe to 58-66 inches using a pipe cutter (hacksaws create dangerous burrs). Thread the pipe into the base clockwise until hand-tight, then secure with a wrench. Leave 4 inches protruding above the base for cord access. Feed your lamp cord through the pipe’s center channel before mounting—pull 12 inches through the top for socket connections.
Wiring the Chandelier Sockets for Plug-In Safety
Electrical errors cause fires. Follow these steps precisely using only your circuit tester for verification.
Matching Hot and Neutral Wires Correctly
Identify wires by texture:
– Smooth wire = HOT (connect to brass screw)
– Ribbed wire = NEUTRAL (connect to silver screw)
Strip 3/4 inch of insulation. Twist hot wires together clockwise, cap with wire nut, and wrap tightly with electrical tape. Repeat for neutrals. Never connect hot to neutral—this creates a short circuit.
Parallel Wiring for Multi-Bulb Chandeliers
For chandeliers with multiple sockets:
1. Connect all neutral wires to one wire nut
2. Connect all hot wires to a separate wire nut
3. Attach the single neutral lamp cord wire to the neutral bundle
4. Attach the single hot lamp cord wire to the hot bundle
This ensures one burned-out bulb won’t kill the entire lamp.
Mounting the Chandelier Frame to the Lamp Pipe Securely
The connection point must handle torque from uneven arm weight. Weak mounting causes wobbling and eventual detachment.
Direct Mount Method for Standard Threads
If your chandelier has a central 1/2″ threaded hole:
1. Slide a lock washer onto the pipe’s top
2. Thread the chandelier directly onto the pipe
3. Secure with a hex nut tightened against the chandelier base
Test by applying downward pressure—you should feel zero movement.
Adapting Non-Standard Chandeliers with Couplers
For chandeliers without threaded centers:
– Use a 1/2″ pipe coupler (hardware store)
– Epoxy the coupler to the chandelier’s mounting plate
– Thread the lamp pipe through the coupler
– Secure with set screws through the coupler’s side holes
Allow 24 hours for epoxy curing before wiring.
Adding a Lampshade to Your Converted Chandelier
Most chandeliers lack shade compatibility. This fixes that without altering original structure.
Attaching a Harp to Bare-Bulb Chandeliers
- Position the harp saddle over the socket’s top
- Secure with harp screws through the chandelier frame
- Snap the harp wires into the saddle’s notches
- Add a finial to lock everything in place
Use a harp sized for your shade—measure shade diameter before buying.
Salvaging Thrift Store Shades for Custom Looks
Deconstruct a thrifted floor lamp shade:
1. Remove its fabric covering
2. Extract the internal metal spider frame
3. Adhere the spider frame to your chandelier’s top with E6000 glue
4. Reattach fabric or use as-is for industrial style
This method works for drum, bell, or oval shades.
5 Critical Safety Checks Before Plugging In Your Lamp
Never skip these tests—your home’s safety depends on them.
Stability Test: Preventing Dangerous Tipping
With the lamp fully assembled:
– Apply 10 lbs of horizontal force at the chandelier’s widest point
– The base should not lift or slide
– If unstable, add weight to the base (concrete, sandbags)
– Retest until it passes
Heat Management with LED Bulbs Only
Chandeliers trap heat when repositioned downward. Always:
– Use LED bulbs only (max 60W equivalent per socket)
– Ensure 3+ inches clearance between bulbs and shades
– Run the lamp for 60 minutes before regular use
– Feel sockets hourly for abnormal warmth—if hot, reduce bulb wattage
Final Assembly: Polishing Your DIY Floor Lamp Project
The last details make your project look professional rather than makeshift.
Cord Management for a Clean Finish
- Secure the cord to the pipe every 8 inches with nylon zip ties
- Use a 2-inch cord channel cover along the base’s edge
- Route the cord diagonally away from the lamp’s front for visual balance
- Hide the plug behind base weight additions
Testing for 60 Minutes Before Regular Use
Plug into a GFCI outlet and:
1. Verify switch functionality at 5-minute intervals
2. Check for flickering (indicates loose wiring)
3. Confirm no buzzing sounds (sign of overloaded circuits)
4. Ensure all bulbs illuminate evenly
Address any issues immediately—never ignore warning signs.
Your converted chandelier floor lamp now delivers museum-quality lighting with zero hardwiring. Focus on regular dusting (use a microfiber duster weekly) and bulb checks (replace LEDs only when brightness drops 30%). This project proves that with precise wiring, ironclad stability, and attention to heat management, vintage fixtures can thrive in modern spaces. The next time you spot a chandelier at a flea market, imagine its future lighting up your favorite reading chair—not gathering dust in a closet.


