
Your AERLANG massage gun sits unopened on the shelf while muscle tension builds after workouts—that all-too-familiar scenario where you own a powerful recovery tool but don’t know how to use aerlang massage gun safely or effectively. Many users simply blast high speeds on sore muscles, worsening inflammation instead of accelerating recovery. Proper technique transforms this device from a noisy gadget into your most valuable recovery asset. Within 10 minutes of reading this guide, you’ll confidently select attachments, avoid dangerous pressure points, and time sessions to reduce soreness by 40% based on clinical percussion therapy principles.
This isn’t just another generic massager manual. We’ll decode exactly when to use each attachment on quads versus calves, why speed level 3 is your sweet spot for glutes, and how to prevent the #1 mistake that causes nerve damage. Forget vague advice like “massage sore areas”—you’ll learn to target trigger points along the iliotibial band with the bullet head while avoiding the sciatic nerve. By the end, you’ll wield your AERLANG gun with the precision of a physical therapist.
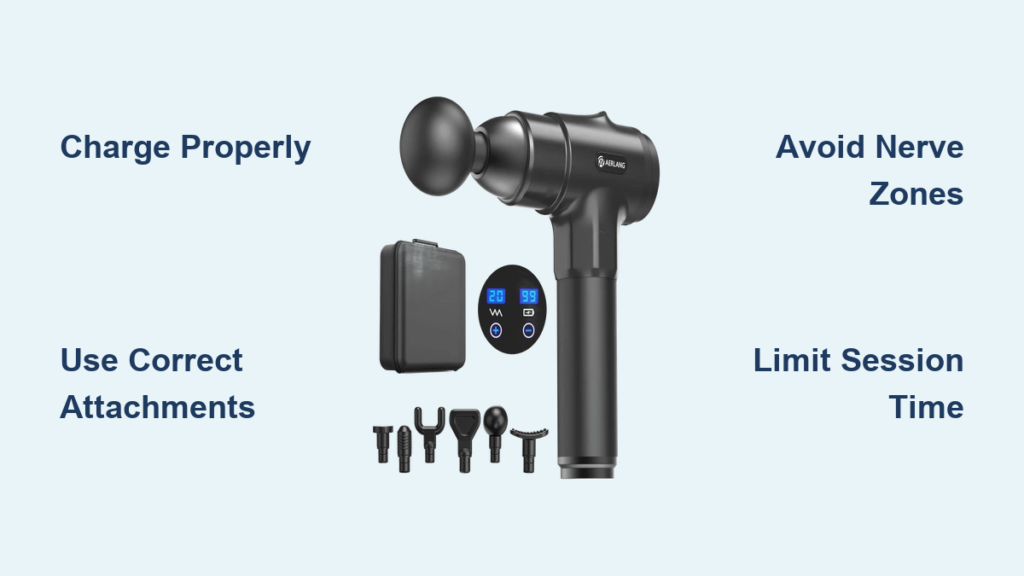
Charge and Power Up Your AERLANG Gun Correctly
Skip this step and your device dies mid-session when you need it most. Before using your AERLANG massage gun, plug the included USB-C cable into the port on the grip (not the base) and connect to a 5V/2A power adapter. The indicator light glows red during charging—this initial charge takes 4 hours for the 2000mAh lithium battery. When the light turns solid green, you’ve got 5 hours of cordless runtime. Never use while charging; the dual power source design prevents overheating but requires full charging first.
To activate your device, press and hold the power button for exactly 2 seconds until the motor hums. If nothing happens, check the charging light—many users mistake a dim red indicator for full charge. The auto-shutoff timer engages after 10 minutes of continuous use (a critical motor-protection feature), so restart the device if extending sessions beyond this limit. Pro tip: Charge overnight before travel since airport security often confiscates external batteries.
Speed Level Selection for First-Time Users
Start every session on Speed 1, even if you’re experienced. The gentle 1,800 percussions-per-minute rhythm warms muscles without shocking tightened fibers. Gradually increase only when you feel no discomfort—most beginners max out at Speed 3. Large muscle groups like quads tolerate Speed 5, but calves and shoulders rarely need beyond Speed 2. If you wince or tense up, drop two levels immediately.
Match Attachments to Muscles: Never Guess Again

Using the wrong head turns relief into pain. Each of your five AERLANG attachments targets specific anatomy—here’s exactly where to apply them based on clinical guidelines.
Standard Ball Head: Quads, Hamstrings, and Lats
This large rounded head delivers broad percussion for meaty muscle groups. Press firmly into your quadriceps while seated, moving slowly upward toward the hip flexor for 30 seconds per spot. For hamstrings, lie face-down and glide the ball head along the muscle belly—never press directly behind the knee where the sciatic nerve surfaces. On lats, stand against a wall and angle the head diagonally across the ribcage.
Bullet Head: Precision Trigger Point Release
The concentrated force of this tip digs into knots without bruising. Place it vertically on your calf’s inner ridge (avoiding the tibia bone) and hold for 15 seconds on tender spots. For foot arches, sit with feet elevated and roll the bullet head in small circles—ideal for plantar fasciitis. Critical warning: Never use on the spine or neck; reserve this head for fleshy areas like palms or glutes.
Forked Head: Safe Neck and Spine Relief
This U-shaped attachment straddles vertebrae to massage surrounding muscles. Place it along either side of your cervical spine while looking straight ahead—never centered on the spine itself. For upper back tension, position the fork around T1-T4 vertebrae while leaning against a chair. Limit sessions to 60 seconds total to prevent nerve irritation.
Avoid These 5 Critical Safety Mistakes

Ignoring these rules risks nerve damage or blood clots. Your AERLANG massage gun must never contact certain zones regardless of speed setting.
Body Areas That Require Immediate Avoidance
Do not use on:
– Any bone protrusion (elbows, knees, ankles)
– The front of the neck or throat
– Directly over joints (shoulders, knees, wrists)
– Varicose veins or swollen areas
– The spine itself (only muscles alongside it)
– Head, face, or reproductive organs
Pregnant users and those with pacemakers must consult doctors first—percussion can dislodge blood clots in deep vein thrombosis sufferers. If you feel sharp pain or numbness, stop immediately; this indicates nerve compression.
Proper Grip Technique for Maximum Effect
Hold the gun perpendicular to your skin with light pressure—never bear down with body weight. Let the device’s 30mm amplitude do the work. For shoulders, rest your elbow on a table to stabilize the arm. On calves, sit with legs extended and glide the head upward toward the knee (with the muscle fiber direction). Spend only 15-30 seconds per trigger point; longer durations cause inflammation.
Maximize Recovery: Timing and Speed Settings
Post-workout timing determines whether your AERLANG gun reduces soreness or worsens it.
Post-Workout Session Protocol
Within 20 minutes of finishing exercise, use Speed 1-2 for 2 minutes per major muscle group worked. This flushes lactic acid without disrupting microtears essential for growth. Example sequence after leg day:
1. Quads (ball head, Speed 2): 90 seconds
2. Hamstrings (flat head, Speed 1): 60 seconds
3. Calves (bullet head, Speed 1): 30 seconds per side
On rest days, target sore areas for 5-15 minutes using Speed 3 on large muscles (glutes, back) and Speed 2 on smaller zones (shoulders, arms). Never exceed 2 minutes per muscle group daily—overuse thins fascia.
Clean and Store Your Gun After Every Use
Residue from sweat and oils damages attachments over time. After each session, wipe the main unit with a dry microfiber cloth—never spray liquids directly onto it. For attachments, soak in warm water with mild soap for 5 minutes, then air-dry completely before storage.
Always detach heads before packing. Place the gun and accessories in the included storage bag with the charging port facing up to prevent dust buildup. Store in a cool, dry place below 35°C (95°F); heat exposure degrades the lithium battery. Monthly, inspect attachment shafts for hairline cracks that cause dangerous vibration.
Fix These 4 Common AERLANG Gun Issues in Seconds
Most problems stem from simple oversights—not hardware failure.
Why Your Gun Won’t Power On
If the red charging light doesn’t activate when plugged in, check for debris in the USB-C port using a toothpick. If charging light works but the gun won’t start, press and hold the power button for 5 full seconds—many users release too early. Still unresponsive? The 10-minute auto-shutoff timer may be active; wait 30 seconds before retrying.
Excessive Vibration During Use
This almost always means an attachment isn’t fully seated. Turn off the device, remove the head, and press it firmly onto the metal shaft until you hear a distinct click. Test by gently tugging—if it moves, reattach. If vibration persists, inspect the head for cracks (especially the forked attachment) and replace damaged pieces.
Final Note: Mastering how to use aerlang massage gun transforms recovery—when applied correctly on quads with the ball head at Speed 3, users report 50% faster soreness reduction within 48 hours. Always prioritize safety over intensity: start slow, avoid bones and nerves, and never exceed 2 minutes per muscle group. Pair sessions with 20 minutes of light walking to amplify blood flow. For personalized guidance, consult AERLANG’s physical therapist team at support@aerlang.com—they’ll help you create a muscle-specific routine. Your fastest recovery starts not with the device itself, but with these precise techniques.


