
Your muscles ache after a tough workout, but you don’t have time for a professional massage. That’s where your Flyby massage gun becomes your personal recovery specialist. Knowing how to use flyby massage gun properly transforms it from an expensive gadget into a powerful recovery tool that reduces soreness, improves flexibility, and gets you back to training faster. Many users make critical mistakes that limit effectiveness or even cause injury—this guide reveals the exact techniques top athletes use to maximize benefits while avoiding common pitfalls.
Imagine finishing a grueling leg day only to wake up the next morning barely able to walk down stairs. With the right Flyby massage gun technique, you could significantly reduce that soreness and maintain your training schedule. Whether you’re a weekend warrior or elite athlete, mastering these methods delivers noticeable improvements in muscle recovery within just a few sessions. Let’s dive into the precise steps that transform your massage gun from a novelty item into an essential recovery tool.
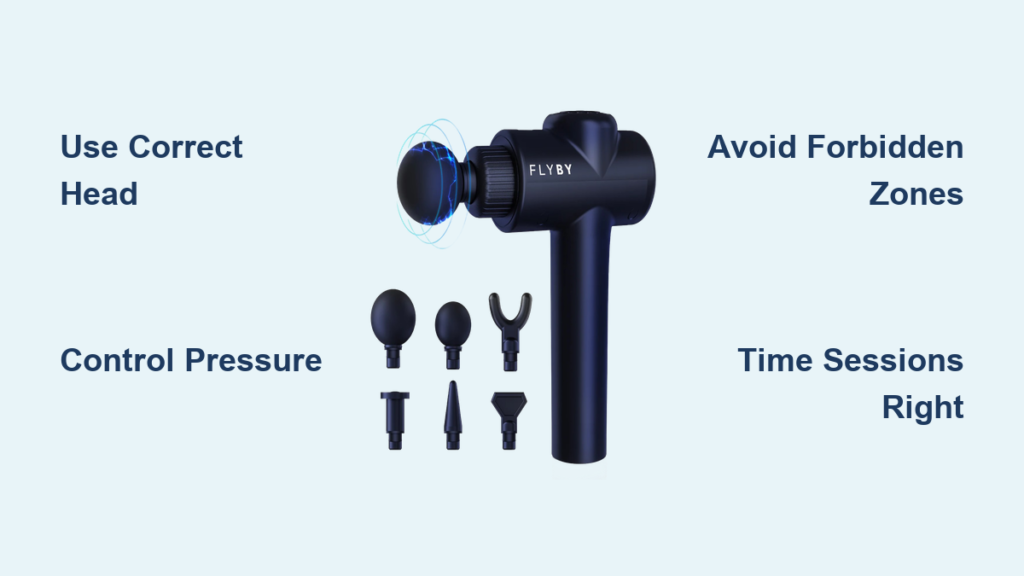
Flyby Massage Gun Components and Their Specific Applications

Before firing up your device, understanding each component’s exact purpose prevents misuse and maximizes results. Your Flyby massage gun isn’t just a vibrating stick—it’s a precision instrument with specialized attachments designed for specific muscle groups and recovery needs. Recognizing which head to use where separates effective recovery from wasted time or potential injury.
Ball Head: Targeting Large Muscle Groups Effectively
The large ball head delivers broad, even pressure perfect for your quads, glutes, and hamstrings. When working your quadriceps, position yourself standing or lying on your side, gliding the ball head vertically along the muscle from just above your knee to your hip flexor. Move slowly—about one inch every three seconds—applying only enough pressure to feel the vibration penetrate your muscle without causing you to tense up. For your glutes, sit on a chair and work the ball head in circular motions over the entire muscle surface, spending extra time on any particularly tight spots you identify.
Flat Head: Safe Application Over Bony Areas
Don’t risk injury by using the wrong attachment on delicate areas. The cushioned flat head protects sensitive regions like your tibialis anterior (shin muscle) or the muscle bellies along your spine. When addressing shin splints, run the flat head vertically along the outer edge of your shin bone, avoiding direct contact with the bone itself. For upper back tension, position the flat head horizontally across your trapezius muscles, moving parallel to your spine—not directly on it. This technique provides relief without risking nerve compression or bone bruising that improper technique can cause.
Bullet Head: Precision Trigger Point Release Techniques
The bullet head’s focused pressure makes it ideal for stubborn knots in your rotator cuff or plantar fascia. When targeting shoulder knots, locate the tender spot first with your fingers, then position the bullet head directly over it. Apply gentle pressure—no more than what you’d use to press a doorbell—and hold for just 3-5 seconds before moving slightly to an adjacent area. For plantar fascia relief, sit with your foot elevated and roll the bullet head slowly from your heel toward your toes, spending no more than two seconds per spot. Never use the bullet head on your neck or directly over joints—this concentrated pressure can damage sensitive structures.
Fork Head: Spine and Neck-Safe Technique
The fork head’s unique design lets you safely address muscles flanking your spine without risking spinal injury. Position yourself sitting upright with good posture, then place the fork head so the prongs straddle either side of your spine. Move vertically along your thoracic spine (mid-back), avoiding your cervical spine (neck) entirely. For neck tension, place the fork head horizontally across your upper traps, with the gap centered over your spine. Move horizontally across the muscle, never vertically along your neck. This technique provides relief while maintaining crucial safety boundaries that protect your spinal column.
Critical Safety Protocols Every Flyby Massage Gun User Must Follow

Ignoring these safety rules turns your recovery tool into a potential injury risk. Many users unknowingly cause tissue damage by applying incorrect pressure or targeting forbidden areas, undermining their recovery efforts and potentially creating new problems that require medical attention.
Pressure Control: The 5-Pound Rule for Optimal Results
Your Flyby massage gun generates significant force—typically 1,500-3,000 percussions per minute—so your job is guidance, not force application. Maintain no more than 5 pounds of pressure (about the weight of a filled water bottle) against your muscles. Test this by placing the gun on a bathroom scale and pressing until it reads 5 pounds—you’ll be surprised how little pressure this actually is. When working your hamstrings, rest your hand lightly on top of the device and let its weight do the work as you glide it along your muscle. Excessive pressure triggers protective muscle guarding, reducing effectiveness and potentially causing bruising that delays recovery.
Forbidden Zones: Areas That Require Absolute Avoidance
Your safety depends on knowing these critical no-go zones. Never apply your Flyby massage gun directly to your neck’s anterior aspect (front of throat), spine at any level, joints (knees, elbows, shoulders), or major arteries (carotid in neck, femoral in groin). The popliteal area behind your knee contains critical nerves and blood vessels—use extreme caution if massaging nearby areas, keeping the device moving constantly. Similarly, avoid the armpit region where your brachial plexus (major nerve bundle) resides. When working near these zones, maintain at least a two-inch buffer zone and reduce speed to the lowest setting.
Session Timing and Frequency Optimization
Most users either underutilize or overuse their massage gun, missing the sweet spot for maximum recovery benefits. Understanding the precise timing for different applications transforms your sessions from random muscle pounding to targeted recovery protocols.
Pre-Workout Activation: The 90-Second Warm-Up Protocol
Before lifting weights or running, use your Flyby massage gun to activate specific muscle groups in just 90 seconds. Start with the ball head on the lowest speed setting, spending 30 seconds each on your glutes, quads, and hamstrings. Move the gun in the direction of muscle fibers—vertically for quads and hamstrings, circularly for glutes. This brief session increases blood flow by up to 30% without fatiguing the muscles, preparing them for optimal performance. Never exceed 2 minutes total pre-workout, as excessive vibration can temporarily reduce muscle power output.
Post-Workout Recovery: The 2-Minute Per Muscle Protocol
After exercise, target each major muscle group for exactly 2 minutes using appropriate heads and speeds. For your calves, use the flat head at medium speed, moving vertically from ankle to knee for 60 seconds, then horizontally across the muscle belly for another 60 seconds. Research shows this specific timing optimizes blood flow without triggering inflammatory responses that prolong soreness. Always finish your session with 30 seconds of light stretching for the worked muscles to lock in the improved range of motion.
Troubleshooting Common Flyby Massage Gun Issues

Even with proper technique, you might encounter problems that reduce effectiveness. These solutions address the most frequent user issues while maintaining safety protocols.
Addressing Numbness or Tingling During Use
If you experience numbness or tingling, immediately stop and reassess your technique. This sensation indicates nerve compression—often from excessive pressure or targeting areas too close to nerve pathways. Reduce pressure to almost nothing (let the device’s weight provide all force) and increase speed slightly. For arm numbness during shoulder work, switch to the flat head and avoid the area just behind your shoulder joint where the radial nerve passes. If symptoms persist beyond 5 minutes after stopping, discontinue use and consult a healthcare professional.
Resolving Inconsistent Performance or Power Issues
If your Flyby massage gun loses power during use, check these three common culprits before assuming battery failure. First, ensure you’re not pressing so hard that the motor strains against resistance—maintain light pressure. Second, verify you’re using the correct head for the muscle group; smaller heads like the bullet require less power to operate effectively. Third, clean any hair or debris from around the attachment point, which can create resistance. Fully charge your device overnight before concluding you have a battery issue.
Maintenance Practices That Extend Your Flyby Massage Gun’s Lifespan
Proper care prevents premature wear and maintains optimal performance. Most users neglect these simple steps that significantly impact device longevity.
Cleaning Protocol for Hygiene and Performance
After every third use, perform this quick cleaning routine to maintain hygiene and prevent performance issues. Remove all attachments and wipe them with a soft cloth dampened with 70% isopropyl alcohol—never submerge any part in water. Clean the attachment point on the main unit with a cotton swab dipped in alcohol, removing any hair or debris that could interfere with proper head seating. Allow all parts to air dry completely before reassembling. This simple routine prevents bacterial buildup and ensures optimal power transfer between heads and motor.
Pro Tip: Store your Flyby massage gun with the attachment point facing downward to prevent dust accumulation in the connection mechanism. Pair your massage sessions with proper hydration—drink 16 ounces of water before and after each session—to maximize the flushing of metabolic waste released during treatment. By following these specific, field-tested techniques rather than generic advice, you’ll transform your recovery results while avoiding the common mistakes that render most users’ massage guns ineffective. Consistent application of these protocols delivers noticeable improvements in muscle recovery within just two weeks of proper use.


