
Your morning smoothie turns into a nightmare when thick smoke billows from your Ninja blender. The acrid smell of burning plastic fills your kitchen as black specks contaminate your ingredients. This frightening scenario affects thousands of Ninja blender owners, often striking without warning and leaving users wondering if their appliance is about to catch fire. When your Ninja blender starts smoking, you’re facing a serious safety hazard that requires immediate action—not just an inconvenience.
Understanding why your Ninja blender started smoking can save you from potential fire hazards and expensive replacements. This guide breaks down the exact causes, immediate safety steps, and proven solutions based on real user experiences and documented failures. You’ll learn how to diagnose whether your unit is repairable or needs replacement, plus critical prevention strategies to avoid future smoking incidents with your blender.
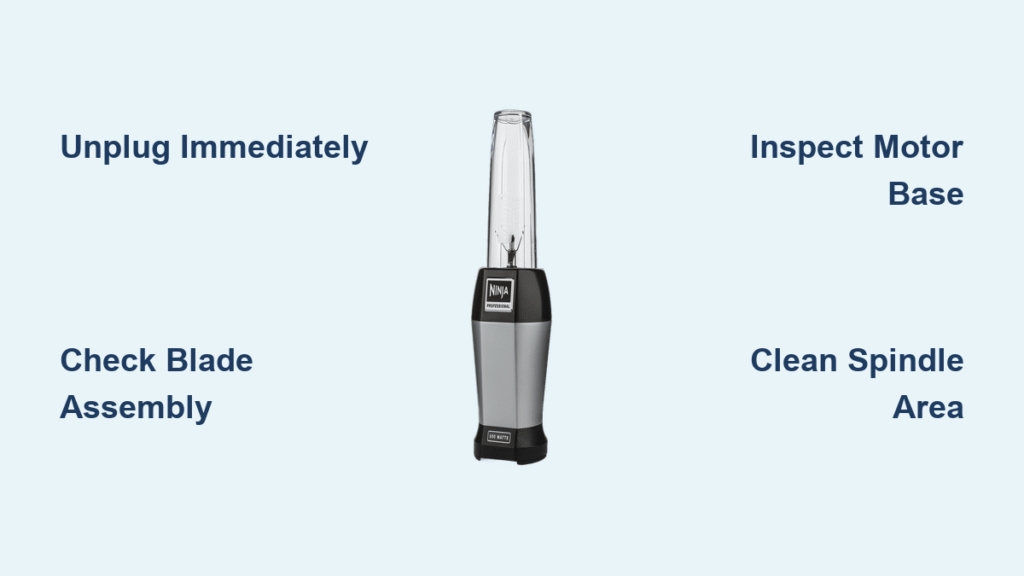
Immediate Safety Steps When Smoke Appears
Unplug your smoking Ninja blender immediately—this is non-negotiable. A smoking blender poses a legitimate fire hazard that requires instant action. The smoke you see isn’t just unpleasant—it contains toxic plastic fumes that can contaminate your food and harm your respiratory system. Every second counts when your appliance is emitting smoke, so don’t attempt to continue blending or investigate while it’s still plugged in.
Open windows to ventilate the area and allow the unit to cool completely before touching any components. Never attempt to investigate the issue while the unit is still hot or plugged in. The burning smell indicates melting plastic components that could ignite if the motor continues running. Users report becoming physically ill after consuming smoothies tainted by these toxic fumes, so discard any contaminated food immediately.
Identify Exactly Where Smoke Is Coming From
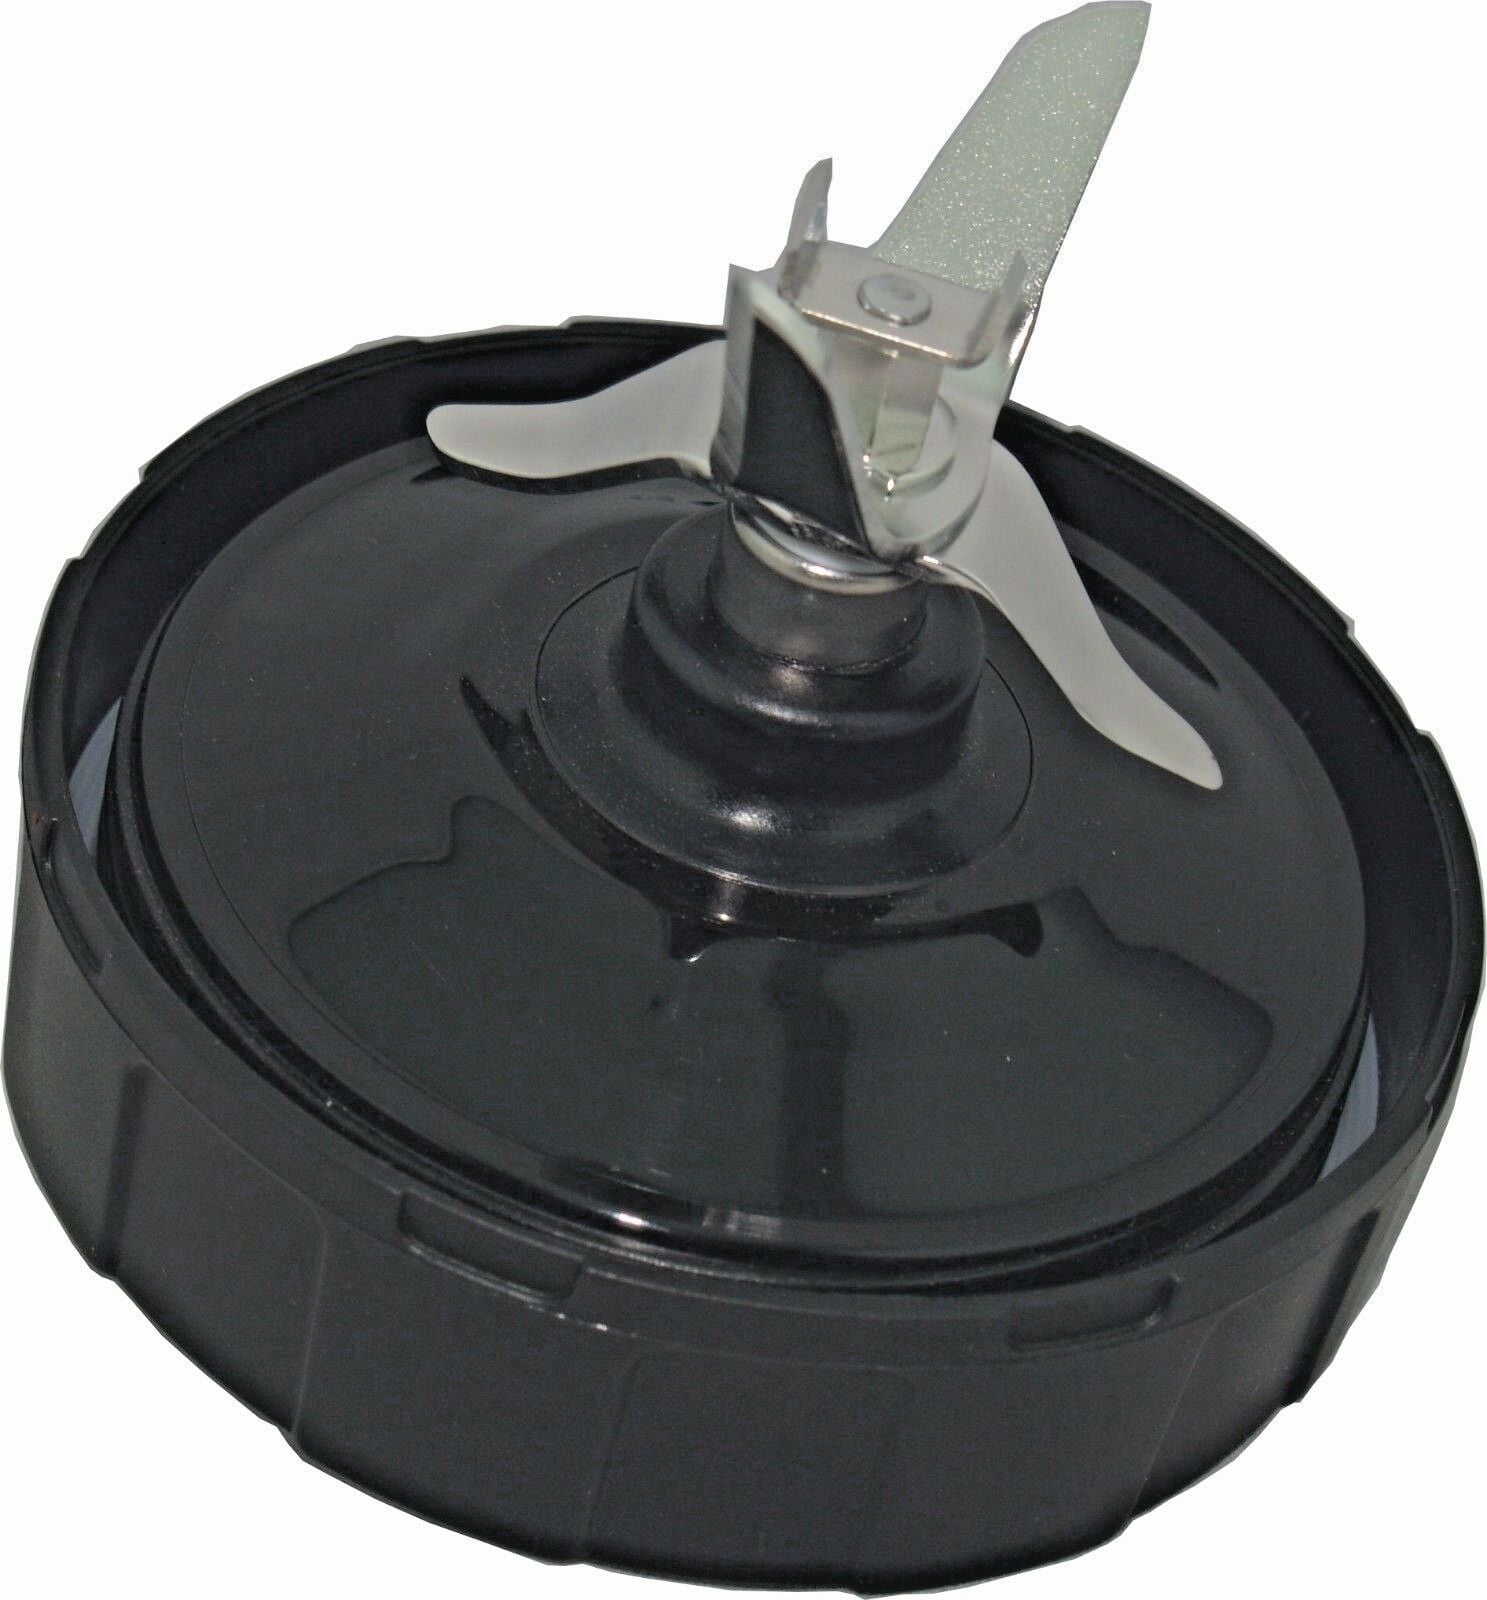
Blade Assembly Failure Signs
Check your blade assembly first—this is the most common culprit behind smoking incidents. The blades should spin freely when turned by hand. If they feel gritty, stiff, or make grinding noises, the bearing has likely seized, creating dangerous friction and heat that melts surrounding plastic. Look for these critical warning signs:
- Black residue around the central spindle where the blade attaches
- Melted plastic visible around the blade housing
- Visible erosion of plastic components near the silver retaining bolt
- Metal shavings or plastic fragments in your pitcher after blending
A seized bearing generates enough heat to literally melt the surrounding plastic, sending toxic smoke and plastic particles into your blended contents. Multiple users report finding their smoothies filled with black specks and experiencing severe burning plastic odors that linger for days, making the appliance unusable.
Motor Base Overheating Indicators
Your Ninja’s motor can overheat when pushed beyond its capacity. This typically happens during extended blending sessions, when processing hot ingredients in non-heat-resistant models, or when voltage irregularities stress the electrical components. Key indicators of motor failure include:
- Smoke originating from the base unit rather than blade assembly
- Burning smell during normal operation that wasn’t present initially
- Unit shutting down mid-blend (thermal protection activation)
- Visible scorch marks on the motor housing vents
Unlike blade assembly issues, motor base smoking often indicates a more serious problem that may require complete replacement rather than a simple part fix.
Perform These Quick Diagnostic Tests
Visual Inspection Checklist
Perform this 60-second check to pinpoint the smoke source before deciding on repair options:
- Rotate blades manually – They should spin smoothly without resistance or grinding sounds
- Inspect blade housing – Look for melted plastic or black marks around the central bolt
- Check pitcher walls – Blade contact marks indicate loose assembly causing friction
- Examine motor vents – Clogged vents restrict airflow and cause overheating
Functional Testing Protocol
Test your Ninja safely after it has cooled completely:
– Start on the lowest speed setting only
– Run for just 10-15 seconds initially
– Monitor carefully for smoke point of origin
– Check for burning smells at each speed level
Critical warning: If smoke reappears during testing, immediately unplug and discontinue use permanently. Continuing to use a smoking blender risks fire and creates toxic fumes that can contaminate your kitchen environment.
Deep Clean Procedures That Prevent Smoke

Eliminate Hidden Residue Buildup
Food residue accumulating around the blade spindle creates friction that leads to overheating. This hidden buildup often goes unnoticed during routine cleaning but causes devastating damage over time. Critical cleaning steps include:
- Remove blade assembly completely after each use
- Rinse under hot running water immediately after blending
- Focus specifically on the spindle area where residue hides
- Use a soft brush to clean crevices thoroughly before drying
Many users report that their smoking incidents began after they neglected this critical cleaning step, allowing dried smoothie residue to create friction points that eventually melted surrounding plastic.
Preventive Maintenance Schedule
Implement this maintenance routine to prevent future smoking incidents:
– Daily: Quick rinse of blade assembly immediately after use
– Every 3-4 uses: Dishwasher cleaning cycle for all removable parts
– Weekly: Blend warm water with one drop of dish soap, then rinse thoroughly
– Monthly: Disassemble and inspect for early wear signs like slight resistance
This systematic approach addresses the hidden residue buildup that causes most smoking incidents while extending your blender’s lifespan significantly.
Make the Critical Fix vs. Replace Decision

When to Replace Just the Blade Assembly
Blade assembly replacement costs $20-40 and solves most smoking issues. Replace if:
– Blades don’t spin freely when turned by hand
– Visible plastic melting around the assembly housing
– Black residue persists after deep cleaning attempts
– Unit is under 3 years old with otherwise good performance
Pro tip: Always verify model compatibility when ordering replacement parts online—Ninja has multiple blade assembly designs across their product lines.
When to Replace the Entire Unit
Consider complete replacement when:
– Unit age exceeds 5-7 years (typical lifespan for consumer blenders)
– Multiple components show wear signs simultaneously
– Smoke originates from the motor base rather than blade assembly
– Repair costs exceed 50% of a new unit’s price
For daily smoothie users, upgrading to commercial-grade models with thermal protection systems provides better longevity and crucial safety features that prevent smoking incidents.
Prevent Future Smoking Incidents with These Usage Rules
Operational Guidelines That Stop Damage Before It Starts
Follow these specific rules to extend your Ninja’s lifespan and prevent smoking:
– Limit continuous operation to 1-2 minutes maximum per blending session
– Allow 2-3 minute cooling periods between consecutive blends
– Never exceed fill lines—overfilling strains the motor unnecessarily
– Verify blade seating before each use to prevent loose assembly issues
– Avoid hot ingredients in non-heat-resistant models (check your manual)
Early Warning Signs You Must Address Immediately
Catch problems before they become dangerous by monitoring for:
– Slight resistance when spinning blades by hand (early bearing failure)
– Unusual grinding noises during operation (loose components)
– Persistent burning smells that don’t dissipate after cleaning
– Increased vibration or rattling sounds indicating internal damage
Ignoring these subtle warnings often leads to the catastrophic smoking incidents that force replacement.
Electrical System Checks You Should Perform
Home Power Assessment Before Blaming Your Blender
Before concluding your Ninja is defective, verify your electrical system:
– Test on different outlets and circuits throughout your home
– Use a surge protector with voltage regulation capabilities
– Avoid sharing circuits with high-draw appliances like microwaves
– Consider professional electrical inspection if multiple appliances fail
Power quality indicators that point to electrical issues:
– Lights dimming when blender operates
– Circuit breakers tripping regularly during use
– Other appliances experiencing problems on same circuit
Multiple users report that addressing home electrical issues resolved their “smoking blender” problems without needing appliance repairs.
Model-Specific Failure Patterns to Know
Common Culprits by Ninja Series
Research shows consistent failure patterns across Ninja models:
– Ninja Professional series: Blade assembly failures dominate (bearing seizure)
– Nutri Ninja cups: Bearing seizure in compact blade units (high failure rate)
– Ninja Kitchen System: Motor overheating in food processor mode (extended use)
Understanding your specific model’s weak points helps you focus preventive maintenance efforts effectively and know what to watch for as your blender ages.
Final Safety Reminders You Must Not Ignore
Never ignore smoking from your Ninja blender—it’s a clear warning of impending failure that could result in fire or serious injury. The plastic particles and toxic fumes released during smoking incidents can contaminate your food and pose significant health risks. Your blender’s smoking indicates either immediate danger or progressive failure requiring prompt attention.
By following this guide’s diagnostic and prevention strategies, you can identify problems early, make informed repair decisions, and maintain safe operation for years to come. Remember that prevention through proper cleaning and usage habits is always more effective (and cheaper) than dealing with a smoking blender emergency. When in doubt about safety, replace the unit—your health isn’t worth risking for a few extra months of blender use.


