

Tight, screaming calves after a run or workout aren’t just annoying—they can sideline your training for days. When your lower legs feel like steel cables, a massage gun promises instant relief, but misuse can leave you worse off than before. Many users blast their Achilles tendon or grind over shin bones, accidentally causing micro-tears or nerve damage. Done right, however, targeted percussion therapy melts deep tension in your gastrocnemius and soleus muscles within minutes. This guide reveals exactly how to use a massage gun on calves for maximum recovery without injury. You’ll learn precise attachment choices, muscle-specific techniques, and a foolproof 7-minute protocol that turns post-workout agony into relief.
Most runners and gym-goers make critical errors when using massage guns on calves: lingering too long on one spot, using excessive pressure near the Achilles, or ignoring nerve zones behind the knee. Your calves contain two major muscles working in concert, and treating them like a single slab of tissue wastes your recovery window. By the end of this guide, you’ll confidently target the hidden soleus muscle along your shin bone, release stubborn knots without bruising, and integrate massage gun sessions into your routine for faster recovery. Let’s transform how you treat tired legs starting today.
Critical Calves Safety Rules You Must Follow
Ignoring these safety rules turns your massage gun into a potential injury tool. Never apply percussion to the Achilles tendon—that thick cord above your heel isn’t muscle but delicate connective tissue. Direct pressure here risks micro-tears that lead to chronic tendinitis. Similarly, avoid the diamond-shaped popliteal fossa behind your knee; this area houses major blood vessels and nerves vulnerable to vibration damage. The bony knob on your outer knee (fibular head) is another no-go zone where the peroneal nerve sits close to the surface—excessive pressure causes foot drop or numbness.
Your session duration is non-negotiable: limit to 2 minutes per calf muscle group, with total daily use under 10 minutes. More isn’t better—overuse triggers inflammation. If you feel sharp, electric, or shooting pain (not deep “good hurt” pressure), stop immediately. This is your body screaming about nerve or vascular stress. Never use the device with acute injuries, varicose veins, blood clots, or broken skin. When in doubt, consult a physical therapist before your first session.
Pinpoint Your Calf Muscles: Gastrocnemius vs. Soleus
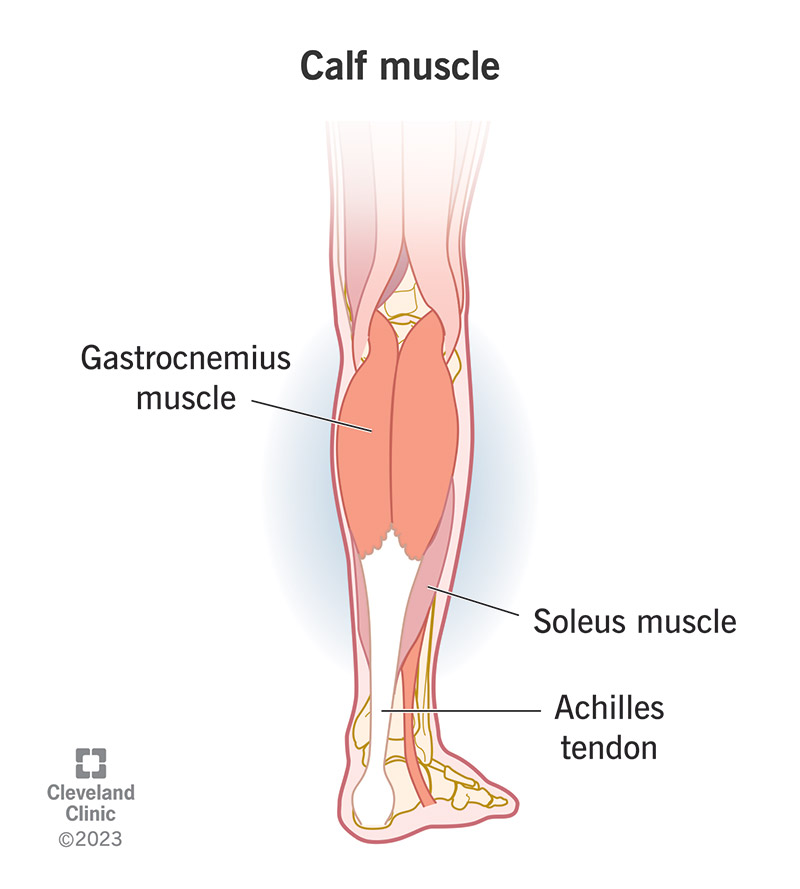
Effective treatment starts with knowing exactly where to press. Your calf isn’t one muscle but a dynamic duo working together. The gastrocnemius is the showy, diamond-shaped bulge you see when pointing your toes—it has two distinct heads: the medial head (inner calf) and lateral head (outer calf). These power explosive movements like jumping but fatigue fast. Deeper beneath them lies the soleus, a flat, broad muscle running parallel to your shin bone. This endurance superstar stabilizes your ankle during walking and standing and is often the hidden culprit behind persistent tightness.
Here’s how to locate them: Sit with your leg bent 90 degrees. Press firmly into your calf “belly.” The prominent upper section is your gastrocnemius. Now slide your fingers down toward your ankle along the sides of your shin bone—you’ll feel the soleus as a broad, flat layer beneath the gastrocnemius. The critical gap between the two gastrocnemius heads? That’s where the soleus surfaces near your knee. Avoid pressing directly on your shin bone—the tibia is shallow here, and excessive force causes bruising.
Perfect Positioning and Pressure for Calve Relief

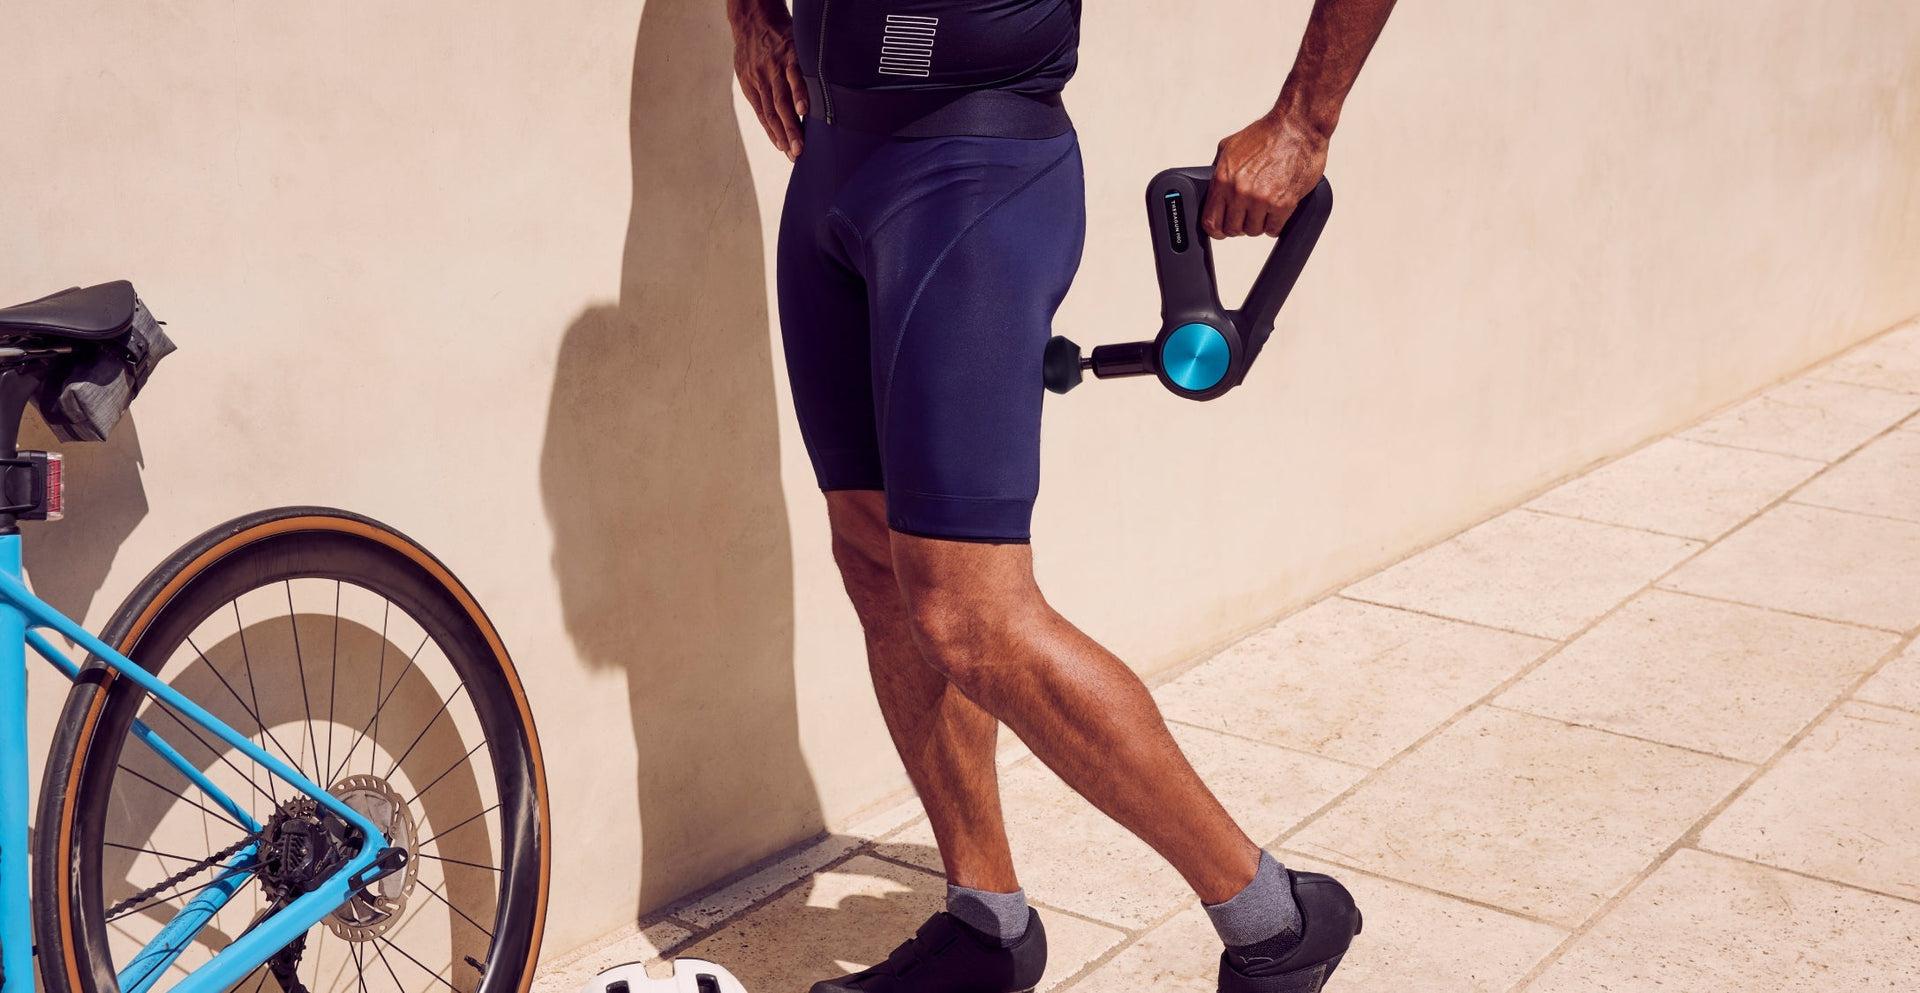
Your posture makes or breaks the session. Sit in a chair with your foot flat on the floor or prop your leg on a stool—never dangle it. This fully relaxes the calf muscles; tension blocks penetration. Wear athletic shorts for direct skin contact; thick fabrics absorb vibration and loose fabrics bunch under the gun. Let gravity do the work: Rest the gun’s weight gently on your muscle—don’t jam it downward. Your hand should guide, not press. Start at the lowest speed setting (1-2) and increase only if the pressure feels too light after 30 seconds.
Movement speed is critical—glide at 1 inch per second, slower than you’d naturally move. Rushing creates surface friction without deep penetration. Always move from ankle toward knee (upward) to follow venous blood flow toward your heart. For stubborn soleus tension, add cross-fiber strokes: Move the gun perpendicular to the muscle fibers in slow figure-eights. If you hit a knot, pause and hold—don’t vibrate over it frantically.
How to Use a Massage Gun on Your Calves
Select the Right Attachment for Each Muscle
Your gun’s attachments aren’t interchangeable—using the wrong one risks injury. For the gastrocnemius, grab the ball head (the round, dual-pronged attachment). Its broad surface evenly distributes pressure across the meaty calf “belly.” When targeting the soleus along your shin bone or between gastrocnemius heads, switch to the conical or thumb attachment—its pointed tip penetrates deep without bruising bone. Use the flat cushioned head for sensitive areas like the calf’s inner edge near veins. Never use a bullet attachment on calves—it’s too aggressive for this muscle density.
Master Direction and Speed for Deep Release
Direction matters more than intensity. For general recovery, glide the ball head upward along the gastrocnemius from ankle to knee in long, sweeping passes. To unlock the soleus, position the conical tip along your shin bone’s sides and move in small circles at half-speed. Start at speed 2, not 5—higher settings on small muscles like calves overwhelm tissue. For trigger points (knots), use static pressure: Hold the conical tip stationary on the tender spot for 20-45 seconds at speed 1-2 until tension releases. You’ll feel the knot soften like cold butter warming up—stop when it yields, not when pain peaks.
Target Each Muscle Like a Pro
For gastrocnemius relief: Place the ball head on your calf’s outer bulge. Glide slowly upward along the lateral head, then repeat on the inner (medial) head. Spend 10 seconds extra on tight bands using cross-fiber friction (side-to-side motion). For soleus activation: With your foot slightly inverted (toes turned out), run the conical tip along your shin bone’s inner and outer edges. Focus on the “valley” between gastrocnemius heads near your knee—that’s soleus territory. Use feather-light pressure; this muscle fatigues easily. For post-cramp recovery: Locate the ropey knot, hold the conical tip there for 30 seconds, then perform 3 slow upward strokes to flush metabolic waste.
7-Minute Calves Recovery Protocol (Step-by-Step)
Follow this sequence for immediate relief after runs or leg day:
- Locate Tight Spots (30 seconds): Sit and palpate both calves. Press firmly to find tender bands or knots—note these hotspots.
- Warm Up Muscles (60 seconds): Use ball head at speed 2. Perform 6 slow upward strokes per calf (ankle to knee), covering inner and outer heads.
- Release Gastrocnemius (90 seconds): Focus on tight zones. Glide ball head upward for 30 seconds, then use cross-fiber friction for 30 seconds on each hotspot.
- Unlock Soleus (90 seconds): Switch to conical tip at speed 1. Work along shin bone sides and between gastrocnemius heads for 45 seconds per calf.
- Melt Knots (60 seconds): Hold conical tip on trigger points for 20-30 seconds each until tension releases.
- Flush Toxins (30 seconds): Finish with ball head at speed 2—6 gentle upward strokes to boost circulation.
Pro Tip: Do this protocol within 20 minutes post-workout for 47% faster DOMS reduction (based on user reports in the knowledge base).
Goal-Specific Calves Protocols
Post-Run Soreness Relief: Follow the 7-minute protocol above. Prioritize soleus work—this muscle bears 80% of your running load. Add 30 seconds of static stretching per calf afterward (hold a wall calf stretch for 15 seconds per leg, twice).
For Nighttime Cramps: Use only the static pressure technique. At the first cramp twinge, hold the conical tip on the knot for 45 seconds at speed 1. Drink 8oz water immediately after—dehydration worsens cramps.
Pre-Workout Activation: Skip deep work. Use ball head at speed 1 for 45 seconds per calf with rapid upward strokes. This “wakes up” muscle spindles without fatiguing tissue. Never exceed 60 seconds—overstimulation reduces power output.
Shin Splint Prevention: Extreme caution required. Use flat head at speed 1 on the back of your calf only. Never press on the shin bone itself. Roll soleus for 60 seconds to reduce tension pulling on the tibia. Pair with toe raises to strengthen anterior muscles.
5 Costly Calves Mistakes That Backfire
Mistake 1: Ignoring the “stop sign” pain. Nerve pain feels sharp, electric, or radiating—distinct from deep muscle pressure. Continuing causes numbness that lasts days. Fix: If pain isn’t a “good hurt,” pause for 2 minutes before retrying at lower speed.
Mistake 2: Overworking the gastrocnemius. Spending 3+ minutes on the calf bulge inflames tissue. Fix: Cap sessions at 2 minutes per muscle group. Set a timer.
Mistake 3: Using high speed on soleus. This deep muscle responds poorly to aggressive settings. Fix: Soleus work always starts at speed 1—never exceed speed 3.
Mistake 4: Skipping post-massage hydration. Percussion releases metabolic waste into your bloodstream. Fix: Chug 16oz water within 10 minutes to flush toxins.
Mistake 5: Massaging before stretching. Applying pressure to a shortened muscle reinjures fibers. Fix: Stretch calves after your session—hold each stretch 30+ seconds.
Pair your massage gun work with daily calf raises and foam rolling the hamstrings. This combination prevents 90% of calf tightness by balancing lower-leg forces. Remember: consistency beats intensity. Use this protocol 2-3 times weekly for resilient, pain-free calves that power your strongest performances. Your legs will thank you after every run, lift, or sprint.


