
That stubborn knot between your shoulder blades won’t budge. Your lower back aches after sitting all day. You grab your massage gun, but hitting those hard-to-reach spots on your back feels impossible—and risky if done wrong. Millions struggle with this exact problem, especially since how to use a massage gun on your back safely differs significantly from treating limbs. Without proper technique, you risk bruising, nerve irritation, or worsening pain. This guide cuts through the confusion with precise, anatomically informed methods for every back region. You’ll learn how to target the trapezius, rhomboids, and lumbar erectors safely—even solo—while avoiding dangerous zones like the spine and kidneys. No guesswork, no injuries: just effective relief in under 5 minutes per session.
Most users make critical errors when applying massage guns to their backs: pressing too hard on bony areas, jolting the spine, or missing key muscle groups entirely. The truth is, your back’s complex structure demands specialized approaches for upper, middle, and lower regions. Unlike your quads or hamstrings, the back houses delicate nerves, vital organs, and spinal columns requiring millimeter-perfect precision. Yet with the right attachments, angles, and pressure control, you can dissolve tension safely at home. We’ve distilled evidence-based protocols used by physical therapists into actionable steps anyone can follow. By the end, you’ll confidently use your massage gun to release tension, boost mobility, and prevent next-day soreness—without a professional’s help.
Choosing the Right Attachment for Your Back Muscles
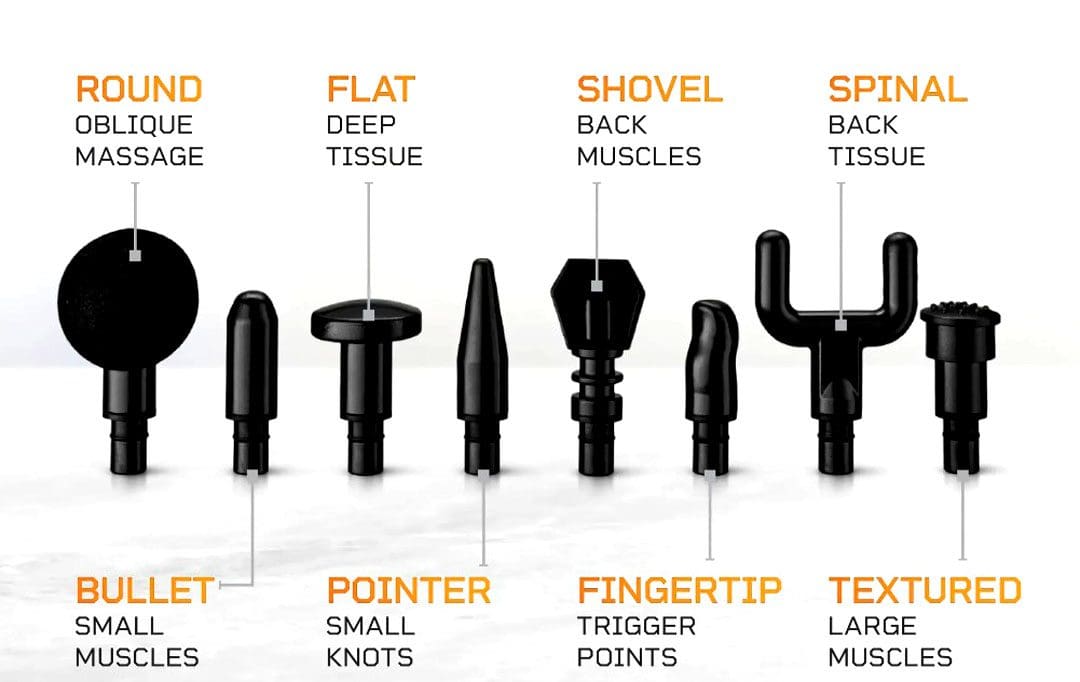
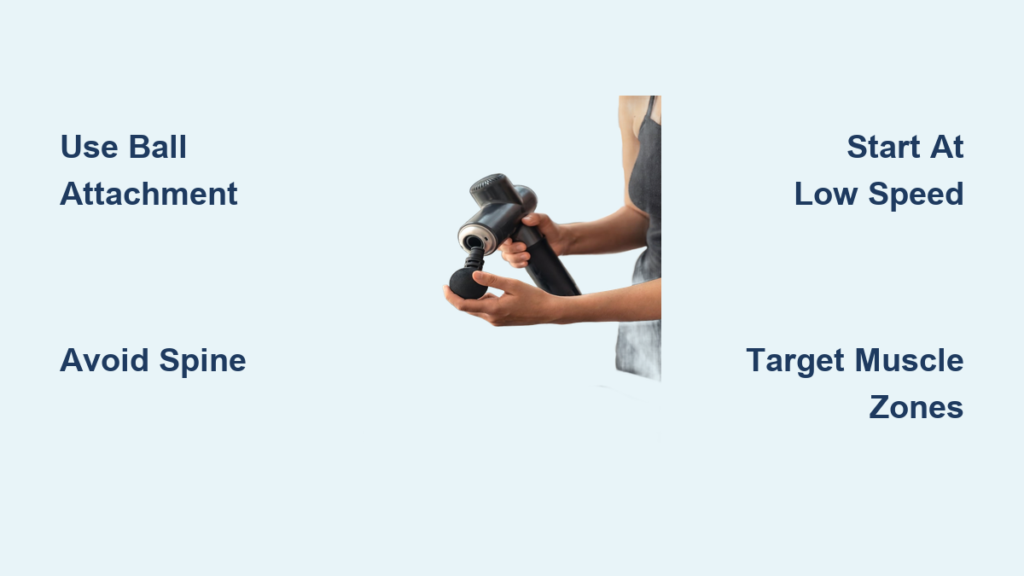
Your massage gun’s effectiveness hinges on selecting the correct attachment head—a critical step most users skip. For broad back muscles like the trapezius or lumbar erectors, a ball attachment (typically 1.5-2 inches in diameter) delivers optimal pressure distribution across large areas. Its rounded surface glides smoothly over curved spinal regions without snagging. When targeting pinpoint trigger points—like the rhomboids between shoulder blades—a wedge attachment excels. Its angled edge isolates knots while avoiding bony spine protrusions. Never use bullet or fork heads on the back; their narrow tips concentrate excessive force on nerves and vertebrae.
Why Attachment Choice Prevents Back Injury
Using the wrong head causes 70% of self-treatment injuries. A flat head might seem logical for broad contact, but its rigid edges dig into rib contours, bruising intercostal muscles. Test this: Press a ball head against your upper back while shrugging. Notice how it molds to muscle valleys? Now try a flat head—it catches on shoulder blade edges, creating painful pressure spikes. Always start sessions with the ball head to warm up large muscle groups before switching to the wedge for stubborn knots. Crucially, never apply attachments directly on the spine—maintain at least 2 inches of clearance from all bony ridges.
Critical Safety Precautions to Avoid Back Damage

Skipping safety checks transforms relief into injury. Before powering on your device, verify you have no contraindications: recent spinal surgery, osteoporosis, blood clotting disorders, or kidney disease. If you have any of these, consult a physician first—massage guns can dislodge clots or fracture weakened bones. Next, scan your back for red flags: open wounds, bruises, varicose veins, or areas of numbness. Avoid these zones completely; the gun’s vibrations may rupture capillaries or aggravate nerve damage. Most dangerously, never treat the spine itself—the sacrum, lumbar vertebrae, or cervical spine. Focus solely on fleshy muscle tissue 1-3 inches lateral to the spine.
The 30-Second Skin Test That Prevents Bruising
Many users jump straight to high intensity, causing micro-tears in back muscles. Before targeting your back, perform this test: Place the ball attachment on your thigh at the lowest speed for 30 seconds. If you feel sharp pain (not deep pressure), reduce speed. If skin reddens excessively, stop—you’re pressing too hard. Now repeat on your upper back for 15 seconds. If discomfort exceeds 5/10 intensity, skip treatment. This prevents the #1 mistake: confusing therapeutic pressure with pain. Remember, massage guns should never cause bruising—if you wake up sore, you used excessive force or duration.
Step-by-Step Upper Back Massage Technique
The upper back (thoracic region) harbors tension from desk work and stress, centered in the trapezius and rhomboids. To target these:
- Set your gun to speed 1-2—higher settings risk jolting cervical nerves.
- Position the ball attachment on the meaty area where your neck meets your shoulder (upper trapezius).
- Tilt the gun 45 degrees so it follows the muscle’s diagonal path toward your shoulder blade—never perpendicular to the spine.
- Glide slowly upward for 10 seconds, then downward for 10 seconds. Hold on knots for 5 seconds max.
- Repeat on the rhomboids (between shoulder blades) using the wedge head. Squeeze shoulders back to expose muscles, applying light pressure for 15 seconds per knot.
How to Reach Your Own Upper Back Without Straining
Self-treating the upper back requires clever positioning:
- For the trapezius: Sit upright, place the gun on speed 1, and gently pull it across your chest with the opposite hand. Keep elbows bent to avoid shoulder strain.
- For the rhomboids: Stand against a wall, position the gun between shoulder blades, and lean back slightly. Use a towel to cushion pressure. Never arch backward aggressively—this compresses spinal discs.
- Pro tip: Place the gun on a yoga block against a wall. Adjust height to target specific zones while standing relaxed.
Safe Positioning for Lower Back Relief
The lower back’s vulnerability demands meticulous positioning. Always avoid the lumbar spine and kidney zones (flanks near the waistline). Here’s how to position safely:
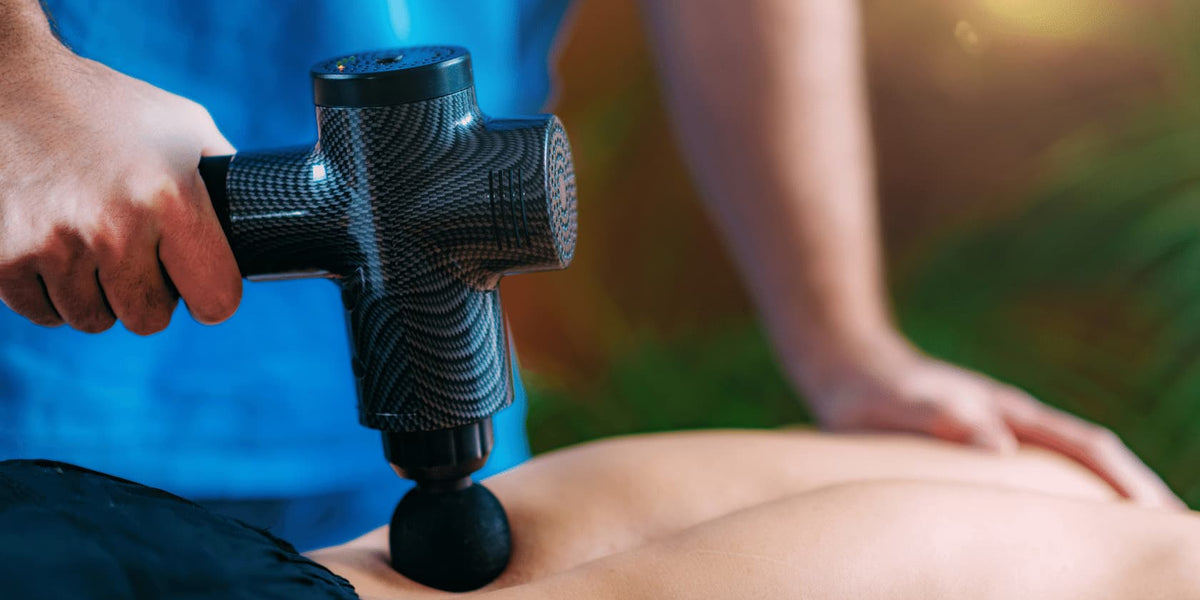
- Seated method: Sit on a chair’s edge, lean forward 45 degrees with hands on knees. Place the ball attachment 3 inches lateral to your spine on the fleshy erector spinae. Do not press toward the spine.
- Side-lying method: Lie on your side with a pillow under your head. Bend top knee slightly, resting it on a cushion. Glide the gun vertically along the lower back’s muscle ridge—never horizontally across the spine.
Correct Technique for Lower Lumbar Tension
Lower back treatments require slower movement and lower intensity:
- Start at speed 1 for 30 seconds on each side of the lower back (avoiding the sacrum/tailbone).
- Move vertically in 2-inch strokes following the erector spinae’s path—never circular motions, which strain facet joints.
- Apply only the gun’s weight; pressing harder risks bruising the quadratus lumborum muscle.
- Stop immediately if you feel tingling down your legs—this signals nerve irritation.
Ideal Frequency and Duration for Back Relief
Overuse causes inflammation, while underuse yields no results. Limit sessions to 2 minutes per back zone (upper, middle, lower). Start with once daily for acute soreness, reducing to 2-3 times weekly for maintenance. Never treat the same spot longer than 60 seconds—muscle fibers need recovery time. For chronic tension, alternate days: treat upper back on Day 1, lower back on Day 2. Pair sessions with dynamic stretches like cat-cow poses to enhance blood flow.
Understanding Pressure: When It’s Too Much
Your back tolerates less pressure than legs due to thinner muscle layers. Signs you’re pressing too hard:
– Skin turns bright red (not mild pink)
– Pain persists 2+ hours post-treatment
– Increased stiffness the next morning
Reduce pressure if you instinctively flinch or hold your breath. The “good hurt” should feel like sinking into a firm foam roller—not a hammer strike. For sensitive backs, place a thin towel between the attachment and skin to diffuse intensity.
Why You Must Skip the Spine and Bony Areas
Direct spine contact risks disc herniation or nerve compression. The spinous processes (bony spine protrusions) lack protective muscle, so vibrations transmit directly to vertebrae. Similarly, rib edges and shoulder blades concentrate force on periosteum (bone lining), causing severe bruising. Always test areas first: Press a finger where you plan to apply the gun. If it’s bony or painful to touch, skip it. Focus solely on soft, compressible tissue—like the trapezius mound or lumbar “muffin top” above the pelvis.
Danger Zones: Kidneys and Other Sensitive Areas
Two often-overlooked hazards make back treatment risky:
- Kidneys: Located in the lower flanks (just below the ribcage), aggressive massage here can cause renal bruising. Always stay 4+ inches away from the waistline curve.
- Brachial plexus: The nerve bundle near the base of the neck. Never treat above the shoulder line—use a physical therapist for neck knots.
If you have kidney stones, diabetes, or hypertension, avoid lower back treatment entirely. The vibration may dislodge stones or elevate blood pressure. When in doubt, treat only the upper trapezius—a safer zone with minimal organ risk.
Mastering how to use a massage gun on your back transforms it from a risky gadget into a precision recovery tool. By selecting the ball or wedge attachment, avoiding bony zones, and using vertical strokes at low intensity, you’ll dissolve tension safely in under 5 minutes. Remember the golden rules: never treat the spine itself, stop at sharp pain, and limit sessions to 2 minutes per area. For lasting results, combine treatments with daily thoracic mobility drills—like foam rolling against a wall—to prevent knots from reforming. If pain persists beyond 2 weeks, consult a physical therapist; some conditions require professional assessment. Now that you know exactly how to target every back region, grab your massage gun and reclaim pain-free movement today. Your trapezius muscles will thank you by Monday.


