
Your Cryotex massage gun sits dead on the counter when you need it most—after a tough workout, muscles screaming for relief. That frustrating “cryotex massage gun not charging” scenario turns recovery equipment into expensive paperweights within hours. When the LED stays dark despite repeated plug-in attempts, the root cause could be anything from pocket lint jamming the port to a tripped battery safety circuit. This guide cuts through the confusion with battle-tested diagnostics you can perform immediately, covering 95% of charging failures without professional help. You’ll learn to pinpoint whether the villain is a $5 cable, a corroded port, or deeper battery issues—and exactly how to revive your device using methods verified by repair technicians.
Decode Your Cryotex Massage Gun’s Charging Failure Symptoms

Your device communicates its problems through specific behaviors. Recognizing these signs prevents wasted effort on irrelevant fixes and directs you straight to the solution.
No Response or Power When Plugged In
Complete silence—no LED glow, vibration, or sound—means power isn’t reaching the battery. This typically indicates a broken connection between the charger and battery pack. Common culprits include a physically damaged USB-C port (often from repeated forceful insertions), a completely dead battery that’s triggered permanent over-discharge protection, or a severed internal cable. If you recently stored the device fully drained for months, the battery management system (BMS) may have locked the battery in “sleep mode” as a safety measure.
Intermittent Charging or Rapid Power Drain
When your Cryotex massage gun starts charging then suddenly stops, or dies within minutes of use, focus on battery health and connection stability. A battery cell that can’t hold charge often causes this—especially if runtime has steadily decreased over weeks. Alternatively, a partially obstructed charging port might make sporadic contact as you wiggle the cable. Check for inconsistent LED behavior: a light that flickers between red and green during charging often signals communication breakdown between the battery and BMS.
Overheating During Charging Attempts
A dangerously hot battery pack or charging port during plug-in attempts demands immediate attention. This indicates electrical resistance where there shouldn’t be—like corroded port contacts forcing current through narrow pathways, or failing battery cells with internal short circuits. Critical warning: If the gun feels too hot to touch within 2 minutes of charging, unplug it immediately. Continuing could trigger thermal runaway, especially with damaged lithium-ion cells.
Essential Tools for Accurate Cryotex Charging Diagnostics

Skip unnecessary disassembly by verifying issues with these accessible tools first. Most require no technical expertise:
- USB power meter (under $10): Measures actual voltage/current from your charger. A healthy setup shows 5V ±0.25V and 0.5A-2A current flow.
- 99% isopropyl alcohol and cotton swabs: For cleaning corrosion without damaging contacts.
- Plastic dental pick or spudger: Safely dislodges port debris without scratching metal contacts.
- Multimeter (set to DC voltage mode): Checks battery voltage directly—critical for diagnosing “deep sleep” batteries.
For advanced checks, add a thermal camera (to spot overheating components) and ESD-safe workstation (to prevent static damage during repairs). Never skip the USB power meter—it instantly reveals if your charger delivers faulty power.
Step-by-Step Cryotex Massage Gun Charging Repair Protocol
Follow this sequence to avoid unnecessary disassembly. 80% of “cryotex massage gun not charging” cases resolve in Step 1.
Step 1: Eliminate External Charging Failures (5-Minute Fix)
Start with zero-cost solutions before opening the device. Most failures stem from these three issues:
-
Verify your charger meets specifications
Plug your USB-C cable into a different power source (like a laptop) and check output with a USB power meter. Cryotex requires 5V ±5% (4.75V-5.25V). Chargers below 4.75V won’t activate the charging circuit. If voltage fluctuates or stays below 4.5V, replace the charger—cheap wall adapters often fail silently. -
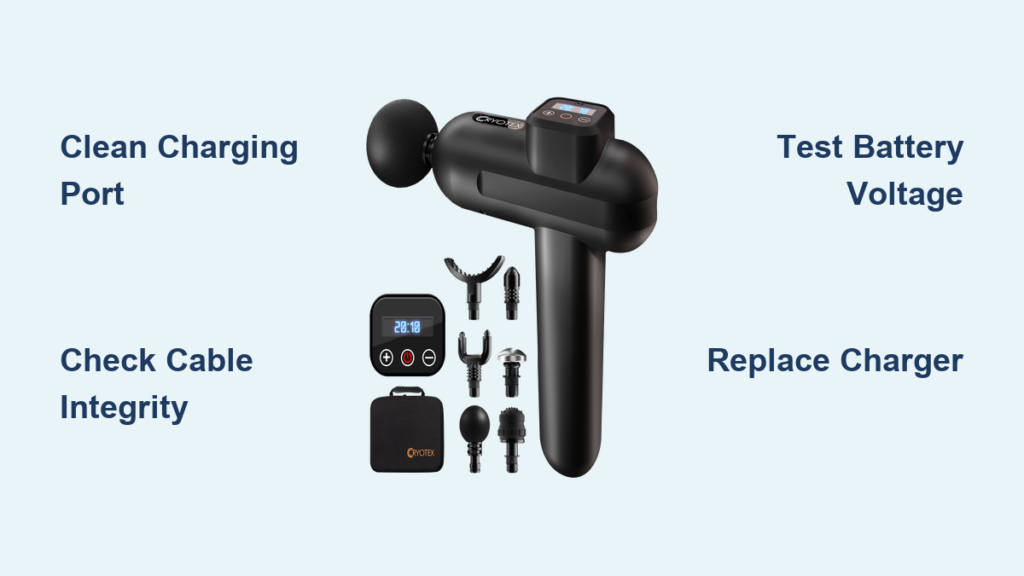
Clean the charging port professionally
Shine a flashlight into the port. Pocket lint appears as dark fibers; corrosion looks like green/white crust. Do NOT use metal tools—they scratch contacts. Instead:
– Power off the device
– Gently wipe contacts with alcohol-dipped swab
– Blow compressed air at 30-degree angle (never straight in)
– Insert plastic pick to dislodge packed debris sideways
Pro tip: Test charging after each wipe. If it powers up, apply a drop of liquid electrical tape to prevent future corrosion. -
Check cable integrity
USB-C cables fail internally while looking intact. Swap with a known-good cable rated for 3A+ data transfer (not just charging). If the LED flickers when bending the cable near the connector, replace it immediately.
Step 2: Diagnose Battery and Port Health (No Disassembly)
If Step 1 fails, test internal components without opening the casing:
- Measure battery voltage safely
Set multimeter to DC 20V mode. Locate the battery terminals (usually under rubber foot pads):
– Touch red probe to positive (+) terminal, black to negative (-)
– Healthy reading: 12.6V-16.8V (for 3-4 cell packs)
– Deep sleep trigger: Below 9V (3V per cell)
– Critical failure: 0V or swollen battery
If voltage is below 9V, the BMS has shut down charging for safety. Attempt a “jump start”: Connect a healthy 12V battery (like a power bank) to the terminals for 10 seconds. Stop immediately if heat develops.
- Test port conductivity
With device off, set multimeter to continuity mode. Insert probes into USB-C port pins:
– Good connection: Steady beep when probes touch metal
– Damaged port: Intermittent beep or no sound
Wiggling the cable while testing reveals loose solder joints—a common failure point requiring re-soldering.
Step 3: Targeted Internal Repairs (When Required)
Warning: Opening voids warranty. Only proceed if comfortable with electronics.
-
Replace a damaged USB-C port
After disconnecting the battery:
– Heat port contacts to 320°C with hot air station
– Lift port with spudger while heating
– Clean pads with alcohol, apply flux
– Solder new port (hold <3 seconds per pin to avoid melting housing)
Critical: Verify no solder bridges between pins with magnifier before reassembly. -
Revive a tripped battery management system
If voltage reads 0V but battery isn’t swollen:
– Disconnect battery from mainboard
– Check BMS protection IC (DW01A chip) for continuity
– If MOSFETs test open, bypass protection temporarily by connecting battery directly to output wires for 5 seconds only
– Reconnect properly if device powers on—this resets the BMS lockout
Never attempt this with swollen/damaged batteries—they require professional disposal.
Critical Safety Protocols for Cryotex Repairs
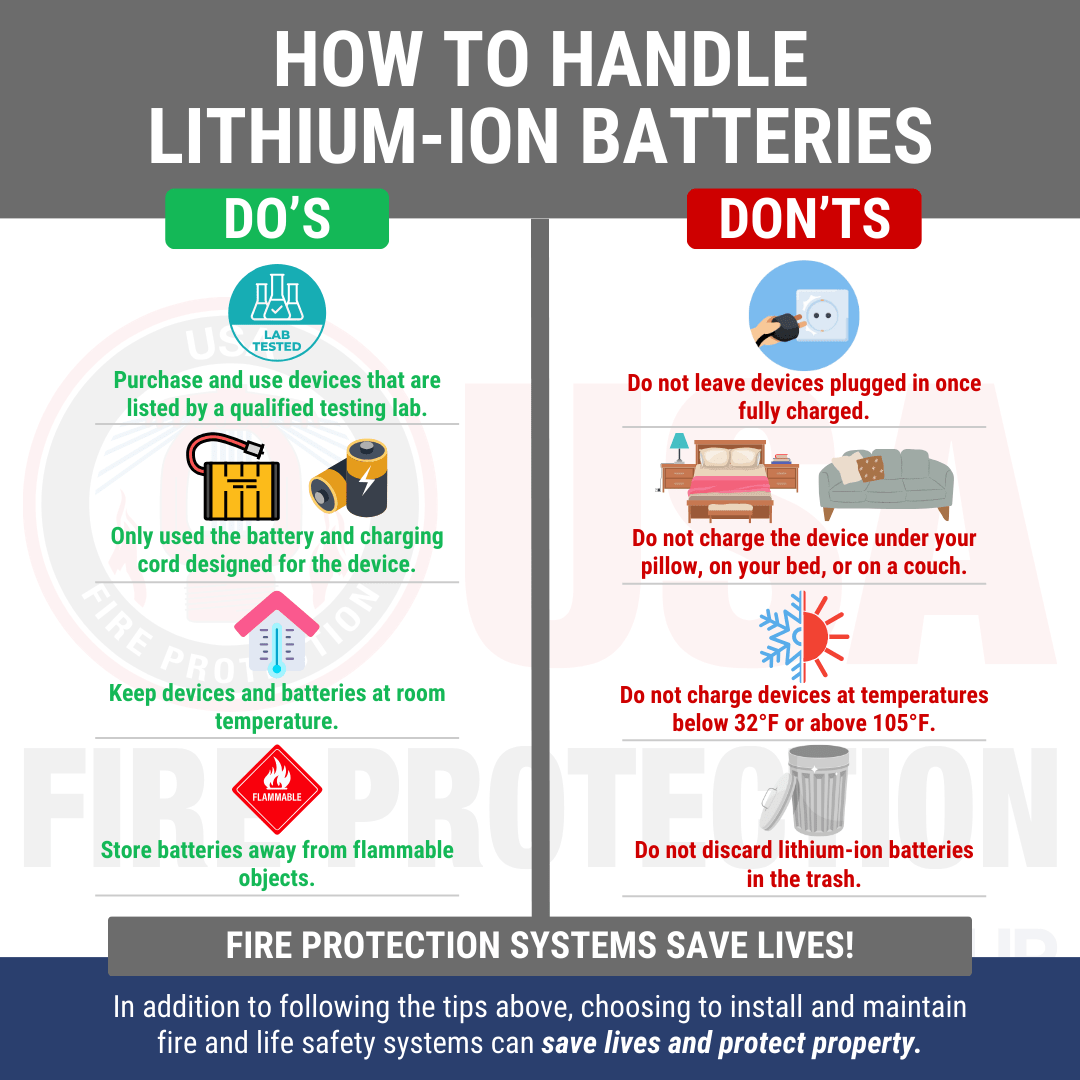
Lithium-ion battery repairs carry fire risks. These non-negotiable rules prevent disasters:
-
Swollen batteries = immediate retirement
A puffed battery casing indicates gas buildup from internal failure. Place it in a fireproof container (like a metal bucket with sand) and take to an e-waste facility—do not charge or puncture it. -
Always disconnect the battery first
Before touching any internal components, unplug the 2-3 pin battery connector. Verify 0V across terminals with multimeter. -
Use ESD protection during repairs
Wear a grounded wrist strap on bare skin. Work on an anti-static mat—static discharge can permanently fry the BMS. -
Test repaired units in fire-safe zones
Place the gun in a metal container on non-flammable surface during first charge. Monitor with thermal camera if possible.
Prevention Strategies to Avoid Future Charging Failures
Extend your Cryotex massage gun’s lifespan with these technician-recommended habits:
- Monthly port maintenance: Wipe contacts with alcohol swab after workouts to remove sweat residue
- Optimal storage: Store at 50% charge in cool, dry places (never >86°F/30°C)
- Charging discipline: Unplug at 100%—continuous trickle charging degrades batteries
- Cable care: Avoid sharp bends near connectors; replace cables showing fraying
If your device still won’t charge after these steps, the charging IC (like TP4056 chip) likely failed—a micro-soldering job requiring professional repair. But remember: 9 out of 10 “cryotex massage gun not charging” cases stem from dirty ports, faulty cables, or deep-sleep batteries you can fix in under 15 minutes. Keep this guide handy, and never let a dead massage gun derail your recovery again.


