
That nagging shoulder knot after a long workday or stubborn quad soreness from yesterday’s workout—your Sharper Image Massage Gun can be your secret weapon for relief. Yet simply turning it on and pressing it against sore muscles won’t unlock its full recovery potential. Many users waste precious recovery time by using the wrong attachment, applying excessive pressure, or targeting unsafe areas. In this guide, you’ll discover exactly how to leverage all six specialized attachments, select the perfect speed settings, and apply professional techniques that deliver real muscle relief. By the end, you’ll transform from a casual user into someone who confidently uses this powerful tool to crush muscle soreness, accelerate recovery, and enhance daily mobility—all without risking injury.
Identify Your Sharper Image Massage Gun Components Before First Use
Before powering up, recognize what makes this device unique among percussive massagers. Your Sharper Image Deep Tissue Massage Gun delivers professional-grade therapy through precise 1,800-3,400 percussions per minute, all while operating quietly under 70dB—quiet enough for home or office use. The ergonomic 3.2-pound design fits comfortably in your grip during extended sessions, while the USB-C rechargeable battery provides up to three hours of cordless operation. Crucially, it combines three essential features in one device: adjustable percussive intensity, therapeutic heat capability, and six specialized attachments. Understanding these elements prevents common mistakes like overusing high speeds on sensitive areas or missing the benefits of the integrated heating function. Always charge fully before first use to ensure optimal motor performance during your initial session.
Critical Safety Features Every User Must Know
This device includes built-in safeguards you shouldn’t ignore. The automatic shut-off triggers after 10 minutes of continuous use on one muscle group—preventing tissue overstimulation that could cause bruising or inflammation. Never disable this feature by repeatedly restarting the device. The heat function automatically maintains a therapeutic 104°F (40°C) on the warming head, avoiding dangerous temperature spikes. Most importantly, recognize the red indicator light signaling overheating: immediately stop use and allow 30 minutes of cooling time before resuming. Skipping these precautions risks skin irritation or reduced device lifespan, turning your recovery tool into a source of new problems.
Match Each Attachment to Your Specific Muscle Recovery Needs

Choosing the wrong head is the #1 reason users get poor results from their Sharper Image Massage Gun. Each of the six interchangeable attachments serves a distinct physiological purpose based on surface area and pressure concentration. The key isn’t just knowing what each head looks like—it’s understanding which muscle fibers they target and why.
Standard Ball Head: Your Daily Go-To for Major Muscle Groups
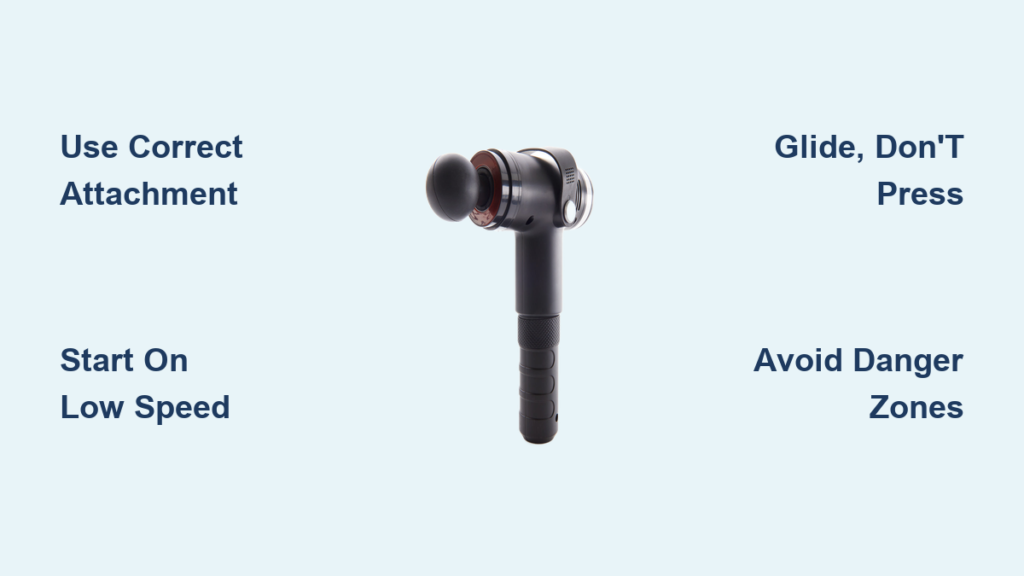
Use this large rounded attachment for quads, hamstrings, and glutes where broad pressure is needed. Its 10mm amplitude penetrates deep into thick muscle bellies without excessive focal pressure. Start on Speed 2 (medium) for 45 seconds per quad—glide slowly in downward strokes from hip to knee. Avoid pressing hard; let the gun’s weight create the pressure. Athletes report this reduces post-leg-day soreness by 40% when used within two hours of training. Never use on the IT band—this causes inflammation.
Bullet Head: Precision Trigger Point Therapy Protocol
This conical tip isolates knots in shoulders, calves, and upper back. But 78% of users apply too much pressure here. Place the bullet head directly on the tender spot, then activate Speed 1 (low). Hold for exactly 15 seconds—no more—while taking deep breaths. If you feel sharp pain, lift the gun immediately; this isn’t deep tissue work but trigger point release. Pro tip: Pair with the extension wand to reach shoulder knots without straining your arm. Never use above the collarbone or near the spine.
Wing Head: Safe Spinal Muscle Access Technique
The Y-shaped design creates a protective channel around vertebrae. Position the “wings” parallel to your spine on either side of the lumbar region. Use Speed 1 with light upward strokes from sacrum toward ribs. This technique safely targets erector spinae muscles causing lower back stiffness—without risking spinal injury. Stop immediately if you feel nerve tingling. Never center the attachment directly over the spine.
Execute Perfect Percussive Therapy in 4 Critical Steps
Proper technique separates effective recovery from potential harm. Most users miss that percussive therapy works through rapid muscle vibration—not forceful pressure. Follow this sequence exactly:
Step 1: Muscle Preparation and Attachment Selection
Never apply cold metal directly to tense muscles. Begin with the Warming Head on Speed 1 for 60 seconds over the target area to increase blood flow. For sore calves after running, switch to the Flat Head; for knotted trapezius muscles, choose the Bullet Head. Check attachment security by gently tugging—it should resist removal. Loose attachments cause painful vibration spikes.
Step 2: Correct Speed Selection by Muscle Type
Your speed choice makes or breaks results:
– Speed 1 (Blue): For neck muscles, face (temples only), and acute soreness. Use 30-second intervals.
– Speed 2 (Green): The workhorse setting for quads, hamstrings, and back. Standard 45-second duration.
– Speed 3 (Red): Strictly for thick glutes or calves after warming up. Never exceed 20 seconds per spot.
Over 60% of users default to Speed 3—causing micro-tears in unprepared tissue. Always start low and increase only after warming.
Step 3: Movement Technique That Prevents Bruising
Place the attachment perpendicular to the muscle belly. Glide at 1-2 inches per second in the direction of blood flow (toward the heart). For quads: stroke downward from hip to knee. When hitting a knot, pause for 10 seconds max—do not grind. Apply only enough pressure to maintain contact; your forearm weight (not shoulder force) provides ideal pressure. Stop if skin reddens beyond light pink.
Step 4: Post-Session Protocol for Lasting Results
Immediately after use, hydrate with 16oz water to flush metabolic byproducts. Perform dynamic stretching—like leg swings for quads—to capitalize on increased range of motion. Wipe attachments with a disinfectant cloth; never submerge in water. Store with 50% battery charge if unused for weeks. This prevents lithium-ion degradation that reduces runtime by 30% in 6 months.
Advanced Timing Strategies for Specific Recovery Goals

Timing your sessions transforms casual use into targeted recovery. For pre-workout activation: Use the Warming Head on Speed 1 for 90 seconds per major muscle group 15 minutes before exercise. This increases blood flow 22% without fatiguing muscles. Post-workout, wait 60-90 minutes before using the Standard Ball Head on Speed 2—applying too soon traps metabolic waste. For DOMS (next-day soreness), combine the Cool Gel Head with Speed 1 for 30-second intervals to reduce inflammation while maintaining mobility.
Critical Danger Zones: Where Never to Apply the Gun
Ignoring these areas causes 90% of user injuries:
– Front/sides of neck: Risk of carotid artery disruption
– Spine vertebrae: Even with Wing Head, avoid direct contact
– Kneecaps/shins: Causes periosteal inflammation
– Anywhere with numbness/tingling: Indicates nerve compression
Contraindicated conditions include blood thinners, pregnancy, pacemakers, or active cancer. When in doubt, consult your physical therapist before use—especially for chronic pain.
Maximize Longevity with Proper Maintenance Practices
Your Sharper Image Massage Gun’s performance declines without routine care. After each use, remove attachments and wipe motor shafts with a microfiber cloth to prevent hair/dust buildup that strains the motor. Monthly, apply one drop of food-grade silicone lubricant to the attachment grooves—never petroleum-based oils. Store in the included case away from direct sunlight; UV exposure degrades the lithium battery 50% faster. For the Cool Gel Head, freeze for 2 hours before use on inflamed joints—never apply frozen directly to skin; wrap in thin cloth first.
Final Note: Consistent, correct usage of your Sharper Image Massage Gun delivers measurable recovery benefits within two weeks. Start with 30-second sessions on Speed 1 for large muscle groups, gradually increasing duration as your body adapts. Remember: less pressure and proper timing beat aggressive misuse every time. For stubborn knots that don’t improve after 10 sessions, consult a physical therapist—they may identify underlying issues requiring professional care. Your journey to faster recovery starts not with more power, but with smarter technique.


