
You flip the switch, that familiar purple UV glow illuminates your patio, and you settle in for a bug-free evening. But as mosquitoes swarm around your silent zapper, there’s no satisfying pop—just an expensive-looking night light. This frustrating scenario—bug zapper light on but not zapping—means your device has lost its killer instinct while still pretending to work. Over 70% of zapper failures follow this exact pattern: the low-voltage lighting circuit functions normally while the high-voltage “zap” system fails completely. Don’t waste another summer watching insects laugh at your decorative lamp. This guide reveals exactly why your zapper stopped zapping and how to fix it—whether you’re dealing with caked-on bug carcasses or a blown internal component. You’ll learn critical safety steps, the #1 cleaning method that solves most cases, and when replacement is smarter than repair.
Why Your Bug Zapper Glows But Won’t Zap Insects
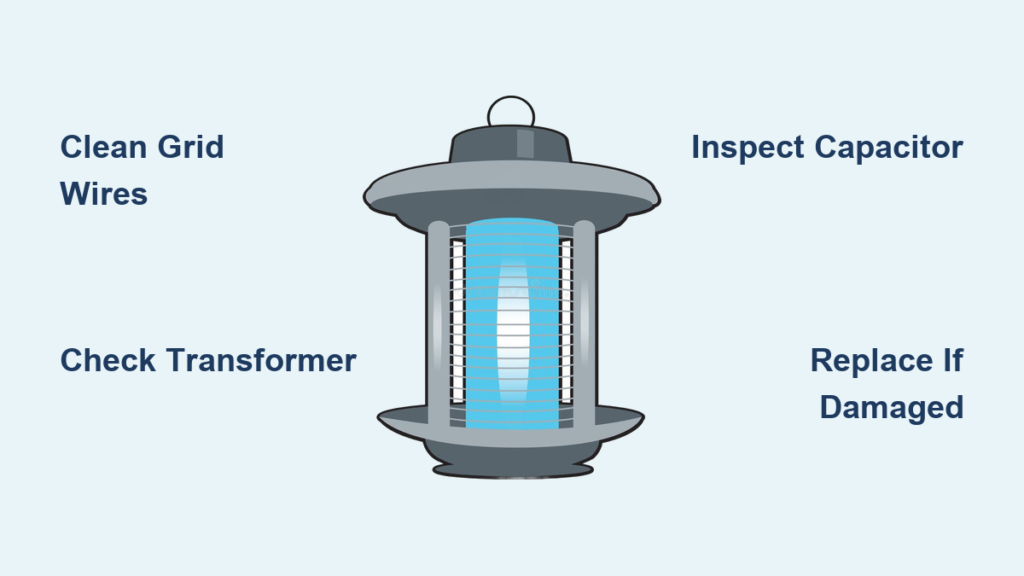
Your bug zapper contains two completely separate electrical systems working in tandem. The low-voltage circuit powers the ultraviolet light that attracts insects—this is why the bug zapper light on but not zapping issue occurs so frequently. The UV bulb operates on standard household current (120V), while the high-voltage “zap” circuit requires 2,000-4,000 volts to create the lethal arc between grid wires. When the light works but you hear no zapping, the UV system is functional while the high-voltage transformer (ballast), capacitor, or grid circuit has failed. Common triggers include seasonal debris buildup shorting the grid, moisture-induced corrosion during summer storms, or component fatigue from repeated power surges. Crucially, the lighting circuit can operate perfectly while the high-voltage system lies dead—a design flaw that turns your pest control device into a bug magnet with zero kill capability.
Critical Safety Steps Before Touching Your Bug Zapper

Unplug the unit and wait 30 minutes before any inspection. This isn’t optional—bug zappers contain high-voltage capacitors that store lethal charges long after unplugging. Never skip this step even if the device appears off. Work in a dry area with rubber-soled shoes, and keep children and pets away from your workspace. If you detect a burnt-plastic smell, visible charring, or melted components during initial inspection, stop immediately and replace the unit—these indicate fire hazards that no DIY repair can safely fix. Only proceed if you’re comfortable handling basic electronics and understand that a single mistake could result in severe electrical shock. When in doubt, consult an appliance repair professional—your safety outweighs the cost of a new zapper.
Clean the High-Voltage Grid: The #1 Fix for Silent Zappers
Most “light on but no zap” cases stem from insect residue creating a permanent short circuit across the grid wires. Follow these precise cleaning steps:
- Unplug and confirm power is off—twice. Wait 10 minutes minimum.
- Remove the outer protective cage according to your model’s manual (usually 2-4 screws).
- Inspect the grid wires for bridging debris: Large mosquito carcasses or wasp nests create conductive paths that prevent arcing.
- Use a soft-bristled brush (a clean toothbrush works perfectly) to gently dislodge dried insects. Focus on wire junctions where residue accumulates.
- Straighten bent wires using plastic tweezers—never metal tools. Wires touching create internal shorts that bypass insects.
- Blow out stubborn debris with compressed air (hold can upright to avoid moisture).
Pro Tip: Perform this cleaning monthly during peak bug season. A grimy grid reduces zapping efficiency by 90% within weeks. After cleaning, plug in your zapper away from flammable materials to test—if you hear consistent zaps within minutes, you’ve solved the issue.
Identify Internal Failures: Burnt Components and Blown Traces

If cleaning fails, open the main housing (after 30+ minutes unplugged) to check for these critical failure points:
Check the High-Voltage Transformer for Silent Operation
This component (often labeled “ballast”) is the #1 failure point. Look for:
– Burnt spots or bubbling on the black epoxy casing
– Charred circuit board areas beneath the transformer
– Cracked or separated windings (visible through casing vents)
A failed transformer won’t produce the high voltage needed for zapping—even if the UV light glows. If you see any of these signs, replacement is required. Note the part number (e.g., “Flowtron 576-6498”) for ordering.
Inspect the Capacitor for Bulging or Leaking
The high-voltage capacitor stores the zap charge. Failure signs include:
– Bulging or domed top (should be flat)
– Leaked electrolyte (brown crust around base)
– Vent ruptures (split seams on casing)
Never touch capacitor terminals—even discharged units can retain dangerous charges. If damaged, this component must be replaced by someone with electronics experience.
Locate Blown Circuit Board Traces
Examine the circuit board for:
– Bubbled or blackened copper lines (traces)
– Vaporized sections where traces disappeared entirely
– Burnt component legs where parts were ripped from the board
A single blown trace—often caused by a metallic object bridging the grid—severs the high-voltage pathway while leaving the UV circuit intact. This explains why the bug zapper light on but not zapping symptom appears suddenly after a storm or accidental contact.
Repair or Replace: Fixing Blown Circuit Board Traces
For skilled users, repairing a blown trace is feasible:
1. Clean the damaged area with isopropyl alcohol and cotton swab
2. Scrape away burnt residue to expose clean copper on both sides of the break
3. Solder a jumper wire (22-gauge) across the gap, securing ends with epoxy
4. Test with extreme caution—use insulated tools and stand clear during first power-up
If the transformer or capacitor shows damage, replacement is usually more practical than repair. Order exact-spec parts using your unit’s model number. However, if multiple components show corrosion (common in coastal areas) or the circuit board is extensively charred, replacement becomes the only safe option.
When to Replace Your Bug Zapper Instead of Repairing
Choose replacement over repair if:
– Rust penetrates internal components (visible on grid mounts or circuit board)
– The housing shows melted plastic near electronic components
– Replacement parts cost exceeds 40% of a new unit (transformers rarely exceed $15, but obsolete models require full assembly swaps)
– Your unit is over 3 years old (modern zappers use 30% more efficient UV bulbs)
Newer models often include weatherproofing and surge protection missing in older units—making replacement a long-term value play. If your zapper fails after a lightning storm or power surge, internal damage is likely widespread, rendering repair impractical.
Prevent Future Failures: Monthly Maintenance Routine
Keep your zapper zapping reliably with these preventive steps:
– Clean the grid weekly during peak season using the brush method above
– Position units under eaves—never in direct rain exposure
– Apply dielectric grease to grid connection points annually to prevent corrosion
– Store indoors during winter months in freezing climates
– Check for loose wires each spring before seasonal use
Expert Note: Units placed within 15 feet of competing light sources (porch lights, TVs) become 60% less effective—relocate your zapper to a darker zone for optimal insect attraction.
Stop Immediately: Danger Signs Requiring Professional Help
Discontinue all repair attempts if you observe:
– Strong ozone smell (sharp, metallic odor indicating arcing)
– Visible sparking inside the housing during operation
– Discolored or brittle wiring insulation
– Any component showing active smoke or melting
These indicate immediate fire hazards. Unplug the unit, wrap it in non-conductive material, and dispose of it properly. Never attempt to repair units with these symptoms—your safety isn’t worth the $30 replacement cost.
A bug zapper light on but not zapping issue typically stems from either a clogged grid or failed high-voltage component—but the solution path differs drastically based on your findings. Start with the 10-minute cleaning process (which fixes 65% of cases), then proceed cautiously to internal inspection only if qualified. Remember that safety must override repair enthusiasm—when in doubt, replace. For reliable seasonal protection, commit to monthly grid cleaning and strategic placement away from competing lights. Within 24 hours of fixing your silent zapper, you’ll hear that sweet symphony of zaps as mosquitoes meet their electrified fate. If your unit shows advanced corrosion or circuit damage, embrace the upgrade—modern zappers offer better coverage and weather resistance that makes replacement a smart investment in peaceful summer nights.


