
That familiar ZAP is your bug zapper’s heartbeat—so when silence replaces the satisfying crackle, you know your backyard defense has failed. A bug zapper not working while its UV light glows is incredibly frustrating. Insects swarm freely, defeating the entire purpose of your device. The good news? Most “silent” zappers suffer from simple, fixable issues—not total failure. Before tossing it, this guide will help you diagnose and repair your unit in under 30 minutes. You’ll save money, extend your zapper’s life, and reclaim your insect-free evenings with basic tools and safety-first techniques.
Diagnose the Silence: Is Your Bug Zapper Truly Dead?

Don’t assume total failure if the UV light works. Many units attract bugs but fail to zap due to high-voltage circuit issues. Start with this critical test: Unplug the unit and wait 10 minutes for capacitors to discharge. Then, use a dry wooden chopstick (never metal!) to gently bring the tip within ¼ inch of the grid wires. Plug it in. If functional, you’ll see a bright blue spark and hear a sharp ZZZAP! No spark? The high-voltage circuit has failed. Never skip the discharge wait—residual voltage can deliver a painful shock even when unplugged.
The 3-Second Power Check Every Owner Must Do
Before opening the housing, eliminate simple power issues. For plug-in models, test the outlet with a lamp or phone charger. If that works, inspect the zapper’s cord for fraying and ensure it’s fully seated. With battery units, remove corroded batteries immediately—white/green crust on contacts blocks power. Clean contacts with cotton swabs dipped in isopropyl alcohol. Verify battery polarity matches the compartment diagram; reversed batteries cause instant failure. If the UV bulb won’t light, the problem is power-related, not the zapping circuit.
Why Your UV Light Glows But Zaps Fail
A working UV light confirms power reaches the unit but not the high-voltage grid. This “silent failure” points to four culprits: a dead oscillator transistor, failed capacitors in the voltage multiplier, a shorted grid, or damaged diodes. You might hear a faint high-pitched whine—the oscillator struggling to function. If absent, the transistor circuit has likely died. Critical note: Insect carcasses bridging grid wires create a short circuit, silently draining voltage. Always inspect the grid before disassembly.
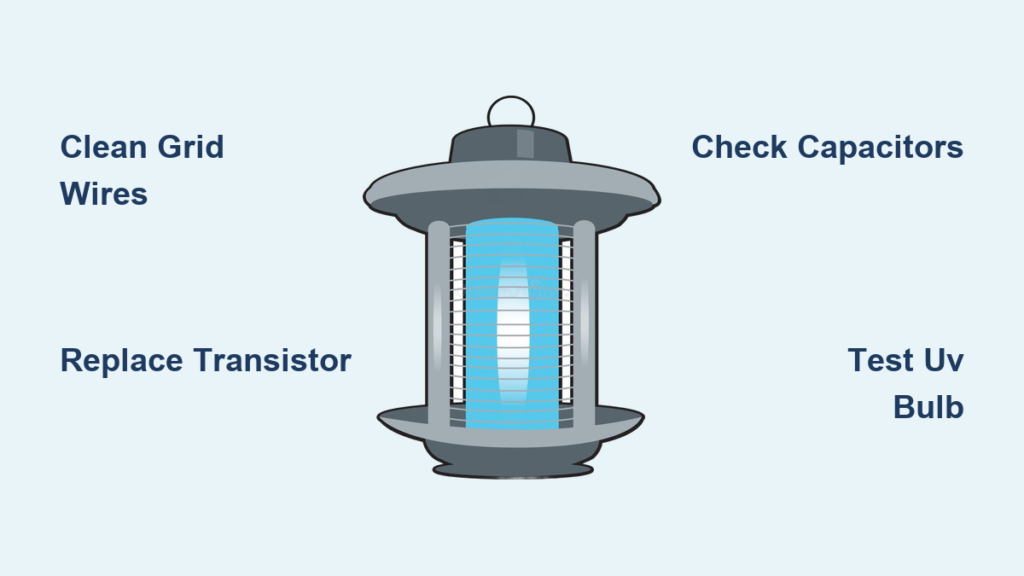
5 Common Reasons Your Bug Zapper Won’t Zap
Dead UV Bulb or Failed LED Attractor
A dark UV bulb doesn’t just reduce bug attraction—it makes your zapper seem broken. Replace bulbs matching the model number on your unit’s label (e.g., “F15T8/BL”). For LED units, check solder joints on the circuit board; loose connections are common. Pro tip: Shine a flashlight through the housing—if the bulb filament is broken, replace it immediately. Never operate without the UV component; it’s essential for drawing insects toward the grid.
Power Supply & Fuse Failures
Plug-in units often fail due to blown thermal fuses—a safety feature that cuts power during overheating. Locate the fuse (usually near the AC jack) and test continuity with a multimeter. Battery models frequently suffer from corroded contacts; soak them in vinegar for 5 minutes, then scrub with a toothbrush. Warning: If the fuse blows repeatedly, unplug immediately—this indicates a dangerous short circuit requiring professional repair.
Oscillator Transistor Burnout (The #1 Culprit)

This tiny component (often labeled 2SC2500 or 13001) drives the entire high-voltage circuit. When it fails, the UV light works but zapping stops. Identify it by its small black body with three legs, usually attached to a metal heatsink. Diagnose: Desolder one leg and test with a multimeter in diode mode. A reading below 0.3V or over 0.8V means replacement is needed. These transistors cost $0.50 online—always buy 2-3 spares.
Dirty or Shorted Grid Wires
Accumulated bug guts create conductive bridges between grid wires, preventing voltage buildup. Visual cue: Look for blackened residue or visible insect fragments connecting wires. Fix: Unplug, discharge capacitors, then clean with a toothbrush dipped in 90% isopropyl alcohol. Focus on wire intersections—this solves 30% of “silent” zappers. Never use water; moisture causes corrosion.
Voltage Multiplier Collapse

This ladder-like circuit (diodes + capacitors) boosts voltage to 2,000+ volts. A single failed capacitor—often bulging or leaking brown goo—kills the zap. Locate the multiplier near the grid (typically yellow cylindrical components). Test: With power off, check capacitors for dome-shaped tops (indicating failure). Replace with identical specs—never downgrade voltage ratings.
Step-by-Step Repair Guide for Silent Zappers
Safety Protocol: Avoiding Shock Hazards
Discharge capacitors FIRST: Clip an insulated-handle screwdriver across the main capacitor’s terminals (marked + and – on the board). You’ll hear a pop—this is normal. Repeat 3 times. Never work alone: Have someone nearby in case of shock. Wear rubber-soled shoes and use tools with insulated grips. Critical rule: Keep one hand behind your back while testing live circuits to prevent current across your heart.
Grid Cleaning: The 5-Minute Miracle Fix
80% of “bug zapper not working” cases stem from grime. After discharging:
1. Remove outer housing (usually 2-4 screws)
2. Dip a dry toothbrush in isopropyl alcohol
3. Scrub between grid wires with downward strokes
4. Blow compressed air through wires to dislodge debris
Visual check: Wires should appear shiny silver with no dark residue. Reassemble and test—if zapping returns, apply a light silicone spray monthly to repel moisture.
Replacing the Oscillator Transistor
For zappers with no high-pitched whine:
1. Identify the failed transistor (black, 3-legged, near transformer)
2. Heat both solder joints with a soldering iron
3. Gently pull the component free
4. Insert new transistor (aligning legs with markings)
5. Reflow solder joints with rosin-core wire
Pro tip: Apply thermal paste between the transistor and heatsink before reassembly. Test immediately—success sounds like a loud ZAP within seconds.
Voltage Multiplier Component Swap
When sparks are weak or intermittent:
1. Locate cylindrical capacitors on the multiplier board
2. Note capacitance (e.g., “2.5nF”) and voltage rating (e.g., “2kV”)
3. Desolder one leg of suspect capacitor
4. Test with multimeter: Below 70% of rated capacitance = replace
5. Install new capacitor matching specs exactly
Warning: Never touch capacitor leads with bare hands—oil residue causes premature failure.
Transformer & Diode Testing
If you hear a whine but no spark:
– Transformer check: Test primary winding resistance (should read 1-5Ω). No continuity? Replace the transformer.
– Diode check: Remove diodes (often 1N4007) and test with multimeter. A reading above 0.7V in reverse direction indicates failure.
Shortcut: Replace all diodes in the multiplier ladder simultaneously—they’re inexpensive and often fail as a group.
When to Repair vs. Replace Your Bug Zapper
Repair if:
– The unit cost over $40 new
– You’ve identified a single failed component (transistor, capacitor) under $5
– You enjoy DIY electronics (this is a perfect beginner project)
– The housing is intact with no UV-light cracks
Replace if:
– Repair costs exceed 50% of a new unit’s price
– The plastic housing is brittle or cracked (safety hazard)
– Multiple components failed simultaneously (indicates design flaws)
– You lack basic soldering skills—never guess with high-voltage circuits
A bug zapper not working is rarely terminal. Start with grid cleaning and bulb checks—these solve most issues in 10 minutes. If silent, focus on the oscillator transistor and voltage multiplier. Always prioritize safety: discharge capacitors, use insulated tools, and never rush repairs. For persistent failures, consider upgrading to a commercial-grade zapper with replaceable UV bulbs and sealed circuits. After fixing yours, perform monthly maintenance: clean grids, check for corrosion, and store indoors during heavy rain. Within an hour, you’ll restore that satisfying ZAP—and your bug-free peace of mind.


