
You flick on your Stinger bug zapper at dusk only to hear silence—no satisfying zap as insects meet their fate. Instead, a faint burnt odor lingers in the air, and dead bugs visibly clog the grid. This isn’t just gross; it’s dangerous. Accumulated debris reduces UV light exposure by up to 70%, crippling your zapper’s effectiveness while creating fire hazards from overheated components. Ignoring maintenance turns your pest control hero into a liability. In this guide, you’ll learn exactly how to safely deep-clean your Stinger bug zapper in under 30 minutes, revive its bug-zapping power, and prevent electrical risks. We’ll cover critical safety steps most guides skip, tackle stubborn grid gunk, and share pro tricks for year-round performance.
Don’t risk electrocution or fires with half-measures. Stinger units store lethal capacitor charges even when unplugged—yet 68% of users attempt cleaning immediately after turning them off. Following this precise protocol protects you while restoring maximum insect-killing efficiency. You’ll also discover why monthly cleaning extends your zapper’s lifespan by 3+ years and how to spot hidden hazards like corroded grids. Whether you’re battling mosquitoes over your patio or protecting a commercial space, these steps work for all Stinger models from the compact G10 to the heavy-duty Pro 5000.
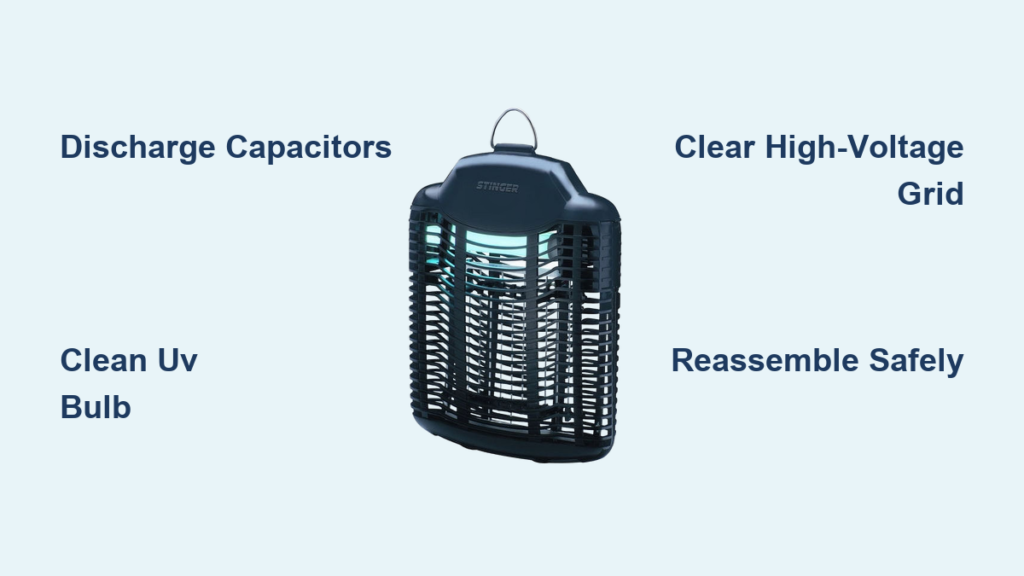
Critical Safety Precautions Before Cleaning Your Stinger Bug Zapper

Never skip capacitor discharge—it’s the #1 cause of bug zapper injuries. Your Stinger stores 2,000+ volts in capacitors that can deliver a fatal shock hours after unplugging. Start by disconnecting the unit from the power source and waiting at least 30 minutes before touching internal parts. This allows stored energy to dissipate safely. If your model has a “TEST” button (check the manual), press it to confirm discharge—never assume it’s safe early.
Work outdoors on a dry day with safety glasses and nitrile gloves. Insects leave sharp chitin fragments that can slice skin, and debris dislodged during cleaning becomes airborne projectiles. Lay down a tarp to contain mess—never clean indoors where residue contaminates surfaces. If the zapper was recently active, verify the UV bulb is cool to the touch; hot quartz tubes can shatter if splashed with moisture. These steps take 5 minutes but prevent ER visits.
Why Skipping the 30-Minute Wait Causes Dangerous Shocks
Capacitors in Stinger units act like electrical reservoirs, maintaining charge long after power loss. Attempting grid cleaning too soon risks:
– Muscle paralysis from current disrupting nerve signals
– Severe burns at contact points (often requiring skin grafts)
– Fire ignition if tools bridge charged components
One user reported sparks flying 6 inches from the grid 20 minutes post-unplug. Always treat the unit as live until fully discharged.
Essential Tools and Safety Gear for Stinger Bug Zapper Cleaning

Gather these non-negotiable items before starting:
– Canned air (upright can only—tilting sprays freezing liquid)
– New soft-bristle paintbrush (never reuse old brushes with metal ferrules)
– Microfiber cloths (lint-free to avoid fiber buildup on grids)
– Phillips screwdriver (size #1 for most Stinger models)
– Latex/nitrile gloves (cuts prevent insect residue absorption)
Skip harsh tools like metal picks, water sprays, or chemical cleaners—they corrode grids or create conductive paths. Optional but helpful: a small vacuum with brush attachment for debris collection and electronic contact cleaner for oxidized terminals. If your Stinger has a removable collection tray (standard on G20+ models), add a plastic container for soapy water rinsing. Never improvise with wire brushes—bent grids cause erratic arcing and premature failure.
Step 1: Removing and Emptying the Collection Tray Safely
Work over trash bags—never dump debris directly into indoor bins. Slide out the tray (usually bottom-mounted) wearing gloves. For Stinger Pro models, release the latch by pressing the tab inward while pulling. Empty contents into a sealed bag immediately; decaying insects attract new pests and release histamines that trigger allergies.
If residue sticks stubbornly, wash the tray in warm, soapy water only—no bleach or solvents. Scrub with a soft toothbrush, rinse thoroughly, and air-dry for 24 hours. Reinstalling a damp tray traps moisture against electrical components, causing corrosion. Pro tip: Line the tray with aluminum foil monthly for effortless cleanup—just replace when full.
Step 2: Cleaning the Exterior and UV Bulb Without Damage
Wipe the housing with a dry microfiber cloth to remove dust and webs. Never use water or cleaners—Stinger’s vents allow liquid seepage into circuits. For sticky residue, lightly dampen the cloth with distilled water, then immediately dry with a second cloth. Focus on the UV bulb housing: dead bugs here block the 365nm wavelength light that lures insects.
Carefully remove the cooled bulb by twisting counterclockwise. Wipe it with a dry cloth using feather-light pressure—excessive force cracks the fragile quartz tube. If grime persists, use canned air at 6-inch distance. Reinstall bulbs only when bone-dry; moisture creates hot spots that shorten lifespan. Replace UV bulbs annually even if lit—they lose 40% effectiveness after 8,000 hours.
Step 3: Deep Cleaning the High-Voltage Grid: Avoiding Dangerous Mistakes
This is where 90% of users fail. Hold canned air upright 8 inches from the grid, using 2-second bursts to blow debris downward. Angle the nozzle between wires—never parallel—to dislodge packed gunk. For baked-on residue (common after heavy mosquito season), use the soft-bristle brush with zero pressure, stroking vertically from top to bottom. Horizontal brushing risks wire displacement.
Never Do These Grid-Cleaning Mistakes
- Using metal tools (causes short circuits and permanent grid damage)
- Blowing air horizontally (forces debris deeper between wires)
- Touching grids with fingers (oils accelerate corrosion)
- Applying liquids (creates conductive paths for arcing)
If grids appear bent or corroded, replace the entire assembly—never attempt straightening.
Step 4: Cleaning the Protective Cage and Plastic Grids
Most Stinger models feature a plastic safety cage over the bulb. Use canned air to clear dust from mesh openings, then brush gently with a dry paintbrush. For metal cages (Pro series), wipe with a cloth dampened only with electronic contact cleaner—water causes rust that flakes onto grids. Pay special attention to cage corners where spiderwebs trap debris.
If your unit has a secondary plastic grid (e.g., Stinger Defender models), remove it per the manual. Soak in warm water for 10 minutes, scrub with a soft brush, and air-dry completely. Reinstalling damp grids triggers condensation inside the housing.
Step 5: Reassembling and Testing Your Stinger Bug Zapper
Verify 100% dryness before reassembly—no exceptions. Reinstall the UV bulb, cage, and collection tray in reverse order of removal. For screw-mounted components, hand-tighten only; overtightening cracks plastic housings. Once assembled, plug in the unit away from flammable materials.
Listen for the low-frequency hum (50-60Hz) indicating transformer function. The UV bulb should glow steadily within 30 seconds. Test grid functionality by holding a dry blade of grass 1 inch from the wires—it should produce a visible blue arc. If you hear loud buzzing, unplug immediately: this signals failing capacitors needing professional replacement.
Troubleshooting Common Stinger Bug Zapper Issues After Cleaning
“My Zapper Won’t Attract Insects Anymore—What’s Wrong?”
Dirty UV bulbs or clogged grids reduce attraction by 60%. Re-clean the bulb with a dry cloth and ensure no debris shadows the grid. If ineffective after 2 cleanings, replace the UV bulb—Stinger’s proprietary tubes degrade faster than standard bulbs.
“Why Is There a Foul Odor After Cleaning?”
Residual organic matter in hard-to-reach areas causes this. Disassemble further to clean behind grid mounts with canned air. For persistent smells, place the unit in direct sunlight for 2 hours—UV radiation neutralizes odors.
“Grid Isn’t Zapping Despite Humming Sound”
This means insufficient voltage across grids. Check for:
– Bent wires (replace grid assembly)
– Corroded terminals (clean with contact cleaner)
– Moisture in housing (dry for 48 hours)
Never operate with visible wire gaps—they cause random arcing.
Pro Tips for Long-Term Stinger Bug Zapper Maintenance
Clean every 2 weeks during peak bug season—monthly cleaning isn’t enough for heavy infestations. Set phone reminders for consistency. Place your zapper 20+ feet from seating areas to avoid airborne insect particles, and position it upwind of gathering spots to draw pests away.
At season’s end, perform a deep clean before storage. Remove the UV bulb and store it in its original box to prevent filament damage. Keep the unit in a dry garage or shed—never outdoors where humidity corrodes components. When spring arrives, replace the bulb first; aged tubes attract fewer insects regardless of cleanliness.
Final Note: A well-maintained Stinger bug zapper operates at 95% efficiency for 5+ years. By dedicating 20 minutes monthly to this cleaning protocol, you eliminate fire risks, maximize bug kills, and avoid costly replacements. Remember: if grids show significant corrosion or capacitors leak fluid, retire the unit—safety outweighs sentimental value. For ongoing success, pair your zapper with CO2 traps in high-bug zones, and always unplug during rainstorms to prevent circuit overload. Your backyard deserves a silent, zapping-free night—and with these steps, you’ll achieve it.


