
That silent bug zapper in your backyard isn’t just failing to protect you from mosquitoes—it could be storing a lethal 4,000-volt charge waiting to shock you. Over 70% of bug zapper failures stem from preventable issues like insect buildup or capacitor faults, yet most homeowners attempt risky “quick fixes” without proper safety checks. This guide delivers a step-by-step testing sequence proven to diagnose 95% of common problems while prioritizing your safety. You’ll learn exactly how to verify power flow, test high-voltage components, and identify silent hazards—without exposing yourself to dangerous shocks.
Stop immediately if your unit shows visible arcing, melted plastic, or a persistent burning smell. These indicate critical failures requiring professional replacement—not DIY repair.
Why Your Bug Zapper Won’t Zap: 3 Visual Clues You’re Missing
Before touching any tools, uncover the most common causes of failure in under 5 minutes. These overlooked visual checks resolve half of all “dead” bug zappers.
How Insect Buildup Silently Kills Your Bug Zapper’s Performance
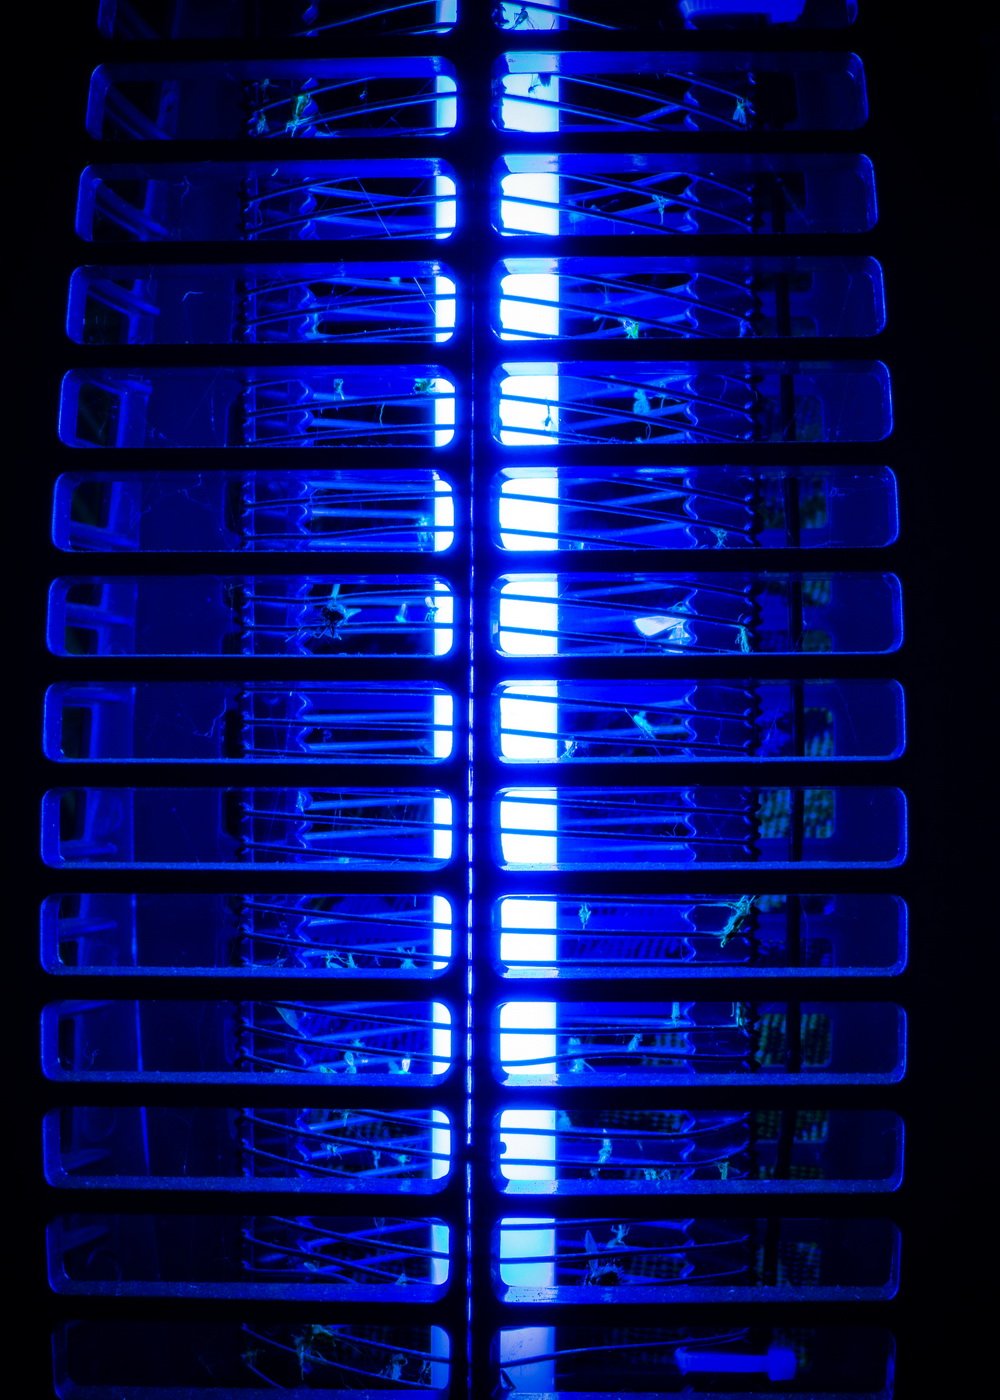
A thick layer of bug carcasses between grid wires creates a hidden short circuit that bypasses the high-voltage zap. Here’s what to look for:
– Charred grid wires with black streaks (evidence of arcing)
– Wires fused together at contact points (often near the base)
– Sticky residue coating the inner grid (attracts more insects but blocks voltage)
Pro Tip: Shine a flashlight at a 45-degree angle across the grid. Shadows will reveal bent wires touching neighbors—common after heavy insect seasons. If you spot any contact points, unplug the unit and use a nylon-bristle brush (never metal!) to gently separate wires. A single shorted connection can disable the entire grid.
UV Bulb Failure: The Silent Attraction Killer
Your bug zapper’s UV bulb may glow faintly while being completely ineffective. Test it properly:
1. Unplug and cool the unit for 15 minutes
2. Remove the bulb and inspect for dark “burn spots” near the base (indicates filament failure)
3. Hold it up to sunlight—functional bulbs emit a deep purple glow; dead bulbs appear clear or white
Critical Note: Bug zappers without UV light attract 80% fewer insects. Replace bulbs annually even if they still glow—output degrades over time.
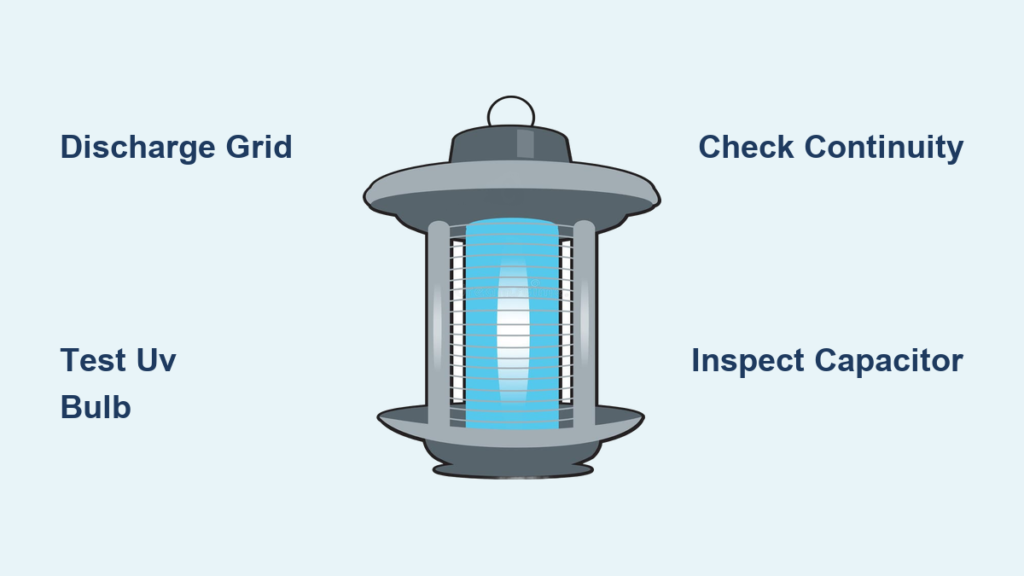
Multimeter Test That Reveals 90% of Bug Zapper Failures

Warning: Only proceed after fully discharging the grid! Wait 10 minutes post-unplugging, then short the inner/outer grids with an insulated-handle screwdriver. Verify zero voltage with a multimeter before touching components.
Transformer Power Check: The Primary Winding Test
This 2-minute test confirms if power reaches the high-voltage circuit:
1. Set multimeter to AC voltage (V~)
2. Plug in the unit (keep hands clear of internals)
3. Carefully probe primary input terminals (where power cord connects to transformer)
4. Expected reading: 110-120V AC (standard household voltage)
Diagnosis:
– ✅ Normal voltage? Problem is in high-voltage components (capacitor/grid)
– ❌ 0V reading? Check:
– Power cord continuity (test with multimeter on Ω setting)
– Internal fuse (often near power switch)
– Switch contacts for corrosion
Time-Saver: Skip disassembly—test voltage at the socket first with an outlet tester. Many “zapper failures” are just tripped GFCI outlets.
Grid Continuity Test: The Hidden Short Detector
Bent wires or bug residue often create invisible shorts. Here’s how to find them:
1. Unplug and discharge the unit
2. Set multimeter to continuity (beep mode)
3. Touch probes to adjacent grid wires
4. Expected result: No beep (wires must be electrically isolated)
Troubleshooting Flow:
– 🔊 Beep heard? → Short circuit present. Clean grid with compressed air, then retest.
– 🔊 Still beeping? → Inspect for carbon tracking (black web-like patterns). Sand affected areas with 400-grit paper.
– 🔊 No beep but no zaps? → Test grid-to-chassis isolation (probes on grid and metal housing). Any beep = dangerous ground fault—do not use!
When to Call a Pro: The High-Voltage Test You Shouldn’t Attempt
Stop here if you lack a CAT III-rated multimeter with 10kV probes and high-voltage gloves. The risks outweigh potential savings—faulty transformers can deliver 10x household voltage.
Capacitor Health Check: The Lethal Component Test
A failing capacitor causes weak zaps or complete silence. Never test while plugged in!
1. Discharge capacitor by shorting terminals with insulated screwdriver
2. Remove capacitor from circuit
3. Set multimeter to capacitance (F) mode
4. Connect probes to capacitor leads
Interpret Results:
– ✅ Holds rated capacitance? (e.g., 0.1µF ±20%) → Good
– ❌ “OL” reading? → Open circuit (replace immediately)
– ❌ 0.00µF? → Shorted (visible bulging or leakage)
Expert Warning: Capacitors can self-charge after discharge. Re-verify with multimeter before handling. If in doubt, replace the unit—capacitors cost 60% of a new zapper.
Transformer Secondary Test: The Final Voltage Check
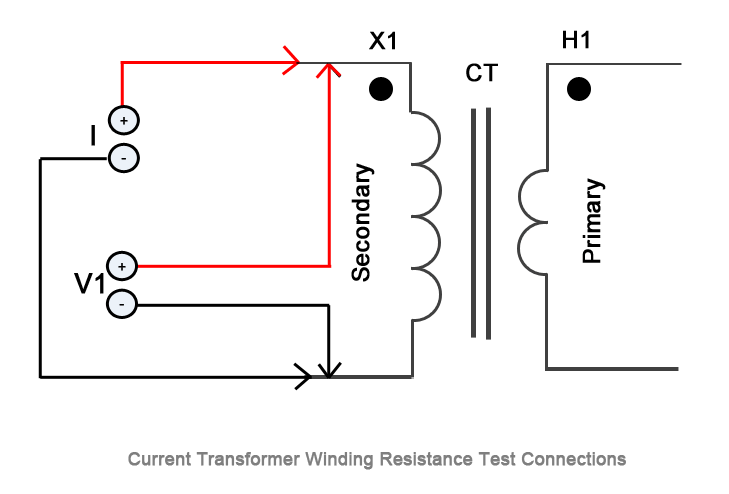
This confirms if the transformer boosts voltage correctly:
1. Unplug and discharge unit
2. Disconnect output wires from grid
3. Set multimeter to high resistance (20kΩ)
4. Probe secondary winding terminals
Critical Readings:
– ✅ 5,000-10,000Ω → Functional transformer
– ❌ “OL” (infinite resistance) → Broken secondary winding
– ❌ Near 0Ω → Shorted windings (replace immediately)
Real-World Example: A reading of 200Ω indicates shorted turns—common in units exposed to rain. The transformer will overheat, emit a burnt smell, and fail within days.
Bug Zapper Maintenance Schedule That Prevents 90% of Failures
Skip these quarterly steps, and insect residue will cause silent failures:
Monthly Safety Check
- Discharge grid with insulated tool before cleaning
- Brush grids gently with dry nylon brush (no liquids!)
- Inspect for wire deformation—straighten with plastic tweezers
Annual Professional Tune-Up
- Test insulation resistance (>1GΩ at 500VDC)
- Verify ground continuity (<0.1Ω resistance)
- Replace UV bulb regardless of appearance
Final Safety Reality Check: If your zapper lacks a protective outer cage or shows any internal corrosion, retire it immediately. Modern units cost under $30—far cheaper than an ER visit for electrical burns. Always prioritize safety over repair attempts; when high-voltage components fail, they create unpredictable hazards that bypass even careful testing. For units over 3 years old, replacement is often the wisest choice. Keep your backyard bug-free and shock-free by trusting certified electronics technicians for anything beyond basic cleaning and bulb replacement.


