
That stale taste in your water cooler isn’t just unpleasant—it’s a warning sign. Mineral deposits from hard water and invisible bacteria colonies silently accumulate in your Whirlpool water cooler’s reservoir, creating perfect conditions for mold growth and off-flavors. Without regular deep cleaning, these contaminants compromise water quality and pose health risks, especially for immune-compromised users. This guide delivers a proven method to sanitize every component of your Whirlpool cooler, restoring crisp, clean water in under 30 minutes. You’ll learn model-specific techniques for both hot and cold dispensers, plus how to prevent recurring issues that cause cloudy water and musty odors.
Most users don’t realize their cooler needs cleaning until problems surface, but visible slime isn’t the only indicator. If your water develops a metallic aftertaste or the drip tray develops persistent pink rings, bacteria have already colonized the system. The good news? With the right approach, you can eliminate 99.9% of contaminants using household items. This step-by-step process targets trouble spots others miss—like the hot water tank’s heating element and faucet internal channels—where scale and microbes hide. By the end, you’ll have a water cooler that delivers consistently fresh-tasting water, extending its lifespan and protecting your household’s health.
Critical Safety Steps Before Touching Your Whirlpool Cooler
Skipping these precautions risks electrical shock or water damage. Your safety depends on methodical preparation before any cleaning begins.
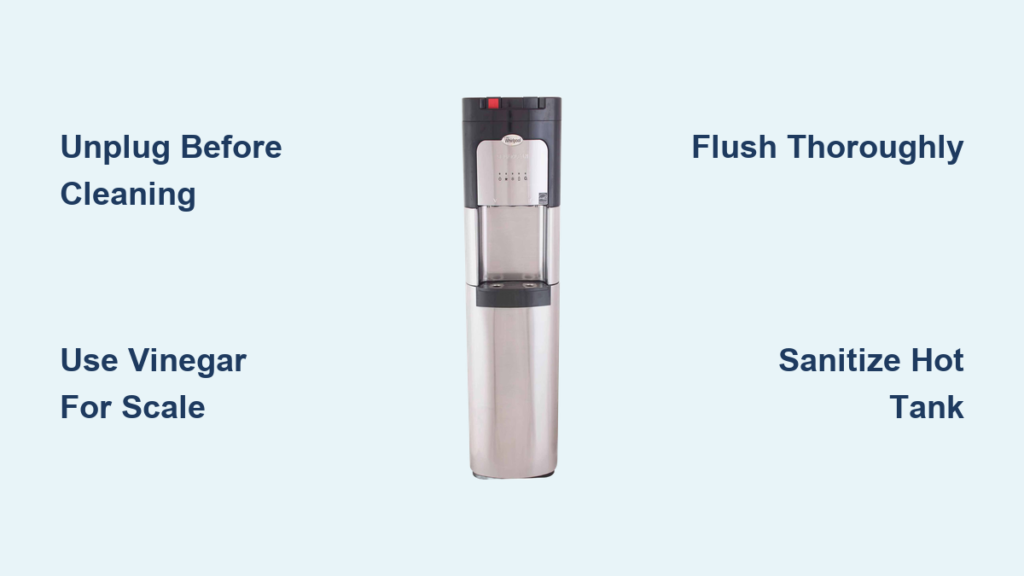
Unplug First, Always
Never assume the cooler is safe because it’s not dispensing water. Start by disconnecting the power cord from the wall outlet—this is non-negotiable even if you’re only cleaning external parts. Next, remove the water bottle and place towels beneath the unit to catch residual drips. If your model connects to a direct water line, shut off the supply valve before disconnecting hoses. Remember: attempting to clean while plugged in could short-circuit internal components.
Complete Drainage Protocol
Dispense all remaining water through both hot and cold taps until reservoirs are empty. If your Whirlpool model has a rear drain plug (common in commercial units), position the cooler over a floor drain and open it—never tilt the unit to drain. For models without drain plugs, repeatedly dispense water until flow stops. Crucial warning: Residual water in the hot tank can scald you during cleaning. Confirm complete drainage by checking that no water drips from faucets for 60 seconds.
Why Vinegar Beats Bleach for Mineral Removal
While bleach kills bacteria, vinegar dissolves stubborn scale that causes cloudy water. For hard water areas, use distilled white vinegar instead of bleach to tackle limescale crust inside reservoirs. Mix equal parts vinegar and water—this solution safely breaks down mineral deposits without damaging plastic components. Reserve bleach only for bacterial outbreaks when you detect musty odors, as vinegar leaves no chemical residue that affects taste.
Deep Clean the Exterior Without Damaging Components
Plastic exteriors scratch easily, creating crevices where bacteria thrive. This method cleans without causing micro-abrasions that accelerate future buildup.
Drip Tray Sanitizing Technique That Prevents Mold
Remove the drip tray and soak it in warm water with dish soap for 10 minutes. For pink slime rings (Serratia marcescens bacteria), scrub with a soft brush dipped in 50/50 vinegar solution—never use steel wool. Pay special attention to the tray’s drainage channel where gunk accumulates. Rinse thoroughly under running water until it runs clear, then air-dry completely before reinserting. Pro tip: Place the tray in direct sunlight for 15 minutes after drying; UV rays kill residual microbes.
Safe Exterior Wiping Method for Plastic Surfaces
Dampen a microfiber cloth with vinegar solution—never spray directly onto the cooler. Wipe downward from top to bottom to prevent streaks, focusing on high-touch areas like faucet handles. Avoid ammonia-based cleaners that cloud plastic. For sticky residue around the bottle collar, use a cotton swab dipped in rubbing alcohol. Finish by polishing with a dry cloth to prevent water spots that attract dust.
Reservoir Cleaning: Eliminate Hidden Bacteria in 15 Minutes

The reservoir harbors 80% of contaminants but is often neglected during cleaning. This process ensures every internal surface gets sanitized.
Prepare the Exact Cleaning Solution for Your Model
For standard 3.5-gallon Whirlpool coolers, mix ½ cup unscented bleach with 3.5 gallons room-temperature water—never exceed this ratio as excess bleach damages seals. In hard water areas, substitute with 1 gallon white vinegar diluted in 2.5 gallons water. Critical mistake to avoid: Never use hot water with bleach—it creates toxic fumes. Always mix solutions in a separate container before pouring.
Soak and Circulate for Complete Sanitization
Pour the solution slowly into the empty reservoir chamber. Open the cold faucet briefly to allow solution to flow through internal lines, then close it immediately. Let the reservoir sit undisturbed for exactly 15 minutes—less time won’t kill spores, more risks component damage. During soaking, check for leaks around the base; if solution seeps out, stop immediately and consult Whirlpool support.
Triple-Flush System for Chemical Removal
After soaking, dispense all solution through the cold faucet into a bucket—never drink this water. Now flush thoroughly: fill the reservoir with fresh water, dispense completely, then repeat twice more. Test for residual bleach by sniffing the water after the second flush; if you detect any chemical odor, perform a fourth flush. Clear water doesn’t guarantee cleanliness—residual sanitizer causes stomach upset.
Hot Water Tank Sanitizing Without Component Damage
Most guides skip this critical zone where bacteria thrive in warm, stagnant water. Heat accelerates microbial growth, making this tank a contamination hotspot.
Safe Hot Tank Cleaning Procedure
With the cooler unplugged, pour 1 cup of your cleaning solution slowly into the hot water faucet opening. Let it sit for 15 minutes—never exceed this time as prolonged exposure warps heating elements. To drain, carefully tilt the cooler 15 degrees toward the hot faucet (never lay flat) over a bucket. Flush with three reservoirs of fresh water, dispensing only tiny amounts each time to avoid overflow since hot tanks hold less water.
Faucet Disassembly Without Losing Parts
Unscrew faucet covers using a plastic utensil to avoid scratches. Soak disassembled parts in mild bleach solution (1 tbsp per gallon) for 5 minutes—never use full-strength bleach as it degrades O-rings. Rinse under running water while twisting parts to clear internal channels. Reassemble by aligning tabs before snapping covers back; misalignment causes leaks. Warning: For push-button faucets, photograph the disassembly sequence first—reassembly errors are the #1 cause of post-cleaning drips.
Post-Cleaning Verification and Maintenance Schedule

Skipping these steps leaves your cooler vulnerable to rapid recontamination. Verification ensures no hidden residue compromises your water.
Taste-Test Protocol for Safe Drinking Water
After final reassembly, dispense 5 cups of water before use. The first 2 cups may have a faint odor—this is normal residual sanitizer flushing out. If water still tastes chemical after 3 cups, repeat flushing. True clean water should have no aftertaste and feel smooth on your tongue. For hot water verification, brew a plain cup of tea—if it smells musty, repeat hot tank sanitizing.
Create Your Custom Cleaning Schedule
Set phone reminders based on usage:
– Home units: Deep clean every 6 months
– Office coolers (5+ users): Clean every 3 months
– After vacation: Always sanitize before reuse
Replace drip trays annually—they harbor microscopic cracks where bacteria hide. For hard water areas, add a monthly vinegar rinse (1 cup vinegar per reservoir) between deep cleans to prevent scale.
Your Whirlpool water cooler now delivers hospital-grade clean water, but maintenance is key. Within 24 hours of cleaning, wipe the drip tray daily with vinegar solution to prevent biofilm regrowth. Store cleaning supplies in a labeled kit near the cooler—delaying sanitizing by just two weeks allows bacteria colonies to rebound. Remember: clear water isn’t clean water. By following this protocol, you’ll extend your cooler’s life by 3+ years while ensuring every glass tastes fresh. For troubleshooting persistent odors, consult Whirlpool’s reservoir replacement guide—sometimes mineral buildup requires component replacement after years of neglect.


