
That first sip of cool water should be refreshing—not stale or musty. If your Igloo water cooler’s output tastes off or you spot cloudy residue in the reservoir, bacteria and mineral buildup are likely taking over. Neglecting regular maintenance transforms your trusted hydration station into a breeding ground for mold and unpleasant flavors. This guide cuts through the guesswork with a precise how to clean Igloo water cooler method that restores crisp, clean water in under an hour. You’ll learn exactly when to clean, the safest solutions to use, and pro techniques to prevent recurring issues—whether you own a countertop model or floor-standing unit.
Most owners don’t realize that stagnant water and warm reservoirs create ideal conditions for biofilm, that slippery layer that taints taste and compromises hygiene. Cleaning isn’t just about aesthetics; it directly impacts water quality and your cooler’s lifespan. By the end of this guide, you’ll confidently tackle deep cleans every 3-6 months and master quick weekly upkeep to keep every glass tasting pristine. Let’s transform your cooler from a potential germ hub back into your most reliable hydration source.
How Often Your Igloo Cooler Needs Cleaning
Ignoring your cooler’s cleaning schedule guarantees foul-tasting water and hidden contamination. Deep clean the interior reservoir every 3-6 months—this isn’t arbitrary. Mineral deposits from water and organic buildup accelerate between cleanings, especially in warm environments. If you notice cloudy water, a slimy film inside the tank, or an odd odor, clean immediately regardless of timing. These are clear signs bacteria have colonized your system.
Weekly exterior maintenance is non-negotiable for daily safety. Wipe down the drip tray, faucets, and touchpoints with soapy water after each use to stop germ transfer from hands. High-traffic areas like office coolers need this even more frequently. Skipping these small tasks allows surface contaminants to seep into the water stream during dispensing. Remember: consistent light cleaning prevents the need for aggressive scrubbing later.
Essential Supplies for a Safe Cleaning Session

Gather these specific items before unplugging your cooler—having everything ready prevents mid-process delays that risk electrical hazards. You’ll need mild dish soap, white vinegar (for natural descaling) or unscented liquid bleach (for heavy sanitization), clean soft cloths, a soft-bristled bottle brush, a dry towel, and paper towels. Avoid abrasive sponges, ammonia-based cleaners, or scented products that scratch surfaces or leave toxic residues.
Critical safety step: Always unplug the unit and shut off the water supply valve (for plumbed models) before starting. Never submerge electrical components or use excessive liquid near control panels. If your cooler has a direct water line connection, close the valve to prevent leaks during reservoir access. This isn’t just precautionary—it’s the only way to avoid electrocution or water damage during cleaning.
Deep Cleaning Your Igloo Cooler: 5 Critical Steps

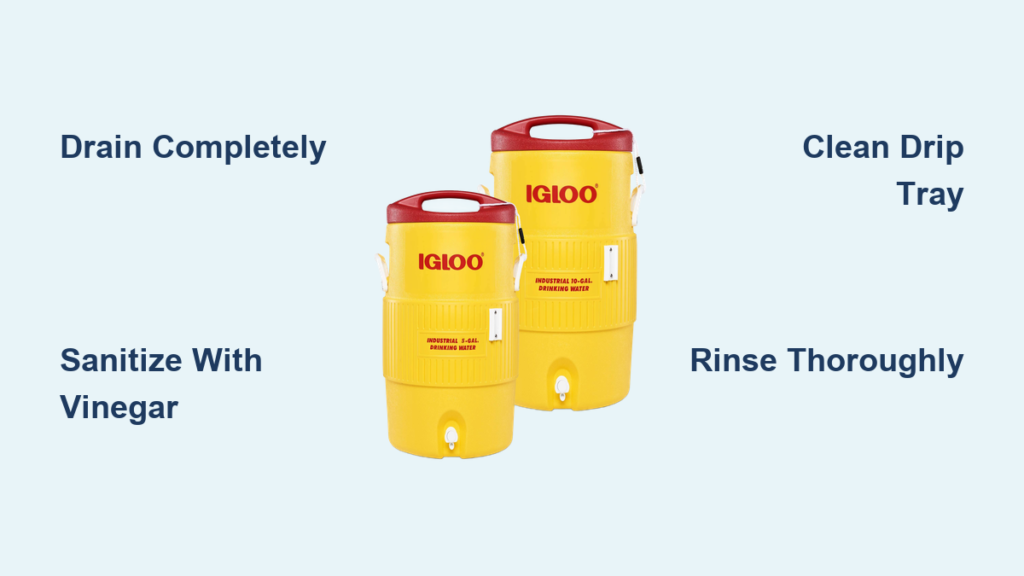
Drain All Water Completely and Safely
Begin by powering down: unplug the unit and move it away from walls for full access. Open both hot and cold faucets to drain residual water into a bucket. For top-loaded models, remove the water bottle; for plumbed units, disconnect the supply line. Tilt the cooler gently to empty every drop from internal tanks—leftover water dilutes your cleaning solution, reducing effectiveness. Confirm drainage is complete by listening for gurgling stops; trapped water breeds mold in hidden corners.
Sanitize the Reservoir with Vinegar or Bleach
Choose your solution based on buildup severity: For routine mineral deposits, mix 1 gallon warm water + 1 cup white vinegar. For mold or heavy biofilm, use 1 teaspoon unscented bleach per gallon of warm water (never scented bleach—it leaves dangerous residues). Pour the solution into the empty reservoir until half-full, then swish vigorously to coat all interior surfaces. Let it sit exactly 15-20 minutes—longer risks material damage, shorter won’t kill deep-seated bacteria.
Use your bottle brush to scrub the reservoir bottom and sides, focusing on visible slime or white crust. Drain completely by tipping over a sink. Rinse relentlessly: refill with clean water, swish, and drain at least 3 times. For bleach cleans, sniff the reservoir after rinsing—any chemical odor means more rinses are needed. Residual solution ruins water taste and safety.
Eliminate Bacteria in Drip Trays and Faucets
Remove the drip tray and soak it in soapy water for 5 minutes. For stuck-on grime, make a paste of baking soda and water, apply with a non-scratch sponge, then rinse thoroughly. Dry completely before reinserting—damp trays harbor mildew. For faucets, dip a pipe cleaner in your vinegar solution and twist it into each spigot to dislodge hidden gunk. Pro tip: Run cold water through both faucets for 30 seconds after cleaning to flush debris from internal lines. Never use metal tools—they scratch seals and cause leaks.
Refresh the Exterior Without Damage
Dampen a soft cloth with mild soapy water (1 tsp dish soap per cup of water) and wipe all external surfaces. Pay special attention to handle areas where fingerprints accumulate oils that attract dust. Never spray cleaners directly on the unit—excess moisture seeps into vents and damages electronics. For stubborn stains on plastic, use a vinegar-water mix (1:1 ratio) on a cloth, not the cooler itself. Dry immediately with a towel to prevent water spots or warping.
Final Rinse and Reactivation Protocol
Fill the reservoir with fresh water and dispense through both faucets until the stream runs clear—this flushes residual solution from internal tubing. Repeat until you detect zero vinegar or bleach scent. Reconnect the water bottle or supply line, plug in the unit, and let it cycle for 10 minutes before use. Crucial check: Discard the first 2-3 gallons of water post-cleaning to ensure purity. Skipping this risks drinking cleaning residue.
Vinegar Cleaning: Your Natural Descaling Powerhouse
Vinegar’s acetic acid dissolves limescale and kills 99% of common bacteria without harsh chemicals—making it ideal for monthly maintenance. Use a 1:1 vinegar-water solution for heavy mineral buildup, but stick to the standard 1 cup vinegar per gallon ratio for routine cleans. After soaking and scrubbing, rinse with warm (not cold) water—heat evaporates vinegar faster, eliminating lingering odors. This method works for all Igloo models, including those with plastic reservoirs that bleach might degrade over time. If your water still tastes faintly vinegary after rinsing, run an extra gallon through the system; the acidity neutralizes completely within 24 hours.
Bleach Sanitizing: When You Need Maximum Disinfection
Reach for bleach only when battling visible mold or after prolonged disuse—its potency demands precision. Dilute strictly 1 tsp unscented bleach per gallon of water; stronger solutions corrode seals and leach toxins. Soak for no longer than 20 minutes, then execute at least 5 rinse cycles with fresh water. Test for residue by filling a glass from each faucet—if it smells or tastes chemical, keep rinsing. Never mix bleach with vinegar—this creates dangerous chlorine gas. After sanitizing, leave the reservoir open for 1 hour to air out before reassembling; trapped fumes taint future water batches.
Prevent Mold and Algae Before They Start
Stop problems at the source with these science-backed habits. Replace empty water bottles immediately—open reservoirs pull in airborne mold spores within hours. Position your cooler away from windows or direct sunlight; UV exposure accelerates algae growth in as little as 48 hours. If storing the unit long-term, sanitize then leave it completely dry with doors open to prevent moisture traps. Most importantly, use water within 2 weeks—stagnant water becomes a bacterial incubator after day 10. These steps cut deep cleaning frequency by 50% while guaranteeing consistently fresh output.
Daily Maintenance for Lasting Freshness
Extend time between deep cleans with 2-minute daily routines. Wipe faucets and drip trays after each use with a disinfecting cloth to block germ transfer from cups. Replace in-tank filters every 40-60 gallons (or per Igloo’s manual)—clogged filters slow flow and breed bacteria. If water flow weakens suddenly, check for bottle cap seal issues before assuming internal clogs. Listen for irregular humming—a failing pump often sounds louder than usual and requires professional service, not DIY fixes. Consistent micro-maintenance keeps your cooler operating at peak efficiency for years.
Quick Answers to Critical Cleaning Questions
Why does my water taste metallic after cleaning?
Residual vinegar or bleach isn’t fully flushed. Run 3+ gallons through both faucets until taste normalizes.
Can I put my cooler in the dishwasher?
Never. High heat and detergents warp plastic components and destroy seals—hand-wash all removable parts only.
How do I stop leaks during cleaning?
Ensure all connections are hand-tightened (no tools) and O-rings are seated properly before reassembly. Leaks usually mean a misaligned bottle or cracked tray.
Is monthly vinegar cleaning enough?
For most homes, yes—but if you have hard water, deep clean every 2 months to combat rapid mineral buildup.
What if mold returns immediately after cleaning?
You likely missed reservoir corners during scrubbing. Use a flashlight to inspect dark areas and redo the sanitize step with bleach.
A well-maintained Igloo water cooler delivers pure, crisp hydration for years—but only with disciplined cleaning. By following this precise how to clean Igloo water cooler method, you eliminate health risks while preserving optimal performance. Stick to the 3-6 month deep clean schedule, never skip weekly exterior wipes, and always rinse solutions thoroughly. Your reward? Water that tastes as fresh as the first bottle, sip after sip. Now that your cooler’s spotless, set a calendar reminder for your next cleaning session—future you will thank you when every glass stays perfectly refreshing.


