
That strange plastic taste in your water? It’s not the bottle—it’s your bottom load water cooler silently breeding bacteria and scale. Unlike top-load models, these convenient units hide their reservoirs beneath the base, trapping moisture where mold thrives and minerals accumulate. Left uncleaned, they pump contaminated water through your office or home. But here’s the good news: a proper deep clean takes under 20 minutes and requires only vinegar or hydrogen peroxide. This guide reveals the exact steps technicians use to restore crisp, clean water flow—no disassembly needed for most models.
Gather These 5 Must-Have Cleaning Supplies for Bottom Load Coolers
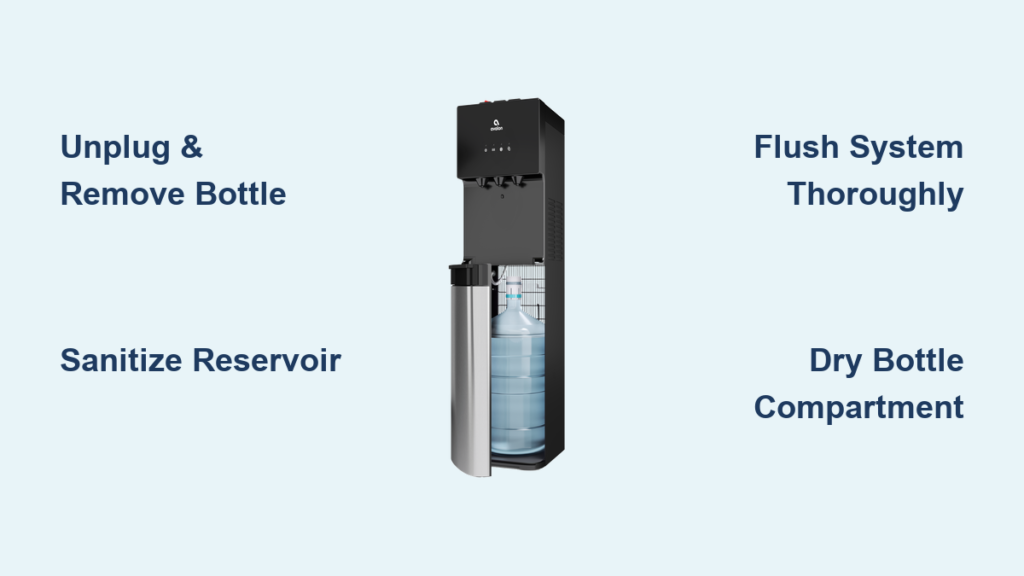
Skip the trip to the hardware store. Your kitchen already holds everything needed for a professional-grade clean. Before you touch the unit, unplug it and remove the water bottle. Lay towels underneath to catch drips—this prevents slippery floors and water damage to cabinets.
Critical Supplies Checklist:
– Food-grade 3% hydrogen peroxide (or distilled white vinegar as backup)
– Unscented dish soap (bleach and ammonia will damage seals)
– Microfiber cloths (lint-free to avoid fiber residue)
– Soft-bristled bottle brush (1/4″ diameter fits spigot tubes)
– Latex/nitrile gloves (protects hands from biofilm and cleaners)
Pro Tip: Vinegar works for light scale but leaves lingering odors. Hydrogen peroxide sanitizes without taste residue—use it for moldy coolers.
Step-by-Step Deep Clean for Bottom Load Water Coolers
Unplug and Remove Critical Components Safely
Never skip this step—electrocution risk is real. Unplug the unit, then slide out the water bottle. Lift the drip tray (the removable tray under the spigots) and set it aside. For most Primo and Whirlpool models, twist the spigot guards counterclockwise to remove them. You’ll see slimy buildup inside—this is biofilm from stagnant water.
Visual Cue: If you spot black specks or pink slime in the drip tray, bacterial growth is advanced. Sanitize immediately.
Clean Drip Tray and Spigot System Thoroughly
Soak the drip tray and spigot guards in warm, soapy water for 5 minutes. Use the bottle brush to scrub inside spigot tubes where mold hides. Pay special attention to the “baffle” (the plastic shield behind the spigot)—mineral deposits jam here, causing slow flow. Rinse all parts with distilled water.
Common Mistake: Forgetting to clean under the drip tray’s rubber gasket. Lift it gently and wipe mold with a hydrogen peroxide-dampened cloth.
Sanitize the Hidden Reservoir in 3 Minutes
Here’s where bottom-load coolers differ: the reservoir sits below the bottle compartment. Pour 1 cup of undiluted hydrogen peroxide directly into the empty reservoir (where the bottle neck inserts). Let it sit for 3 minutes—any longer risks seal damage. For heavy scale, use equal parts vinegar and water but double rinse time.
Why This Works: Hydrogen peroxide bubbles through tubing, killing bacteria in shadowed areas top-load cleaners miss.
Flush the Entire System Without Mess
Place a bucket under the cold spigot. Press the lever continuously for 60 seconds to drain peroxide. Repeat with the hot spigot (if applicable). Now refill the reservoir with distilled water and flush again. Do this 3 times total—fewer rinses leave chemical residue.
Time Saver: Use a turkey baster to inject rinse water into the reservoir instead of pouring, avoiding spills.
Reassemble and Dry Critical Parts
Wipe the bottle compartment with a dry microfiber cloth—dampness here causes mold between cleanings. Reinsert spigot guards and the drip tray. Plug in the unit but do not add water yet. Let it run empty for 2 minutes to evaporate hidden moisture.
Warning: Skipping the dry cycle traps humidity, accelerating mold regrowth within days.
Fix Slow Flow or Bad Taste in Under 5 Minutes

Why Your Bottom Load Cooler Smells Like Wet Dog
That musty odor means biofilm dominates the reservoir. Don’t just rinse—sanitize aggressively. Mix 1/2 cup hydrogen peroxide with 2 cups warm water. Pour into the reservoir, let sit 10 minutes, then flush 5 times with distilled water. For persistent smells, soak spigot parts in this solution overnight.
Stop Dripping Spigots Caused by Mineral Clogs
Hard water leaves calcium deposits that jam valves. Disassemble spigot guards (most twist off) and soak in vinegar for 15 minutes. Use a toothpick to clear the tiny air vent hole on the spigot body—this vent regulates flow. Reassemble only when completely dry.
Pro Tip: Add a drop of food-grade silicone lubricant to spigot O-rings after cleaning. Prevents future sticking.
Monthly Maintenance That Prevents Deep Cleaning
Wipe the Bottle Compartment Weekly
After every bottle change, spray the compartment with 50/50 vinegar-water. Wipe with a microfiber cloth. This kills mold spores before they take hold. Never skip this—even “clean” bottles introduce bacteria.
Replace Drip Tray Gaskets Every 6 Months
Cracked rubber gaskets under the drip tray harbor mold. Lift the tray and check gaskets for brittleness. If they snap when bent, replace them ($3 online). Clean new gaskets with soapy water before installing.
Sanitize Spigots After Sick Outbreaks
When flu season hits, sanitize spigots daily. Dip cotton swabs in hydrogen peroxide and scrub around lever bases. This stops germ transmission—critical in office settings.
When to Call a Professional (Don’t Risk It)
- Leaks from the base: Indicates cracked reservoir—unrepairable without disassembly
- Persistent metallic taste: Signals corroded heating element
- Cloudy water after cleaning: Biofilm in tubing requires ultrasonic treatment
Commercial units need professional servicing every 6 months. Home units last 5+ years with monthly cleaning.
Avoid These 3 Costly Cleaning Mistakes

- Using bleach: Erodes rubber seals within weeks, causing leaks ($150+ repair)
- Skipping hot spigot flush: Bacteria thrive in warm reservoirs—always sanitize both sides
- Rinsing with tap water: Chlorine in tap water reacts with cleaners, creating toxic fumes
Real Consequence: One office I consulted had pink slime in their cooler after using bleach—they replaced the entire unit.
Your Bottom Load Cooler Maintenance Schedule
| Frequency | Action | Time Required |
|---|---|---|
| Daily | Wipe exterior with damp cloth | 30 seconds |
| Weekly | Clean drip tray & sanitize spigots | 4 minutes |
| Monthly | Full reservoir sanitation | 18 minutes |
| Every 6 Months | Replace drip tray gaskets | 2 minutes |
Critical Note: Filtered water users still need monthly cleaning. Filters catch particles but not bacteria—your cooler’s reservoir is a breeding ground regardless of bottle quality.
By following this precise method, your bottom load water cooler will deliver pure, great-tasting water for years. The key is consistent reservoir sanitation—hydrogen peroxide flushes beat vinegar for reliability. Remember to dry the bottle compartment after each bottle change; this single habit prevents 90% of mold issues. For Whirlpool or Primo models, check manufacturer portals for model-specific videos before deep cleaning. Now grab that bottle of peroxide and reclaim your water’s freshness—you’ve earned a crisp, clean glass.


