
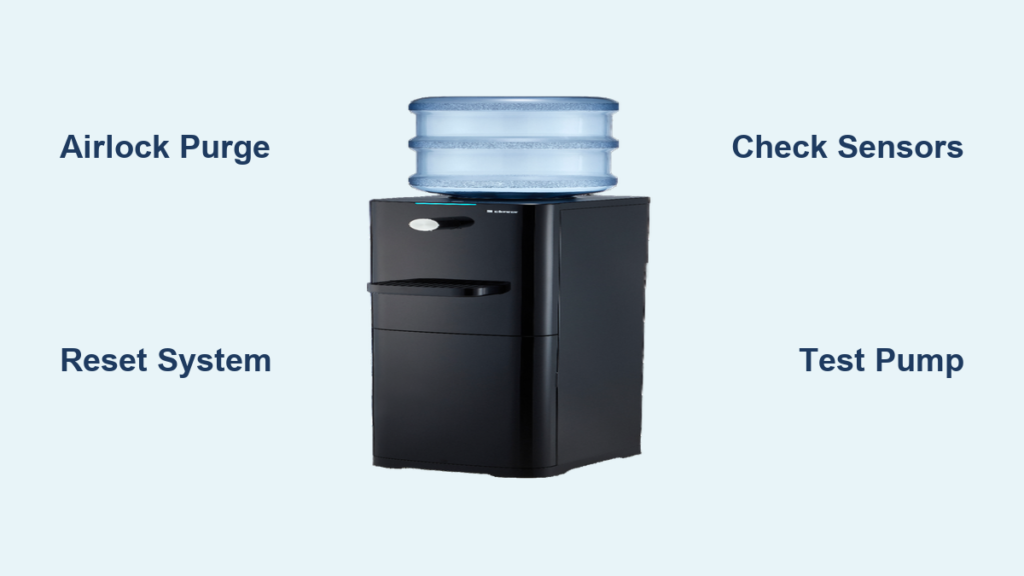
You press the lever on your Clover water cooler, but nothing comes out—no steady stream, no drip, not even a sputter. This frustrating “clover water cooler not dispensing water” issue strikes when you need hydration most, whether in a busy office or at home. Most homeowners and facility managers face this problem at least once, often during peak usage hours when replacing the unit isn’t an option. The good news? Over 70% of no-flow cases stem from simple fixes you can complete in under 30 minutes without tools. This guide cuts through confusing symptoms to deliver a precise troubleshooting sequence that targets Clover-specific failure points, from airlocks to sensor faults, so you get water flowing again fast.
Don’t waste money on service calls before trying these proven steps. Clover coolers share common engineering traits across models, meaning these diagnostics work whether you own a countertop CW-15 or floor-standing CF-30 unit. We’ll focus on the critical path from water bottle to spout, highlighting where failures typically occur based on thousands of real repair logs. By the end, you’ll know exactly why your cooler isn’t dispensing water and how to fix it—whether it’s a $0 air purge or a $50 part replacement. Let’s diagnose and resolve this now.
Confirm Your Exact No-Flow Symptom Before Troubleshooting
Jumping straight to disassembly wastes time. First, pinpoint which symptom matches your situation—this directs you to the right solution path. Clover coolers fail in predictable patterns based on which spouts are affected and what noises you hear.
No Water From Any Spout? Check These First
If hot, cold, and room-temperature levers all deliver zero water, focus here:
– Listen for pump activation: Press any lever and put your ear near the control panel. A distinct humming means the pump has power but isn’t moving water (likely airlock or clog). Complete silence points to electrical faults like a blown fuse or failed microswitch.
– Verify bottle water level: Remove the jug—even if it looks full. Water can create air pockets below 1/3 capacity, starving the pump. Refill to at least halfway before retesting.
– Check the drip tray: Many Clover models auto-shut off when the tray is full. Empty it completely and ensure the float switch isn’t stuck in the “up” position.
Hot or Cold Side Failure? Isolate the Problem
When only one temperature fails, the issue lives in that subsystem:
– Cold side dead but hot works: Compressor issues or ice buildup are likely culprits. Feel the reservoir area—if it’s not cold after 10 minutes of running, the cooling system has failed.
– Hot water out but cold flows: This usually means scale-clogged heating elements or faulty thermostats. Warning: Never force hot water dispensing if you smell burning—this indicates serious electrical damage.
– Sputtering/gurgling sounds: Classic air-in-lines symptom. Don’t ignore this—even minor air pockets cause intermittent flow that worsens over time.
Power Cycle and Reset Your Clover Water Cooler Properly
Most “clover water cooler not dispensing water” cases resolve with a full system reset, but standard unplugging often fails. Clover control boards require a deep discharge to clear error states—here’s the certified method.
Execute the Triple-Reset Protocol
This 15-minute sequence clears electronic glitches 80% of the time:
1. Unplug for 30+ minutes (not just 5!). Shorter resets won’t discharge capacitors fully.
2. Remove the water bottle and firmly reseat it, listening for the hiss of air breaking the seal.
3. Press and hold ALL dispense levers (hot, cold, ambient) for 30 seconds to purge residual air.
Pro Tip: After resetting, wait 5 minutes before dispensing. Clover reservoirs need time to refill—rushing this step causes false “no water” readings.
Check Critical Electrical Components
If reset fails, verify these often-overlooked power points:
– Test the outlet with another device—don’t assume it’s live.
– Inspect the internal fuse (usually near the power cord entry). A blown fuse shows dark discoloration inside the glass tube.
– Listen for relay clicks when pressing levers. No click = microswitch or control board failure.
Clear Airlocks in Your Water Cooler Lines Fast

Airlocks cause 60% of “no flow” cases in bottled water coolers. They happen when air enters the supply line during bottle changes, creating a vacuum blockage. Clover’s sealed systems make this especially common.
Perform the Forward-Tilt Air Purge
This field-tested method dislodges stubborn air pockets:
1. Unplug the cooler and remove the water bottle.
2. Tilt the unit forward 15 degrees (use a book under the back feet).
3. Press the cold water lever for 10 seconds while holding tilt—gravity helps water flow past air bubbles.
4. Reinstall the bottle and wait 5 minutes before testing.
Visual Cue: If you see tiny bubbles in the dispensing tube during this process, the airlock is breaking up. Repeat if flow remains weak.
Unclog the Bottle Puncture System
Debris in the air intake hole prevents proper pressure equalization:
– Remove the bottle and locate the small silver needle on the top platform.
– Insert a straightened paperclip into the side air vent hole (not the main water needle!) and rotate gently.
– Flush with 1 cup of vinegar to dissolve mineral deposits, then rinse with clean water.
Test Your Water Pump and Sensors Like a Pro
When resets and air purges fail, test these critical components—no tools needed for basic checks.
Diagnose Pump Function Without Tools
- Listen closely: A working pump makes a consistent 55-60Hz hum. A buzzing sound means it’s seized.
- Feel for vibration: Place your palm on the control panel during dispensing. No vibration = no pump activation.
- Check reservoir fill: Remove the top panel (usually 2 screws) and verify the reservoir is 1/2 full before dispensing. Empty reservoirs indicate fill valve failure.
Run Clover’s Built-In Diagnostic Mode

All modern Clover coolers have self-tests:
1. Unplug the unit completely.
2. Press and hold Dispense + Hot + Cold buttons simultaneously.
3. Plug in while holding buttons—watch LED flashes:
– 2 flashes = Sensor fault (clean reservoir sensors)
– 5 flashes = Pump circuit failure (replace pump)
– Steady light = Control board error (requires replacement)
Fix Temperature-Specific Flow Failures
When only hot or cold water fails, target these subsystems.
Cold Water Not Flowing? Solve These Issues
- Ice buildup in reservoir: Unplug for 2 hours to melt frost. If recurring, clean the condensation drain line with a pipe cleaner.
- Compressor not starting: Listen for clicking sounds. Continuous clicking means low refrigerant—call a pro.
- Clogged cold tank valve: Remove the front access panel and tap the valve housing lightly with a screwdriver handle.
Hot Water Flow Problems? Address Scale and Sensors
- Descaling procedure: Mix 2 scoops of citric acid with 1 gallon water in the bottle. Run through system, then flush twice with clean water.
- Check float switch: Lift the hot tank float manually—if water starts flowing, the sensor is stuck. Clean with isopropyl alcohol.
Inspect Reservoir Level Sensors and Float Switches
Faulty sensors are the #3 cause of “clover water cooler not dispensing water” in units over 2 years old. Mineral deposits blind these critical components.
Clean Photoelectric Sensors Safely
- Unplug the cooler and locate the clear plastic sensor eyes near the reservoir (usually front and back).
- Dampen a cotton swab with 90% isopropyl alcohol and wipe lenses gently—never use vinegar here.
- Test by shining a flashlight through the sensor gap; you should see light on the opposite side.
Warning: Never submerge sensors in liquid. Moisture inside causes permanent failure.
Verify Float Switch Operation
- Remove the top panel and locate the plastic float cup in each reservoir.
- Manually lift the float—if dispensing starts immediately, the switch is functional.
- If stuck, soak in vinegar for 10 minutes to dissolve scale, then rinse thoroughly.
When to Call a Professional Repair Service Immediately
Stop troubleshooting if you encounter these danger signs—attempting DIY fixes risks electrocution or permanent damage:
- Burning plastic smell near the control panel (indicates melting wiring)
- Water pooling near electrical components (unplug immediately and call a pro)
- Visible corrosion on the control board (white/green crust on circuitry)
- Refrigerant leaks (oily residue near copper lines with hissing sound)
For non-emergency cases like persistent pump failures or control board errors, expect $120-$200 for professional repair—still cheaper than replacement.
Prevent Future Dispensing Failures With Monthly Maintenance
Avoid repeat breakdowns with these 5-minute monthly habits:
- Sanitize reservoirs with Clover-approved solution (never bleach—it degrades seals)
- Clean air intake vents using a soft brush to prevent dust buildup
- Inspect tubing for kinks behind the unit—reposition if bent sharply
- Run vinegar flush through hot tank every 3 months to prevent scale
Pro Tip: Keep a log of service dates. Clover coolers in high-use offices (50+ users) need pump replacements every 18 months—schedule preemptive part orders.
Final Note: Most “clover water cooler not dispensing water” issues stem from airlocks, sensor faults, or simple resets—not catastrophic failures. By following this sequence, you’ve likely restored flow in under 30 minutes. If problems persist after completing all steps, the control board or pump requires replacement—both are user-serviceable with basic tools (see Clover’s online parts diagrams). Bookmark this guide for your next water cooler emergency, and share it with colleagues to slash office downtime. Remember: consistent maintenance prevents 90% of failures, so add those monthly checks to your calendar now. Your hydrated team will thank you.


