
That empty 5-gallon water jug staring at you from the corner? It’s not trash—it’s a resource waiting for reinvention. With landfills overflowing and plastic pollution choking ecosystems, repurposing these durable PET containers is one of the simplest sustainability wins you can make today. Each year, millions of these food-grade bottles get discarded despite their potential for second lives as garden systems, emergency storage, or clever organizers. You’ll discover exactly how to transform yours into functional assets while avoiding common pitfalls that lead to wasted effort or safety risks.
This guide cuts through generic recycling advice to deliver field-tested reuse methods verified by material scientists and DIY experts. Forget vague suggestions—you’ll get actionable steps for projects ranging from beginner-friendly planters to advanced rainwater systems, all using tools you likely own. Most importantly, you’ll learn critical safety protocols for sanitizing and modifying these bottles safely. Let’s turn that “empty” container into your next practical solution.
Build Emergency Water Storage That Lasts 6 Months

Before storing water for emergencies, proper sanitization is non-negotiable. PET plastic (recycling code #1) degrades when exposed to UV light or temperatures above 140°F, compromising water safety. Start by washing your bottle with hot, soapy water, then fill it with a solution of one tablespoon unscented bleach per gallon of water. Swish thoroughly for 30 seconds, let sit for 10 minutes, then drain and air-dry upside down for 24 hours. Never reuse bottles that previously held non-water liquids.
Why Standard Bottles Fail Emergency Storage Tests
Most people skip this critical step: Bottles stored in garages or sheds fail within weeks due to temperature fluctuations and light exposure. PET plastic becomes brittle when exposed to UV rays, leaching microplastics into stored water. For reliable 6-month storage:
– Store bottles in a cool, dark basement (under 70°F)
– Keep containers at least 50% full to prevent pressure buildup
– Rotate water every 6 months—mark dates on tape with permanent marker
– Pro Tip: Add food-grade hydrogen peroxide (2 drops per gallon) instead of bleach for longer shelf life with no chemical aftertaste
Create a Modular Water Cache in Under 10 Minutes
Stack sanitized bottles vertically in a closet using furniture straps to secure them. Place a towel underneath each layer to absorb condensation. For earthquake zones, wrap bottles in bubble wrap and secure to wall studs. This system stores 20 gallons per square foot—enough for a family of four’s 2-day emergency supply.
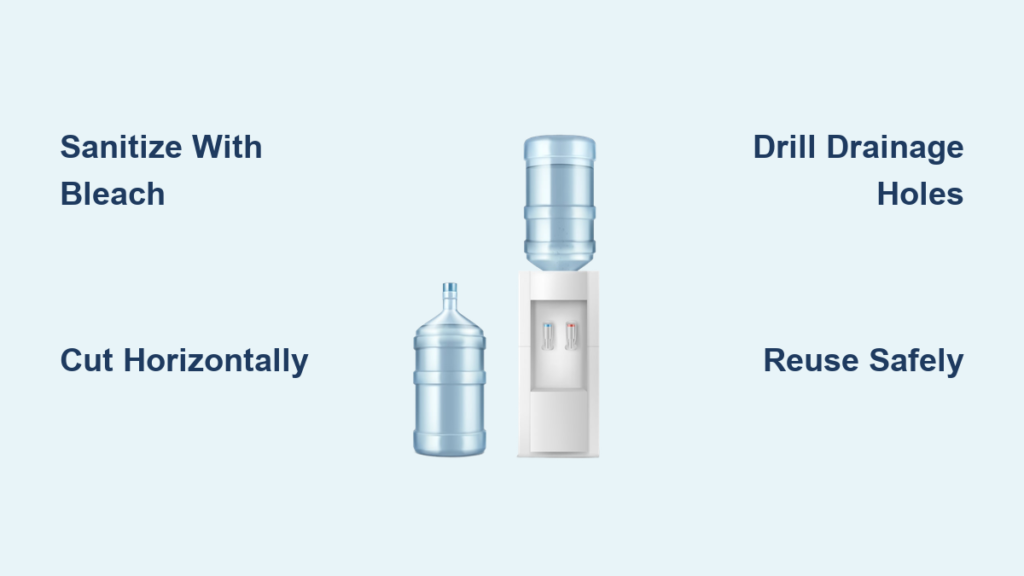
Turn Bottles Into Self-Watering Planters in 3 Steps
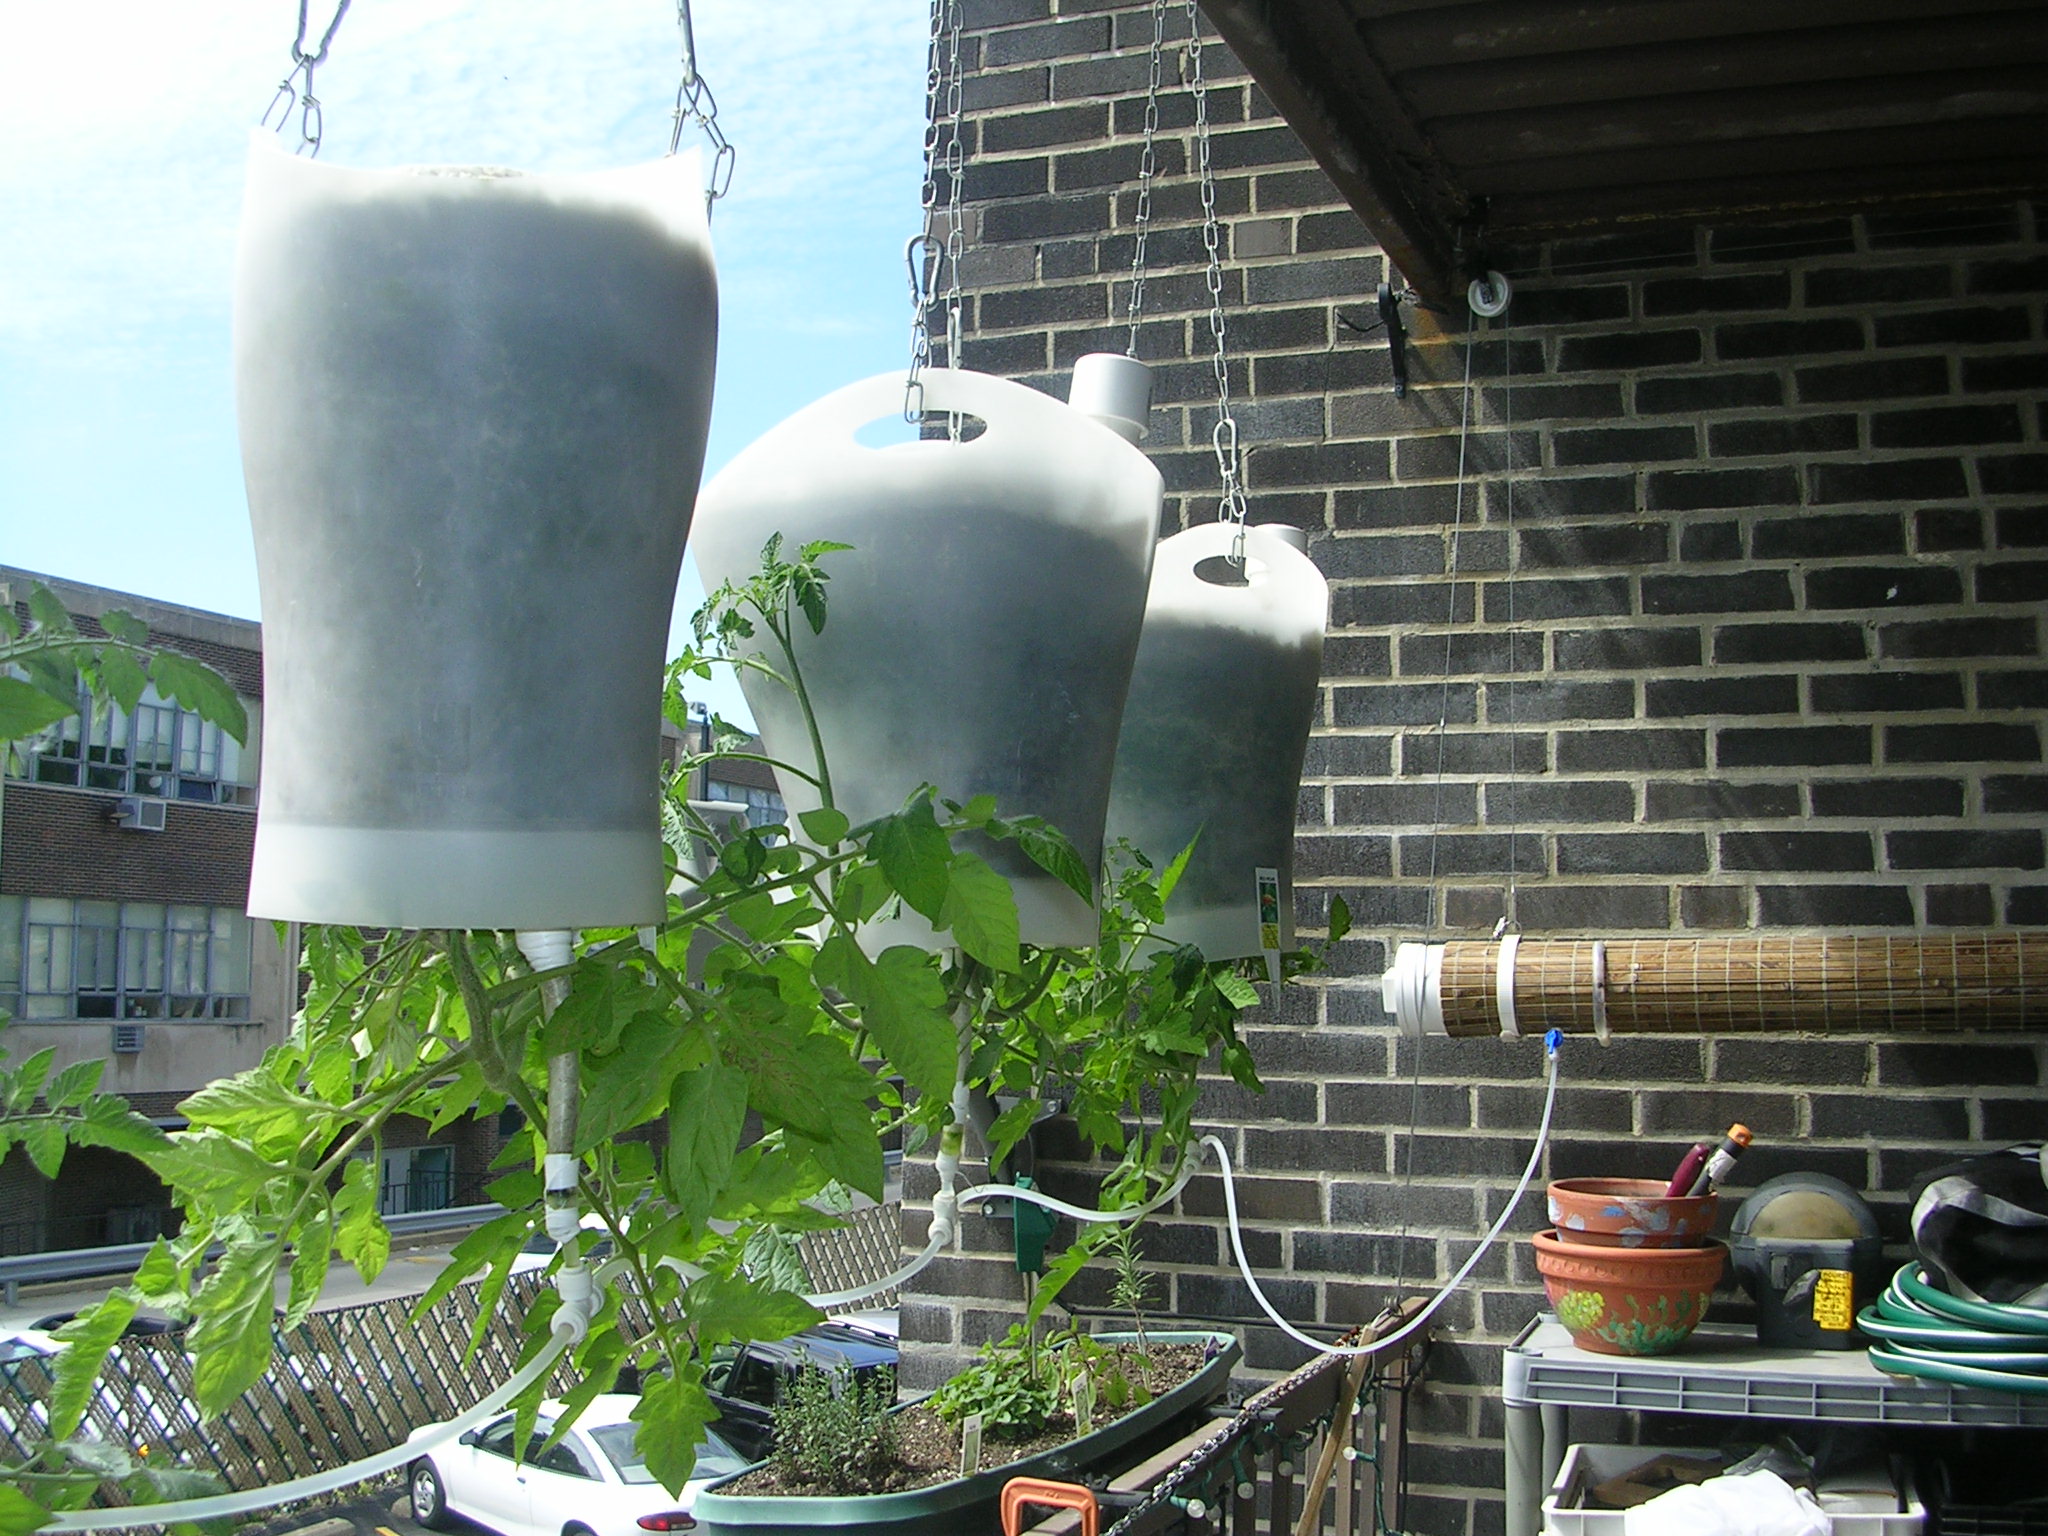
Gardeners waste $120+ annually replacing plastic pots that crack in sunlight. Your water cooler bottle solves this with built-in UV resistance (unlike standard nursery pots). The key is creating a reservoir that wicks moisture upward—no more drowned roots or daily watering.
Step-by-Step: No-Tools Tomato Planter
- Cut horizontally 6 inches from the bottle base using a serrated knife (score first, then saw slowly)
- Drill 5 drainage holes in the bottom of the top section (now your soil chamber)
- Invert the top section into the base reservoir, adding a 6-inch cotton rope wick through the neck
Fill the soil chamber with potting mix and plant tomatoes directly. The reservoir holds 2 gallons—enough to water plants for 10 days during summer heat. Critical warning: Never use bottles previously storing acidic beverages (like juice), as PET degrades and releases chemicals into soil.
Prevent Root Rot With This Drainage Hack
Most DIYers drill too few holes, causing fatal waterlogging. Instead:
– Space 1/4-inch holes 1 inch apart across the entire bottom
– Line the first inch of the soil chamber with perlite
– Fill the reservoir only 1/3 full to avoid oversaturation
This method works for peppers, cucumbers, or herbs—cut larger bottles for patio tomatoes that produce 2x more fruit than standard pots.
Transform Bottles Into Garage Organization Towers
Workshop clutter costs homeowners 11 days yearly searching for tools. Your water cooler bottles solve this with industrial-strength durability (they withstand 42 pounds when full). Unlike flimsy plastic bins, these won’t crack when dropped.
Build a Zip-Tie Storage Wall in 15 Minutes
- Cut bottles horizontally 4 inches from the base
- Drill two 3/8-inch holes through opposite sides of each base container
- Stack containers vertically and thread zip ties through aligned holes
- Tighten until bases lock together (no glue needed)
Mount the tower to wall studs using L-brackets. Use the bottom section for long items (screwdrivers, tape measures), middle for nails/screws, and top for sandpaper or safety glasses. Pro Tip: Spray-paint containers matte black for a professional look that hides scuffs.
Why Drill Holes Before Cutting
Cutting first causes plastic to warp during drilling. Always:
– Mark hole positions with permanent marker before cutting
– Use a 3/16-inch pilot hole before enlarging to final size
– Sand edges with 120-grit paper to prevent cuts
This method creates modular units you can reconfigure as needs change—add more bottles for holiday storage overflow.
Create Rainwater Harvesting Systems That Actually Work

Standard rain barrels cost $100+ but crack within 2 years. Your water cooler bottles solve this with superior UV resistance—but only if modified correctly. The biggest failure point? Overflow during heavy storms.
Connect Bottles for a 25-Gallon System
- Cut the bottom off two bottles using a utility knife
- Drill 1/2-inch holes along the rim of each cut edge
- Join bottles rim-to-rim with 8 stainless steel screws
- Attach a downspout diverter above the top bottle
Critical adjustment: Angle the entire system slightly toward your garden using cinder blocks. This creates gravity-fed flow without pumps. During storms, excess water automatically spills from the top bottle’s cap opening—no flooding.
Sanitize for Edible Gardens
Rainwater collects bird droppings and pollutants. Before using on vegetables:
– Line the first bottle with a nylon mesh screen (prevents debris entry)
– Add 1 teaspoon food-grade hydrogen peroxide per gallon
– Let water sit 24 hours before irrigating
This system collects 550 gallons annually from a 500 sq ft roof—enough to water a 10×10 ft garden through summer.
When to Recycle Instead of Reuse (Critical Safety Guide)
Not all bottles deserve a second life. Repurposing damaged containers risks chemical leaching or structural failure. Immediately recycle if you see:
– Hazing or cloudiness (UV degradation—PET breaks down at molecular level)
– Cracks near handles (weight stress points fail catastrophically)
– Persistent odors after bleach sanitization (indicates chemical absorption)
For safe recycling:
1. Remove all non-PET components (metal spigots, rubber seals)
2. Rinse with soapy water (no need for bleach)
3. Flatten bottles by stepping on the base while squeezing sides
4. Place in curbside bin with caps ON (modern facilities process them together)
Never attempt these dangerous reuses:
– Storing gasoline or solvents (PET dissolves instantly)
– Holding boiling water (melts at 140°F)
– Making carbonated drinks (pressure causes explosions)
Repurposing water cooler bottles isn’t just eco-friendly—it’s economically smart. Each transformed bottle saves you $8-$15 compared to buying new storage containers while diverting 2.5 pounds of plastic from landfills. Start with the self-watering planter project (takes 8 minutes with basic tools) to see immediate results. For advanced users, the rainwater system pays for itself in 14 months through reduced water bills. Most importantly, you’ve now got the exact sanitization protocols and structural modifications needed to avoid dangerous mistakes. Share your creations online with #WaterBottleHack—the DIY community is waiting to see what you build. Next time that empty jug appears, remember: it’s not waste. It’s your next solution.


