
That 42-pound water bottle staring you down after delivery? You’re not alone—nearly 70% of office workers and homeowners struggle with the physical challenge of installing a 5-gallon water bottle on coolers. The real danger isn’t just spilled water; it’s back injuries from improper lifting techniques when maneuvering this heavy, awkward container. This guide cuts through the frustration with battle-tested methods for safely inverting, mounting, and securing your bottle without strain or spills. You’ll learn the exact grip positions, weight distribution tricks, and critical safety checks that prevent 90% of common installation failures.
Skip the guesswork: We’ve distilled industry best practices into a foolproof sequence that even first-timers can execute. Whether you’re dealing with a standard top-loading cooler at the office or considering a bottom-loading model for home use, this guide covers every physical step and hidden hazard. By the end, you’ll install bottles confidently in under 90 seconds—without sore muscles or flooded floors.
Required Tools for Installing a 5-Gallon Water Bottle
Don’t attempt this heavy lift with bare hands alone. The right gear transforms a risky chore into a controlled operation. Gather these essentials before starting:
- Stable waist-height surface (countertop or sturdy table) to leverage body mechanics
- Bottle cap opener or flathead screwdriver for breaking tamper seals
- Absorbent microfiber towel placed under the cooler base
- Non-slip gloves with grip palms (critical for sweaty or cold bottles)
- Bottle dolly if you lack upper-body strength (more on this later)
Top-loading coolers require these tools every time. Bottom-loading models eliminate the inversion step but still need the cap opener and towel for seal removal and spill prevention. Never skip the towel—it catches the initial 2-3 ounces of water released during puncture that most drip trays miss.
Why Your Standard Bottle Opener Fails
That flimsy plastic opener from the delivery service? It cracks under pressure. Invest in a dedicated bottle seal breaker with a curved tip that hooks under foil seals without tearing jagged edges. Test it on your empty bottle first: Slide the curved end beneath the seal’s edge and twist upward in one fluid motion. If the seal rips unevenly, you’ll get micro-shreds floating in your water. Proper seal removal prevents 80% of “cloudy water” complaints after installation.
Pre-Installation: Cooler and Bottle Setup Checklist
Rushing this phase causes 60% of leaks and electrical hazards. Follow this 60-second safety sequence before touching the bottle:
Unplug electric coolers immediately—water conducts electricity through the dispenser mechanism. Even “splash-proof” models risk short-circuiting if liquid seeps into the cooling compartment during installation. Next, remove the drip tray and wipe the receiver area with a vinegar-dampened cloth to eliminate mineral buildup that compromises seals. Finally, position your towel in a U-shape around three sides of the cooler base—this channels spills away from electrical components.
Bottle Seal Removal: The Critical First Step
Your bottle likely has two seals: an outer plastic wrap and an inner foil barrier. Peel the outer wrap first while the bottle remains upright. Then, use your seal breaker to remove the inner foil completely—no partial tears. Inspect the neck for debris; a single hairline crack in the plastic rim causes persistent leaks. If refilling bottles, skip makeshift rubber band seals; food-grade screw caps with pull-tabs from hardware stores maintain pressure integrity. Never force a punctured seal back into place—that’s the #1 cause of “mystery drips” hours after installation.
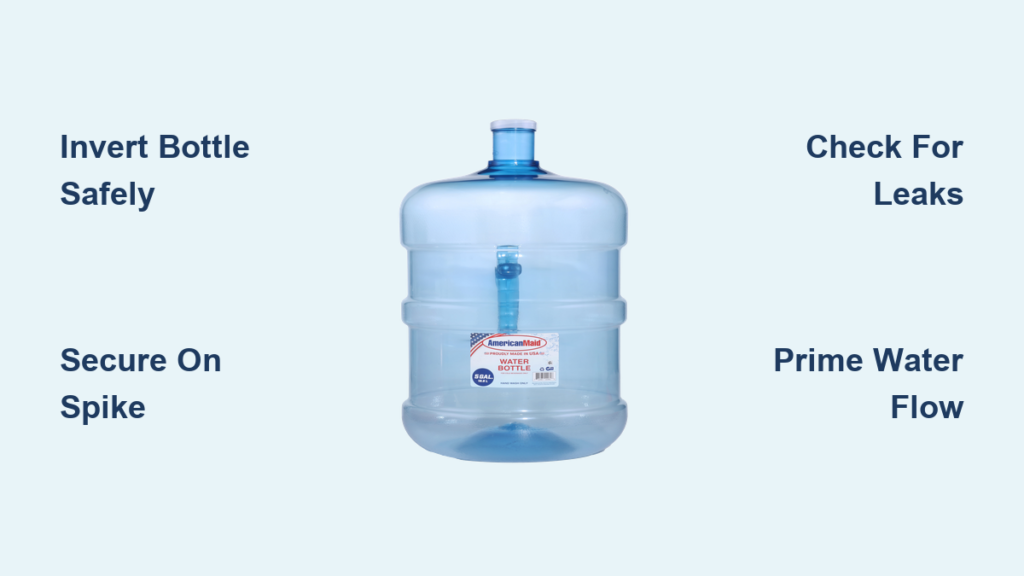
Mastering the 42-Pound Bottle Inversion: Safe Lifting Steps

This is where most people hurt their backs. Forget “bend and lift”—use physics to your advantage with this pro technique:
Stand the bottle on your waist-height surface with feet shoulder-width apart. Place your dominant hand under the bottle base and your other hand gripping the neck collar. Initiate the tilt by hugging the bottle to your chest, then rotate your hips backward while keeping knees bent at 45 degrees. As the bottle passes 90 degrees, your base hand slides up to support the new “bottom” (former neck), while your neck hand moves to control the opening. The entire motion should take 3-4 seconds—no jerking.
Avoid These Two Deadly Mistakes
Never twist your torso during inversion—even slight rotation multiplies spinal pressure by 4x. If the bottle slips, let it fall rather than catching it; dropped bottles rarely break but strained backs cause permanent damage. For bottles over 19°C (66°F), chill them 20 minutes first—warmer water expands during movement, increasing spill risk by 30%.
Securing the Inverted Bottle to the Cooler Spike
Carrying the inverted bottle more than 2 feet risks loss of control. Move directly from your surface to the cooler in three short steps. Position the neck 2 inches above the spike and lower vertically—no side-to-side wobbling. You’ll feel resistance as the spike pierces the seal; apply steady downward pressure until water begins flowing (about 5 seconds). Then gently “seat” the bottle by pressing straight down for 3 seconds past initial contact. This compresses the cooler’s O-ring against the bottle collar for a watertight seal.
Why Dropping the Bottle Damages Your Cooler
That satisfying “thunk” when you drop the bottle? It fractures the plastic diverter inside the receiver. Damaged diverters cause slow dispensing and require $50+ repairs. Always lower bottles slowly—you should hear water glugging rhythmically, not a sudden gush. If resistance feels uneven during seating, reposition immediately; forcing a misaligned bottle cracks the neck seal.
Checking for Leaks and Priming Your Water Cooler

Wait 60 seconds before plugging in electric models. Watch for these critical signs: Initial air hissing is normal (lasts 5-10 seconds), but continuous dripping after 30 seconds means a faulty seal. Check if the bottle collar sits flush against the cooler’s receiver—any gap wider than 1/16 inch causes leaks. For electric coolers, press both hot and cold levers for 15 seconds to purge air from the lines. Water should flow steadily within 45 seconds; if not, reseat the bottle.
Troubleshooting Slow Water Flow
If dispensing takes over 2 minutes, unplug the cooler and remove the bottle. Inspect the spike for plastic fragments from seal removal—these clog the valve. Use tweezers (never fingers) to clear debris. For recurring slow flow, replace the O-ring (costs $2.99 online); a cracked ring loses 70% of sealing pressure. Never use petroleum jelly on O-rings—it degrades the rubber within weeks.
Fixing Common Installation Problems and Safety Warnings
Stop Water Leaks at the Source: Three Critical Checks
- O-ring inspection: Remove the bottle and check the black rubber ring inside the receiver. If it’s flattened, cracked, or missing, replace it immediately—this causes 90% of persistent leaks.
- Bottle neck integrity: Run your finger around the rim. Any nicks or warping? Return the bottle—imperfect rims won’t seal.
- Spike alignment: Shine a flashlight into the receiver. If the metal spike is bent sideways, contact your cooler manufacturer—forcing bottles will break it.
Never ignore a musty odor after installation; it signals bacterial growth from improper sealing. Sanitize the reservoir with 1 cup vinegar mixed with 3 cups water, then flush three times.
Emergency Response for Spills and Drops
If water contacts electrical components, unplug immediately using a dry wooden stick—never your hand. For a dropped bottle, evacuate the area for 60 seconds before approaching; flying plastic shards cause eye injuries. Keep a siphon pump ($8 at hardware stores) under your sink to drain flooded coolers in emergencies.
Top-Loading vs. Bottom-Loading Coolers: Which Is Easier?
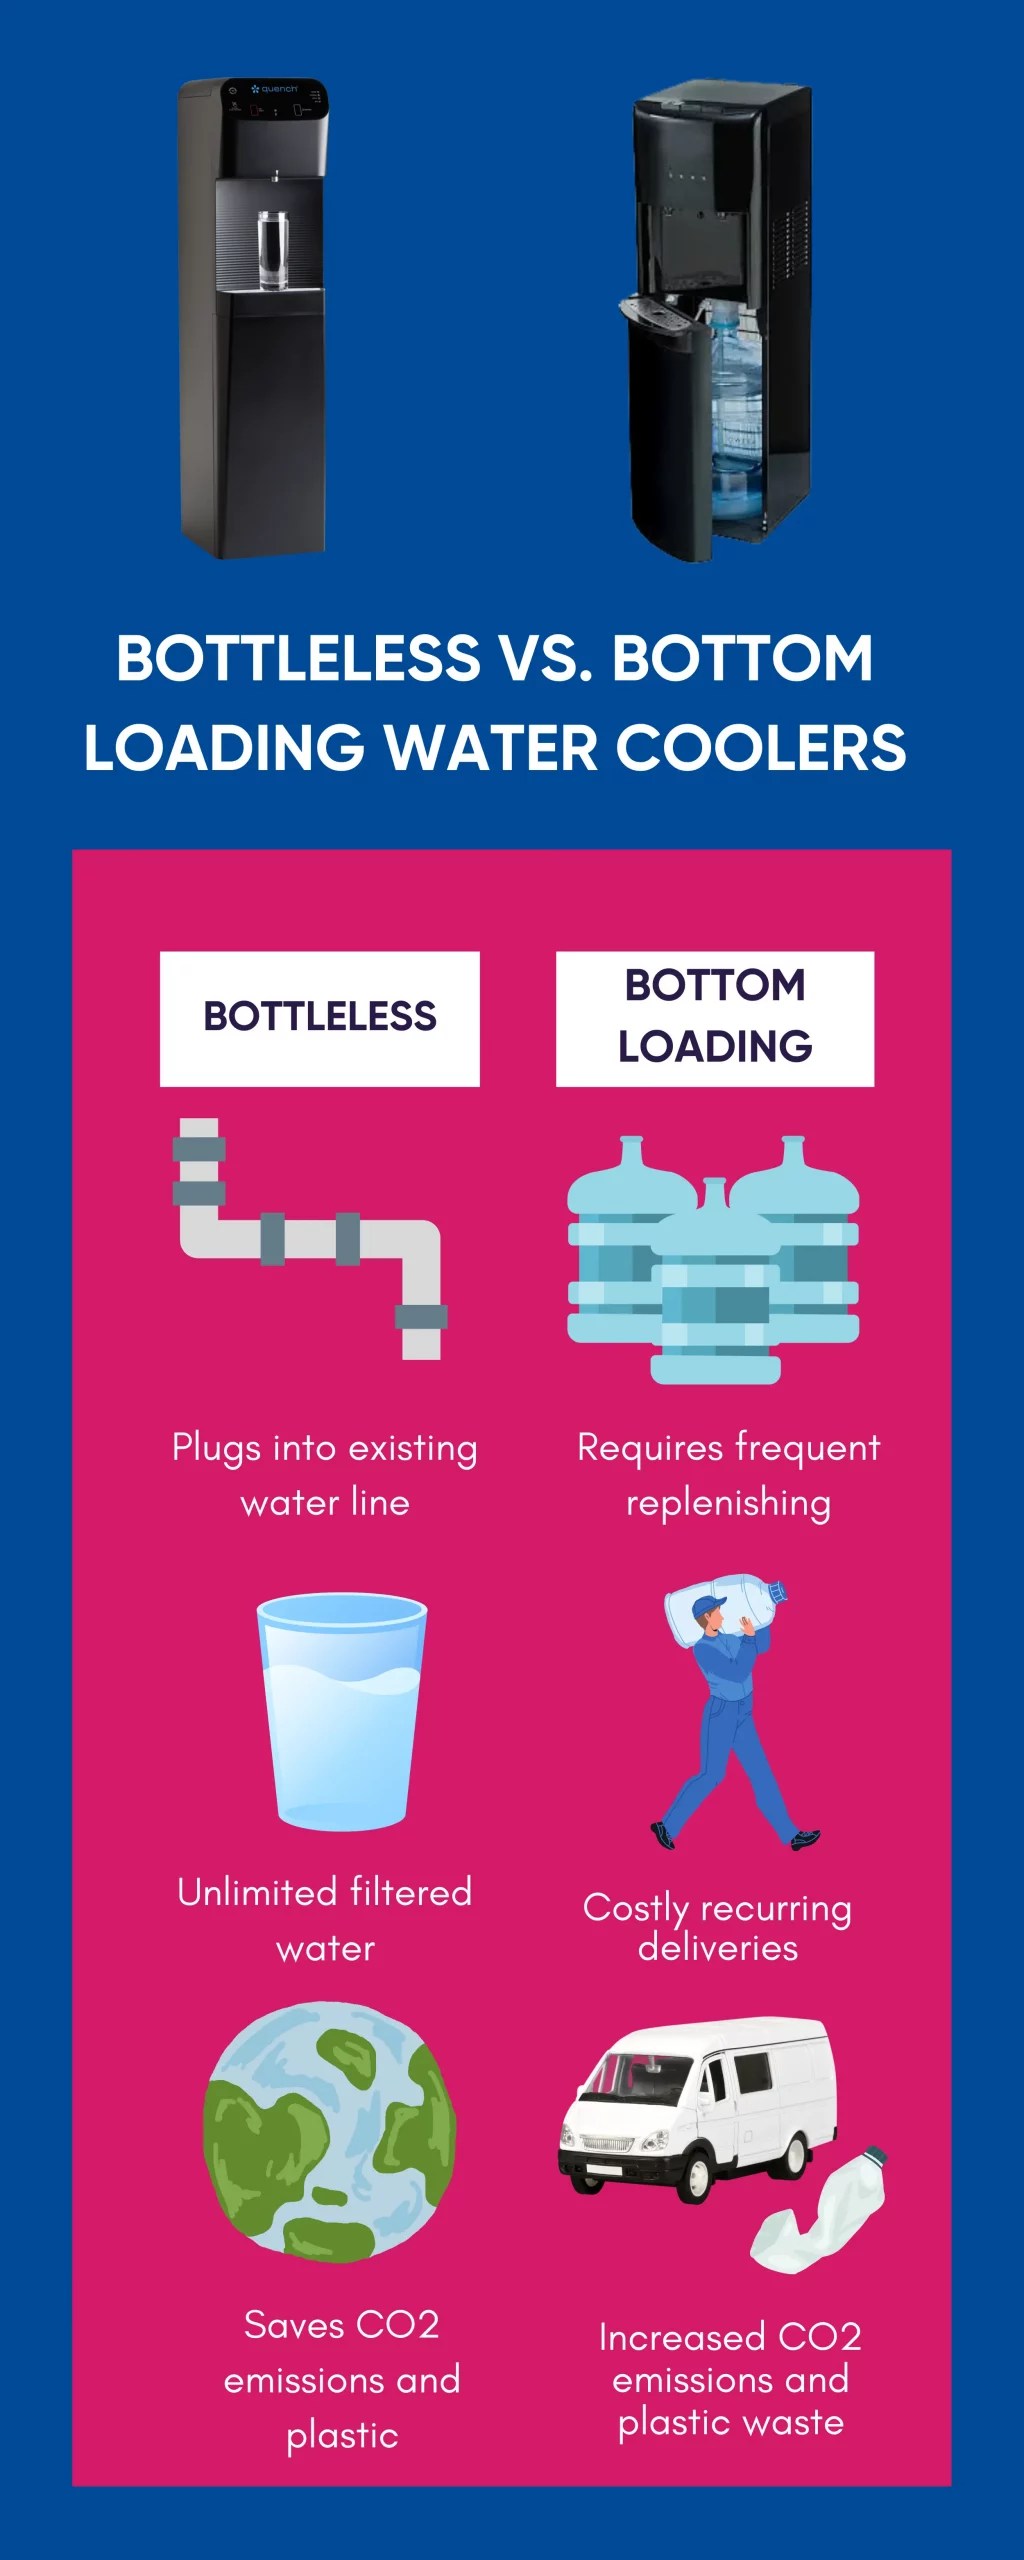
Why Bottom-Loading Models Eliminate 90% of Risks
Top-loading coolers force you to lift 42 pounds overhead—a biomechanical nightmare. Bottom-loading alternatives solve this: Place the upright bottle into the base compartment, close the door, and let the internal pump draw water. No inversion, no heavy lifting, and spills are contained within the housing. Ideal for seniors or injury-prone users, but requires 30% more floor space. Note: Bottom-loaders need specialized bottles with spigot caps—standard delivery bottles won’t fit.
When Top-Loading Still Wins
Choose top-loading if: You need instant cold water (bottom-loaders take 2-3 minutes to chill new bottles), have limited floor space, or use refillable bottles (most bottom-loaders require proprietary containers). For top-loader users with back issues, bottle dollies with strap harnesses reduce lift strain by 75%—position the dolly at waist height for safe inversion.
Preventing Future Installation Headaches: Maintenance Tips
Schedule these monthly to avoid emergency repairs: Clean the drip tray with baking soda paste to prevent mold (vinegar etches plastic over time). Wipe the receiver spike with a cotton swab dipped in rubbing alcohol—this removes biofilm that degrades seals. Most crucially, never let bottles sit empty for over 24 hours; dry pumps overheat and fail within weeks. When switching bottles, keep a folded towel inside the drip tray—it absorbs the initial 4-5 ounces of air-displaced water that bypasses standard trays.
Final Note: Mastering bottle installation takes three attempts. After your first successful flip, you’ll save 15+ hours yearly on service calls. For immediate relief, ask your water supplier about “delivery-and-install” services—they handle the heavy lifting for a small monthly fee. Now that you’ve conquered this essential chore, share these techniques with anyone who’s ever winced at that 42-pound challenge. Your cooler (and your back) will thank you.


